Monday 30 September 2019

Quietfire Design - Sunflower Pillow Gift Box

Hello, my friends!

It's time for another project share for Quietfire Design

Today I'm over on the Quiefire Digital Blog featuring the

 This cut is just too cute!


For all the details and product links,
and some fun ways to use this project,
 head on over to the Quietfire Creations Blog HERE.

* * * * *
While you're over there, check out the shop and the Designer's blog.
They're full of fabulous inspiration!

* * * * *
Here are all the links for you:


Thursday 26 September 2019

Quietfire Share - Lacy Autumn Maple Leaf Card

Hello, my friends!

It's time for another project share for Quietfire Design
I am loving these fabulous products!
They are so inspiring it work with! :o)

Today I'm sharing a project here on my blog.
This project combines a digital cut files, along with a lovely stamp set. 
Here's my fun Fall card:


For this card I used the Lacy Autumn Maple Leaf file.
The file includes a "Thanksgiving" cut that I chose not to use on this card.
I created a 5 1/2" card base from the matching cardstock.


I wanted to have an interesting background show behind the leaf.
I cut a piece of watercolour paper at 51/4" square.
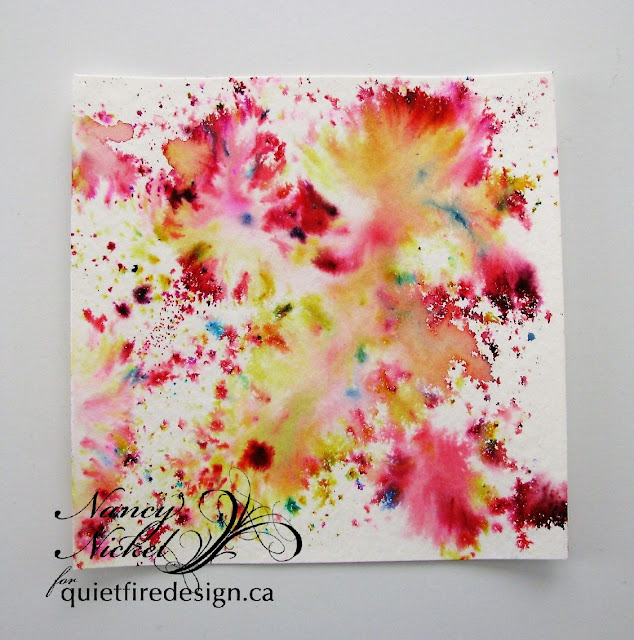
I spritzed it with water and sprinkled it with some Color Burst powders.
I played and mixed until I liked the way it looked - 
a pretty Fall leaf background!


I adhered the background piece to the card base,
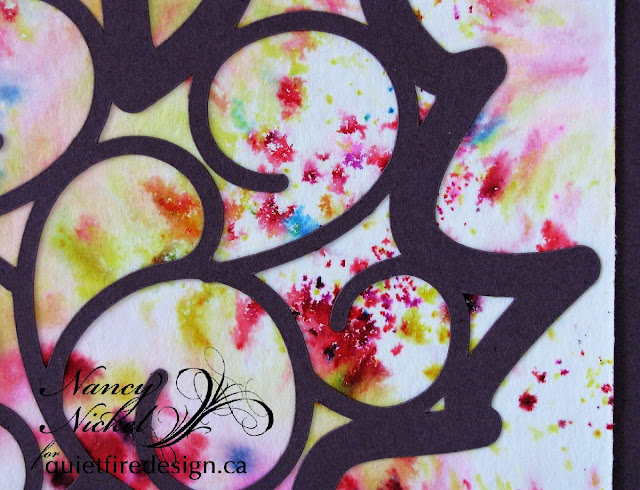
and then adhered the Lacy Leaf in place on top of it.


Here's a closer look - doesn't it look like falling leaves:


I added a stamped sentiment to the inside of the card.
For this I used the Leaves Stamp Set.


I stamped it using ink that matches the card base.
Here's a closer look:


Here's one last look:


Other Materials Used:
Papers: Strathmore Watercolour Paper,
Recollections Cardstock;
Powders: Ken Oliver Color Bursts - Merlot, Yellow Ochre;
Ink: Stampin' Up - Rich Razzleberry.


Quietfire Design Products Used:


* * * * *
Thanks so much for stopping in today!
I'll have another Quietfire project to share with you soon!

* * * * *
Here are all the links for you:


Monday 23 September 2019

Simply Crafty SVGs - Fall Gable Box

Hello, my friends!

Welcome to a new project share for Simply Crafty SVGs!

This month I'm sharing a fun Fall gift box idea.

I've used:

Wide Gable Box

I have to say that I really like this file very much!
It's one that I'll be using again and again.
It's a quick and easy one to put together,
and there are SO MANY creative possibilities! 
I just left it plain this time but I can see one with 
lots of layers and embellishments,
or one with a fun scene on the side.


Here's a peek at the inside of the box.
It's actually the perfect size for my favorite special chocolate bars! 


Here's the other side.
It's just a really fabulous box!


Other Materials Used:
Papers: DCWV - Cardstock;
Recollections - Autumn Collection;
Machine: Cricut Explore Air.

File from Simply Crafty SVGs:


* * * * *
Thanks for stopping by today!
I hope you found some inspiration!
I'll be back next month to share a brand new project! :o)

* * * * * 
Here are all the links:


Saturday 21 September 2019

Falling For Handmade Paper Blog Hop - With Arnold Grummer and Club Scrap

Hello, to all my friends and visitors!

Welcome to our super fun Falling For Handmade Paper Blog Hop!


I'm so happy you're here,
and I'm excited to show you what I created for the event!
I have to tell you that Arnold Grummer and Club Scrap products
are an incredible combination for creativity!

This is my first time using a Club Scrap kit,
and this Falling Leaves Collection is gorgeous!
It inspired me to create this fun mini album:


I began by choosing various cardstock pieces from the kit,
and making this fun stash of handmade paper.
To some I added Gold Mica Dust,
and to others I added Copper Mica Dust.


I was a little bit pressed for time,
so instead of making my album from scratch, as I usually do,
I opted to use a pre-made album base from Prima.

I stamped leaves over the entire album cover,
using a variety of the leaf stamps.
Then I added several layers of paper,
a double-loop bow, and one of the pretty charms.


Left side: A pocket to hold various tags and photo mats.
Right side: Pretty paper and some stamping.


Left side: Pocket holding handmade paper tag and envelope.
Right side: Cardstock page with washi tape, tag, bow and charm.


Left side: Decorated page with removable photo mat, and handmade paper tag with ribbon accent.
Right side: I love what that card says! lol 
A repeat of the left side but with a bigger tag, and the addition of the charm.


Left side: Side pocket with two photo mats.
Right side: Belly band with two photo mats.
Background has some fun leaf stamping.


I love all the papers in the kit but this brown with gold was so pretty!
Both pages: I adhered handmade paper tags for tuck spots.
They hold the photo mats.

Here's a closer look at the tag. 
I embedded a skeleton leaf into the pulp as I was making it.
I used the tag template.


This one is a little further embedded:


More pocket pages.
Left side: Holds journal spot, and handmade tag booklet with charm.
Right side: Pocket holds a photo mat and handmade paper tag.


A closer look at the  handmade paper tag booklet.
I added some stamping, some washi tape, and pinned on a charm.


A closer look at the tag on the right side.
It also holds a skeleton leaf.


Last page!
Left side: Pretty paper with more fun stamping.
Don't you just love the word "SPLENDID"?
Right side: Another pocket full of tags, photo mats, and journal cards.


Here's the back cover all stamped:


I can't wait to fill this album with photos of Fall!
Maybe from my trip to the lake...where I am right now! ;o)


Materials Used:

From Arnold Grummer:


From Club Scrap:


Other:
Prima - Frank Garcia Memory Hardware Journal - 8 x 8;
Tim Holtz Distress Tool;
Wendy Vecchi Archival Inks:
Red Geranium,
Orange Blossom,
Prickly Pear.

* * * * *
Thanks so much for stopping in today! I hope you enjoyed seeing my album! Nancy Young is your next stop on the hop! Don't forget to leave a comment on all the stops along the hop! Those that leave a comment on each and every blog will be entered into a random draw for a fabulous prize! Enjoy all the fun inspiration! :o)

Friday 20 September 2019

ScraPerfect - ATC Fun!

Hello, my friends!

Today I'm happy to be sharing another post for ScraPerfect

I've created another fun ATC with the help of ScraPerfect products.
I've also paired these products with some more Makin's Clay pieces. 
These products really work well together,
especially when making a fun little ATC!

Here's my finished ATC:


I began with a pretty green background paper.
Then I chose several of my finished clay pieces.
These were molded using the green Makin's Clay,
and a fun Mod Podge Mold.
Then I used the Best Glue Ever to adhere my clay pieces to the base.
I then used the Embellie Gellie to pick up and place 
the lovely little green flowers in place.
A tiny drop of the Best Glue Ever is all they need to hold them in place.


Finally, I took a sponge, and some white ink,
and inked around the edge of the ATC.
I also inked the top of the clay pieces to highlight all the detail.


ScraPerfect Products Used:


* * * * *
Thanks so much for stopping by today! 
I'll be back soon with another project share!


* * * * *
Here are all the links for you:


Monday 16 September 2019

Rinea Tutorial - Thanksgiving Place Card

Hello, my friends!

Today I have a fun tutorial for Rinea.

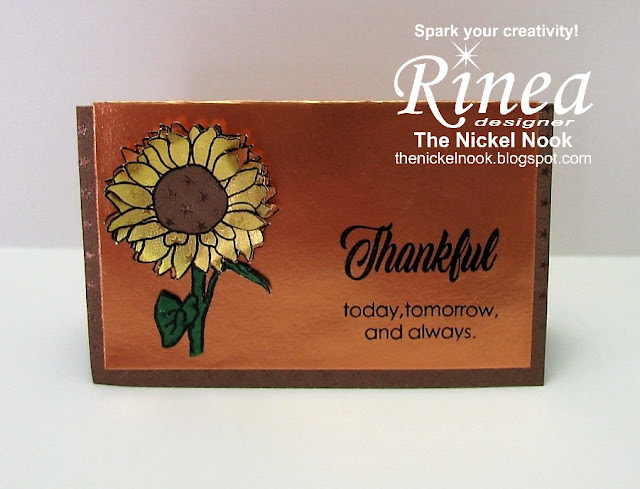
I'm going to show you how to make this fun project
using these fabulous foiled papers,
in partnership with Joy Clair Stamps!

With Thanksgiving fast approaching, 
in less than a month here in Canada,
I thought I would share a fun place card idea.
These cards would be lovely decorating the table.
There is a spot left right above the "Thankful" to add a name.
This could easily be done with a marker.


Here's how I did it:


Materials Used:
Joy Clair Stamp - Thankful and Blessed;
Imagine Crafts - StazOn Ink - Piano Black;
Stamp Positioning Took;
Tiny Scissors.


1. I began by doing all my stamping on a variety of foiled papers. I did some extra stamping while I was at it - for future projects.  


2. Using my tiny scissors, I fussy cut the sunflower images out. One flower from Gold/Gold Starstruck Foiled Paper, one flower from Copper/Copper Starstruck Foiled Paper, one stem from Emerald/Emerald Starstruck Foiled Paper, and one flower center from Mocha/Mocha Starstruck Foiled Paper


3. Then I cut a piece of the Mocha/Mocha Starstruck Foiled Paper measuring 4 x 5, and a piece of the Copper/Gold Glossy Foiled Paper measuring 3 3/4 x 4 3/4. 
4. I scored down the center of each piece.
5. Using the StazOn ink, and a stamp positioning tool, I stamped the sentiments on each side of the Copper/Gold Glossy Foiled Paper.
6. I adhered these two layers together, lining up the score line.


7. I adhered the sunflower in place on the one side of the place card. First the copper flower, then I added the gold flower with a little piece of foam tape. I added the stem, tucking it under the copper flower, with a little piece of foam tape behind the leaf. Finally, I added the flower center.


8. I fluffed up the flower petals to give it some extra dimension.


Here's the stamping on the other side:


 It's the perfect Scripture verse for a Thanksgiving Place Card!
Then you can send the card home with your guest,
as a reminder to always be Thankful! 


Thanks so much for stopping by today!
I'll be back again soon with a new Rinea project! 

* * * * *

Here are all the links for you:


Blog Archive