Hello, my friends!
I'm back today to share a fun project for Maker's Movement!
I used my wonderful Crossover II Machine for all my die-cutting on this project.
Today I'm featuring:
I also used:
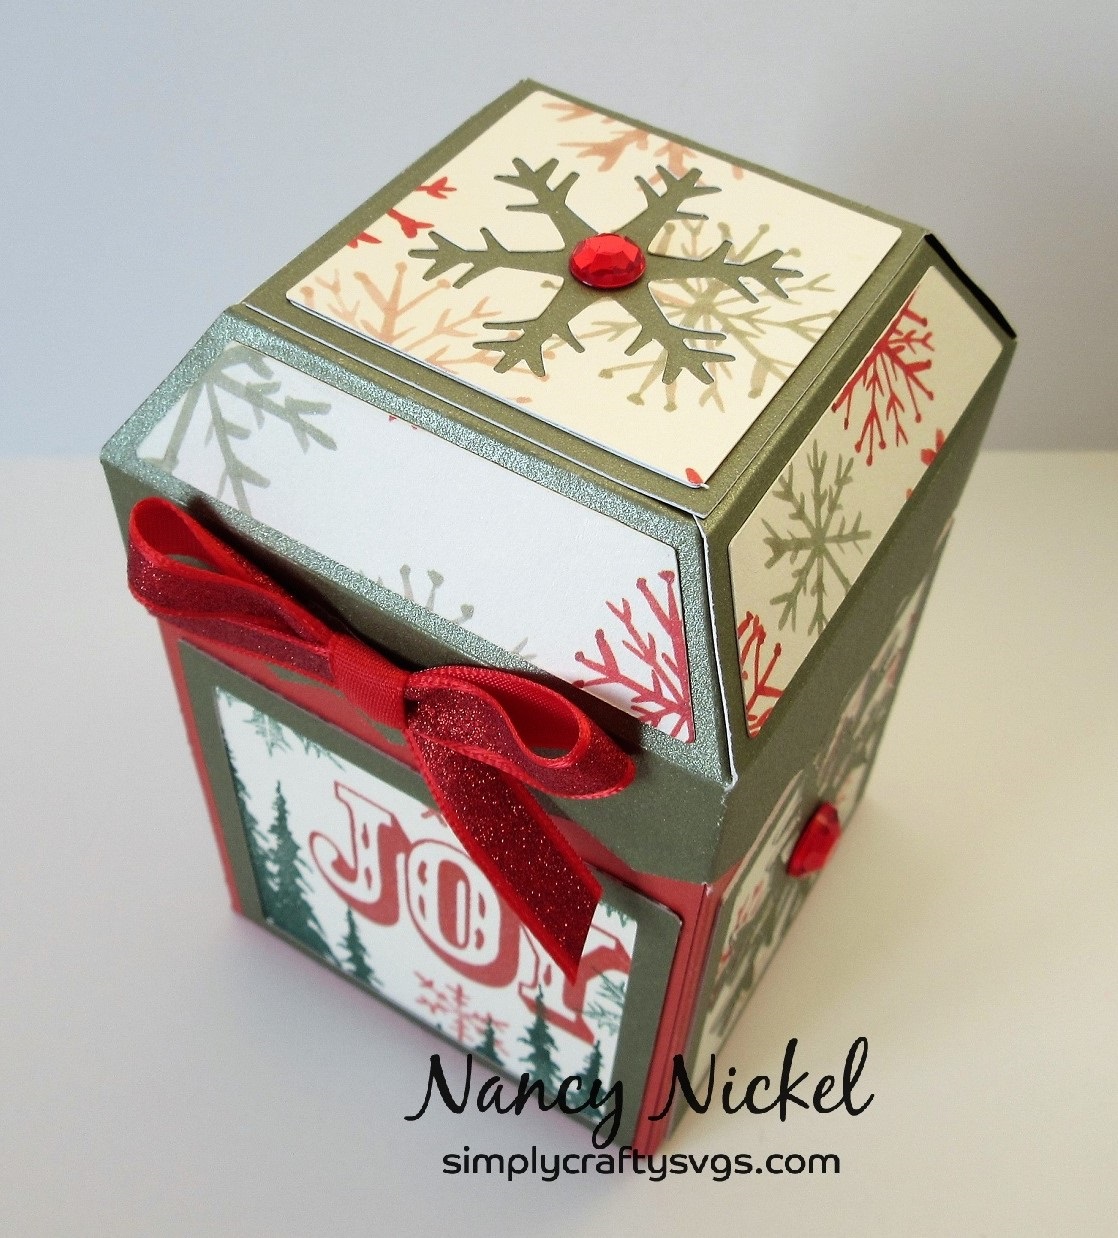
Here's my card:

This is such a fabulous and fun set to play with!
There are 18 stamps included, and 10 dies in the die set.
I used only a few of them on my card!
I began with a light kraft card base.
I cut the rounded tag out of a Christmas print.
I then stamped/die-cut the tree, star, and gifts from coordinating paper.
Then I just put all the pieces together.
I added the sentiment to the front...

...and then used some other pieces to decorate the inside.

Finally, I added Stickles to give everything some sparkle and shine!

Maker's Movement Products Used:
Other Materials Used:
Hot Off the Press Ultimate Christmas Pack;
Recollections Cardstock;
Memento Tuxedo Black Ink;
Gold, Frosted Lace.
* * *
Thanks so much for stopping by!
I'll be back soon with another fun project!
* * *
Here are all the links for you: