Sunday, 20 July 2025

My First Post for KCS Designs By Kim

 Hello, my friends!

I'm very excited to announce that I have joined the Design Team at

KCS Designs by Kim!

Kim has a fabulous Etsy shop full of very creative and inspiring digital files.
It's an incredible assortment of papers, clip-art, fussy cuts, overlays and templates.
There is wonderful variety of themes and styles to choose from. 
She also has a fantastic sale going on right now - until the end of July!

Today I'm going to share four cards that I created. 
I've actually made eight but I'll share the other four later in the month.
I don't want to overwhelm you! ;o)

They are very simple in design but I felt that was best to display the fabulous imagery!
I used the same collections for all eight cards. 
I must confess that I am IN LOVE with Kim's Imaginariam Collection!
Everything will be linked below.
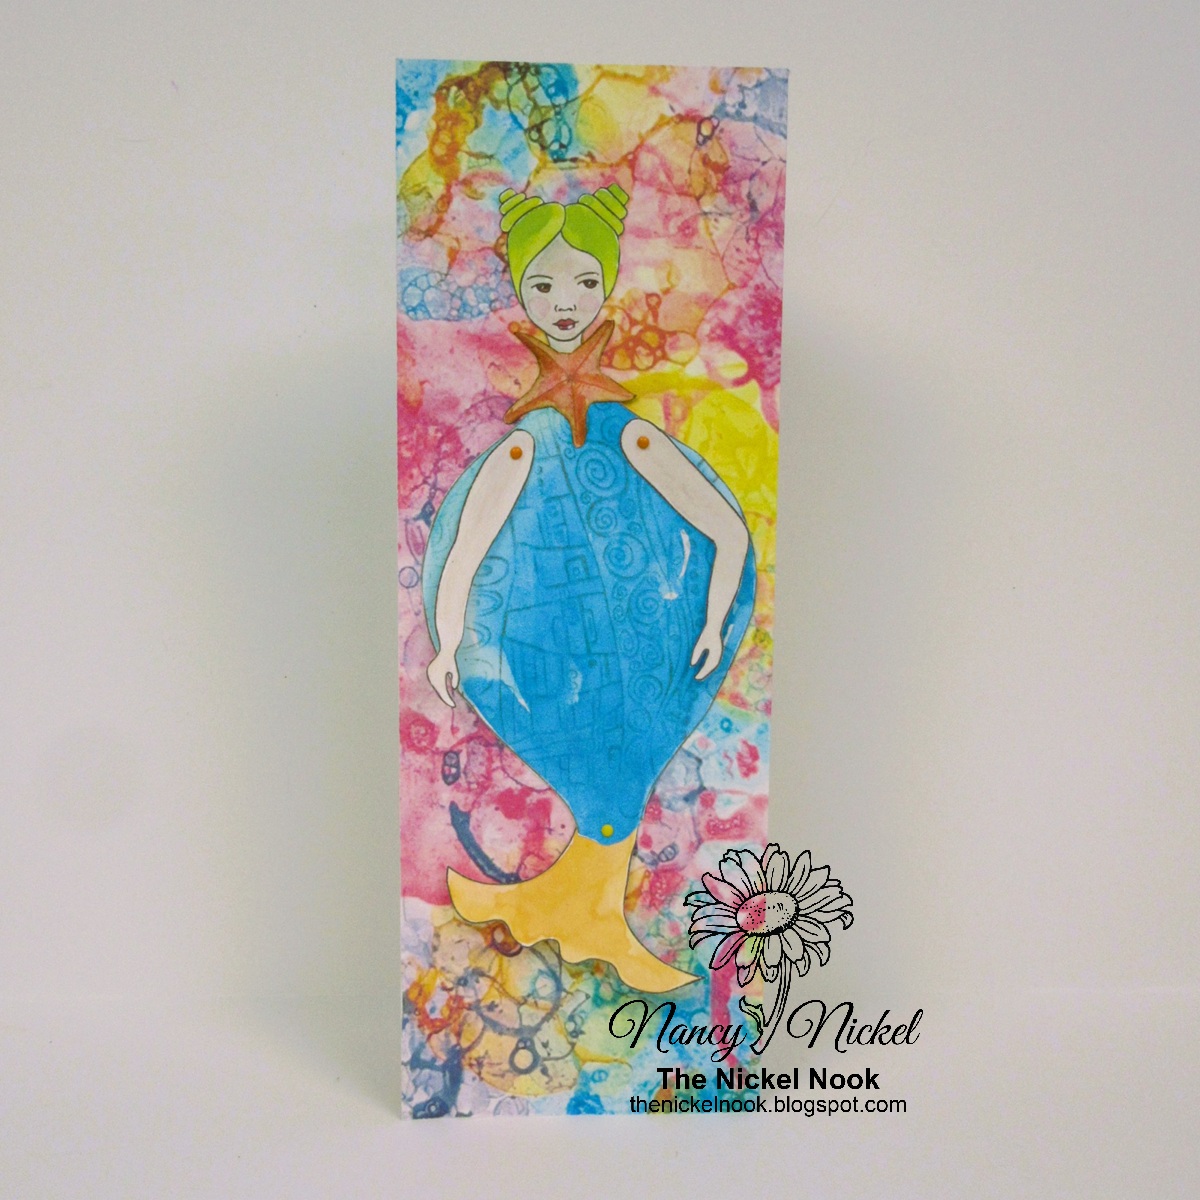
Here are my cards:


Aren't those images great?
The papers work so beautifully with them, as well!
The inspiring flair buttons add just the right finishing touch!

I'll be back soon with the next four cards!
In the meantime...head over to the shop and take advantage of the sale!

* * *

KCS Designs by Kim Products Used:

Motivational Flair Buttons;

Tattered Tendrils Journal Pages;

Shabby Vintage Journal Papers;

Quiet Imaginarium Journal Papers I;

Quiet Imaginarium Journal Papers III.

Other Materials Used:
Recollections Cardstock;
Distress Ink - Walnut Stain, Iced Spruce;
EK Success Circle Punch.

* * *

Here Are Kim's Links:

KCS Designs By Kim Etsy Shop

KCS Designs By Kim Instagram

Tuesday, 15 July 2025

Coffee Themed Mason Jar Wood Lids Tutorial for Clear Scraps

   Hello, my friends!

I'm happy to be back with a fun new project for Clear Scraps!

I'm sharing the very cool Mason Jar Wood Lids.
It was so fun to create with this set!

Here is my finished project:


I also used the COFFEE Embellishments Chipboard Punchout.
It's ideal for those of us that like to create coffee themed projects.


The Mason Jar Wood Lids comes in a set of  8 pieces. 


There are three skinny rings that get stacked and adhered together.
The topper is the circle that has the smaller hole in the center of it.
The thicker ring is adhered on the top of the topper.
Finally, there are the three interchangeable discs that you can decorate.


On the left are the three outside rings adhered in a stack.
On the right is the topper with the top ring adhered in place.


To finish the assembly, the topper piece is adhered onto the ring stack.
This forms the mason jar lid.


Once assembled, I painted my lid using a mocha colored acrylic paint.
Once it was dry, I brushed some distress ink on the edges. 


Now to decorate the insert discs. 
I chose the paper I wanted for each one, 
and then chose the chipboard embellishment I wanted to use.


I adhered the paper onto the disc, and inked the edgs.


Using some gel sticks, I colored the chipboard pieces.


Then I adhered the colored embellishments in place, and it was finished!

Here's a look closer look at each disc inserted into the lid:


This was such a fun project to create!
There are so many options when decorating these jar lids.
I love to use jars for organizing all kinds of things: craft supplies, buttons, treats, etc.
There are also many mason jar gift ideas: jellies, jams, pickles, fruit, etc.
Now we can add pretty lids to make them even more special!

* * *
Thanks for stopping by today!
I'll be back soon with another fun project share! 

* * *

Here are all the links for you:

Clear Scraps Shop

Clear Scraps Facebook

Clear Scraps Instagram

Clear Scraps Pinterest

Monday, 14 July 2025

Three More Fun Foiled Cards for Crafty Critta

  Hello, my friends! 

It's time for some new fun foiling using Crafty Critta products!
I've got three cards to share with you.
They are made with a combination of new release and previously released products.
You'll find all the links below.

Given the nature of foiling, I have taken a few photos of each card,
as some show the shine better than others. 


The background of the next card was made with the first pass through the Your Best Mate Machine.


This next card was made with the left over foil sheet - after the first design was removed.


It's so fun how one sheet of the toner foil will make two foiled backgrounds!
I'll have more fun foiling projects very soon!

* * *

Crafty Critta Products: 

Your Best Mate Machine;


Other Materials Used:
WRMK Nesting Circle Dies;
Recollections Cardstock;
American Crafts Cardstock. 

* * *

Here are all the links for you:

Crafty Critta Website

Crafty Critta Facebook

Crafty Critta Instagram 

Tuesday, 17 June 2025

Lock and Key Slimline Album for Clear Scraps.

   Hello, my friends!

Today I'm sharing a fun album that I created for Clear Scraps!
It's a Slimline Chipboard Album that measures 5 1/2" x 11".


These are the Clear Scraps products that I used:


Here's how I did it:


I began by covering the front and back of the album pages with designer paper.
I punched the binding holes and inked all the edges.


Then I used distress ink, and stenciled several pages with the keys and locks.


I chose one key and one lock, and heat embossed them with an antique gold embossing powder.
While it was still warm, I sprinkled on a little bit of black embossing powder, 
and heat set again. 
This gives a nice vintage look that worked very well with my album cover.


I adhered the key and lock in place on my front cover.


All that was left was to embellish my album pages.


I added a variety of tucks and journaling spots.


I really like seeing the way the "wave" from the previous page.


There is lots of room for photos and documentation.


These slimline albums are so fun to decorate and put together.
You can find more Slimline Album options in the shop HERE.

* * *
Other Materials Used:
DCWV Timeless Type Stack;
Embossing Ink;
 Antique Gold and Black Embossing Powder;
Walnut Stain Distress Ink;
Binding Rings.

* * *

Thanks for stopping by today!
I'll be back soon with another fun project share! 

* * *

Here are all the links for you:

Clear Scraps Shop

Clear Scraps Facebook

Clear Scraps Instagram

Clear Scraps Pinterest


Thursday, 12 June 2025

Vintage Envelope Shaker Box for Clear Scraps

   Hello, my friends!

I'm back today with a fun new project for Clear Scraps!
This project was inspired by this great Mini Shaker Envelope.

Here's my finished box:


Here's how I made it.
I began with a plain wooden box from our local dollar store.
I used a variety of Distress Stains, and a make-up sponge, to get the colors I wanted.
I also added some swipes of distress ink.
I set the box aside to dry.


Then I moved on to the shaker element.


As with all the Clear Scrap Shakers, there are 5 pieces:
the backing, the acrylic piece, and 3 shape pieces. 
I adhered a page of handwriting to the backing piece.
The front piece was colored with same stains and inks as the box.
I then assembled all the layers, using beads and sequins for filler.

Here's a closer look at the finished shaker:


I then adhered the shaker element to the top of the box. 


I also decorated the inside of the box.
I did this using a digital paper that looks like crumpled paper,
that I stamped with a script stamp.
I inked all the edges before adhering it all in place.


I have some fun plans to fill this box.
I'll be back to share that with you very soon!


 Clear Scraps Products Used:

Mini Shaker Envelope

Other Materials Used:
Wood Box;
Distress Stains - Weathered Wood, Forest Moss, Tarnished Brass;
Distress Ink: Walnut Stain, Black Soot;
Unknown Script Stamp;
Unknown Sequins and Beads;
Paper from Polka Art Studio;
Paper from Lavender Blu Journals.

* * *
Thanks for stopping by today!
I'll be back soon with another fun project share! 

* * *

Here are all the links for you:

Clear Scraps Shop

Clear Scraps Facebook

Clear Scraps Instagram

Clear Scraps Pinterest


Wednesday, 4 June 2025

More Work in My Mermaid Fairy Junk Journal for Bea Grob Mixed Media and More

     Hello, my friends!

I'm back today with my latest  project for 
Bea Grob Mixed Media and More!

 Again, I'm working in my TN Style Junk Journal.
All the products I used are from the Mermaid Fairy Collection.

First, I made a moveable mermaid:


I used the fun fussy cut mermaid parts to put this one together.
Here it is added to my journal:


Then I used more of the lovely fussy cut pieces to create this tag:


Here it is clipped into my journal:


I'm having so much fun with this journal, and all of Bea's fabulous products!

* * *
 
 Here is the video, where you can see me put everything together:

https://youtu.be/o6FbLJyX0BA

 * * *

Thanks for stopping by today!

I'll be back next month with some new creative mixed media work!

* * *

Here are all the links:

Bea Grob Mixed Media and More Shop

Bea Grob Mixed Media and More Facebook

Bea Grob Mixed Media Instagram

Blog Archive