Thursday 14 August 2014

Ephemera's Vintage Garden - My Crafty Life - Part 3

Hello, my sweet friends!

Before I begin sharing today's project I must give you all a BIG thank you!
Your positive response to my last post, both here and on facebook, was overwhelming!
I sure do appreciate you all! :o)

* * * * *
I'm back today to share the third and final part of the My Crafty Life kit 
from Ephemera's Vintage Garden.
 If you missed Part 1 you'll find it right HERE.
Part 2 is right HERE.
This kit is found in the "Planner" section of the store, right HERE.
Part 1 was all about organizing our crafty life: DT work, swaps and challenges. 
Part 2 is all about keeping our daily home life organized.
Part 3 is all about our personal health: mind, body and spirit.

The planner pages measure 5 1/2" X 8 1/2". 
If you have never used a printable kit before, or if you like to conserve ink, then this is the kit for you. 
The entire kit prints with black ink. 
The first section of my planner was black on blue, 
the second was black on yellow, 
and this section is black on pink.

Let's begin!
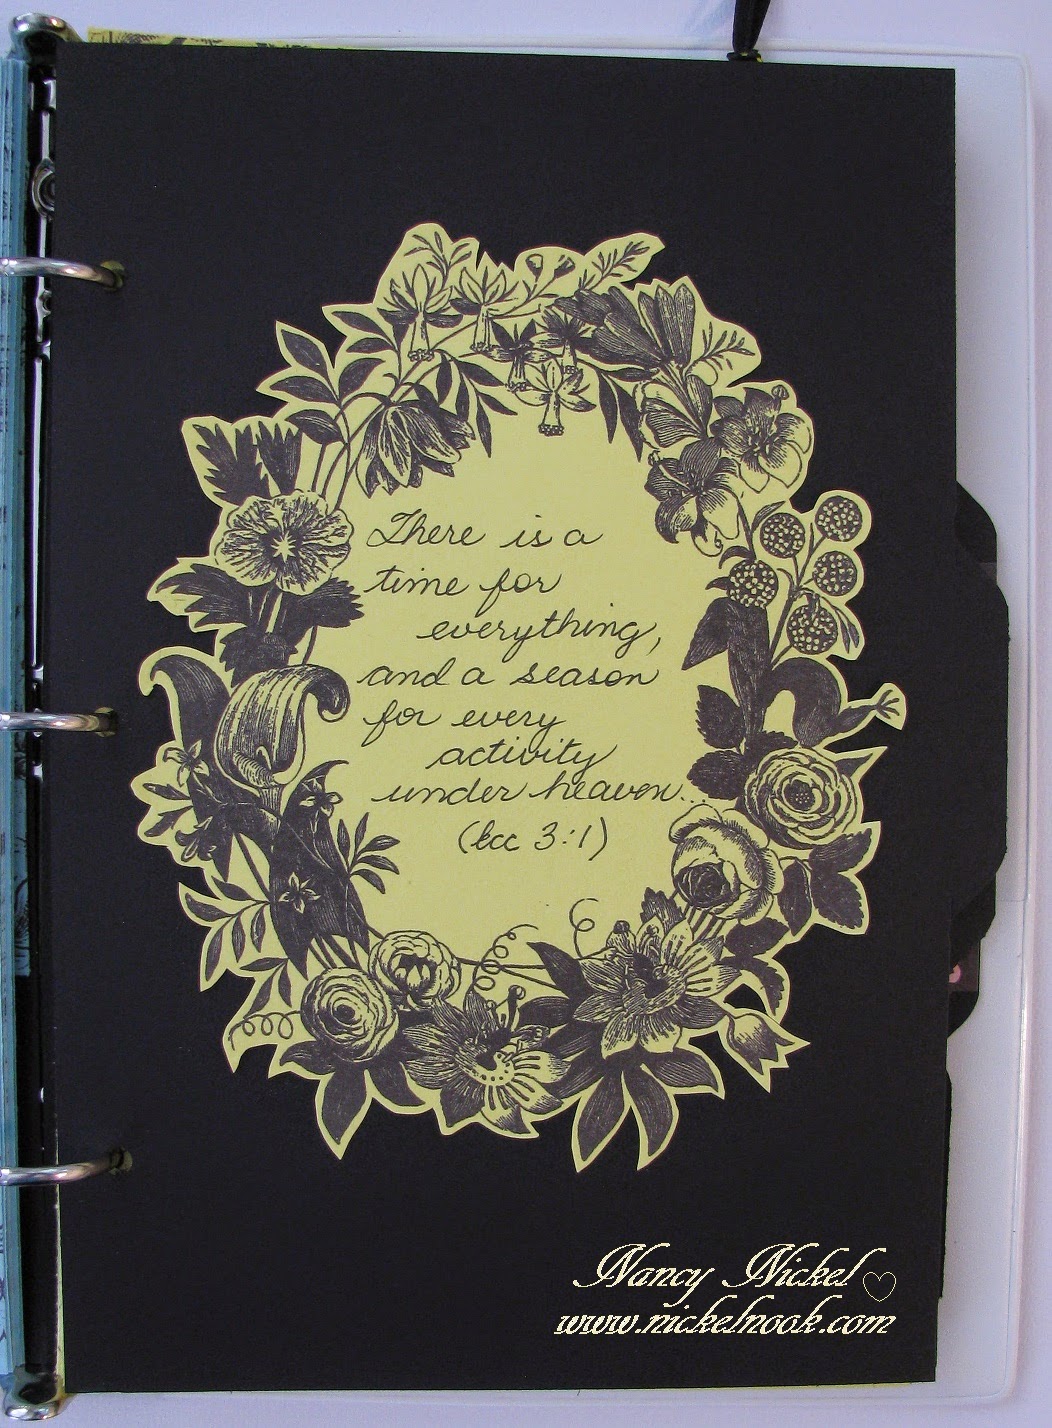
As with the other sections, it begins with a divider. 
I fussy cut the wreath and added an appropriate Scripture verse.
Then I added the "my self" from one of the pages.


Again, this page mimics the previous sections.


Look at this great bucket list page...it's so long!
Then there's a wonderful health checklist for body, mind and spirit.


I really like the procrastination worksheet.
I'll have to print off a few of those! lol 
"What feeds my soul" is another fantastic thing to ponder and record.


These are such pretty journal pages.
I REALLY like the gratitude list!
I clipped a "today" list here.


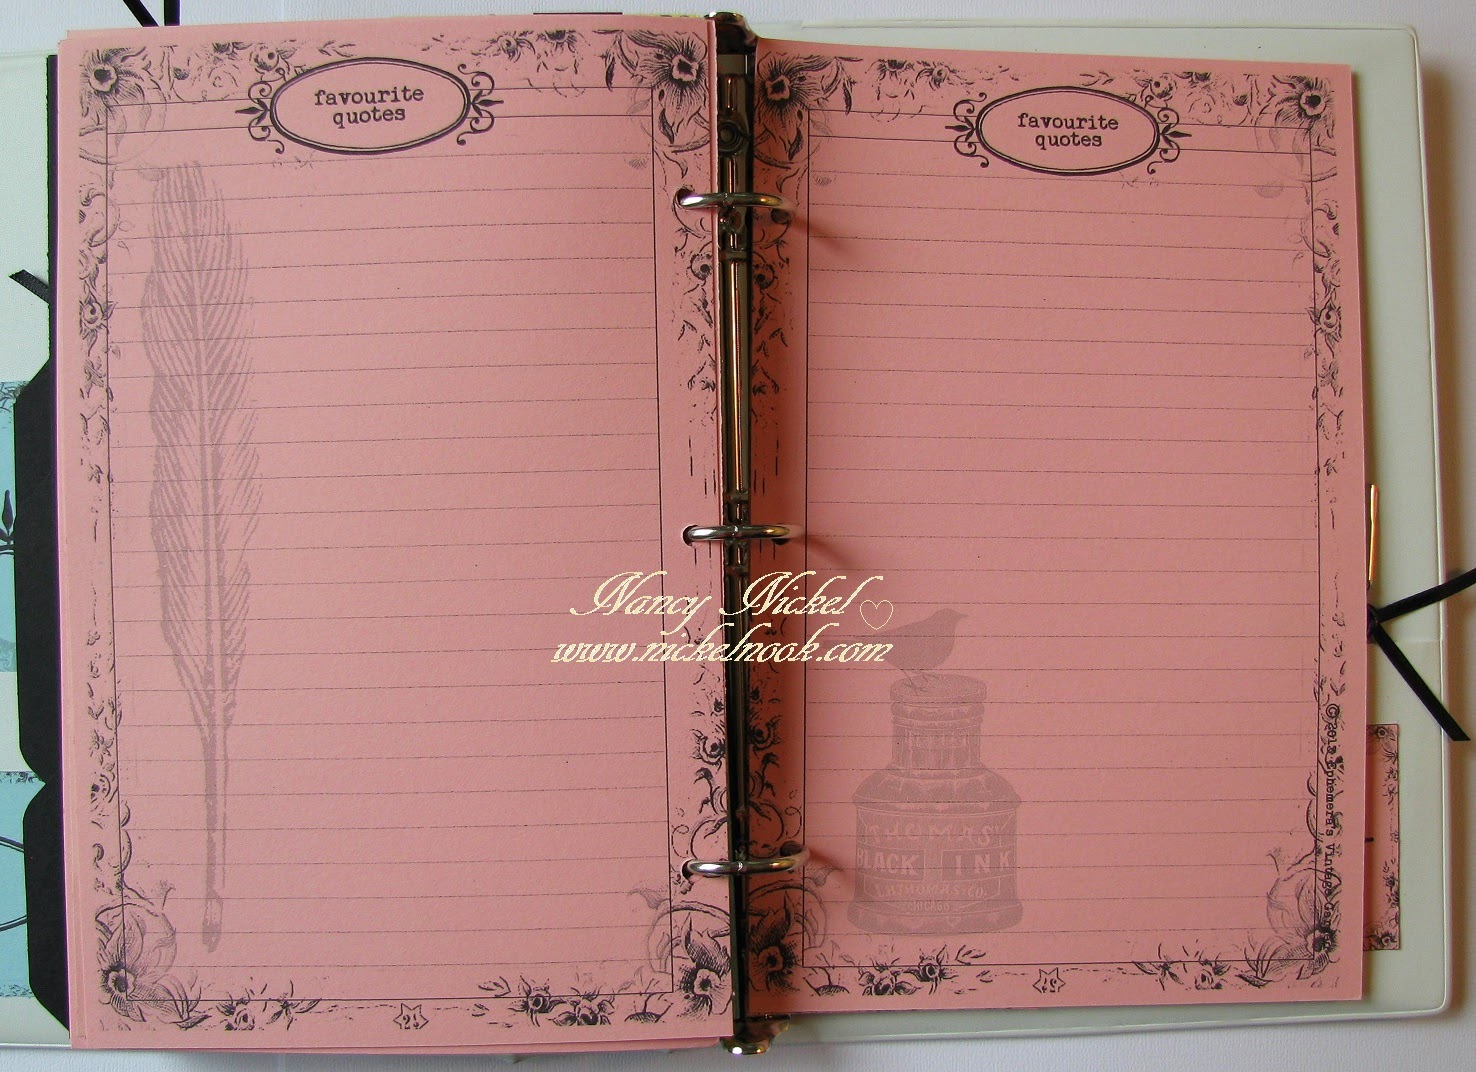
I love to record Scripture and quotes, so these pages are great too!


One last page on the left. I clipped a journal card to it.
On the right is another bookmark, like in Part 2.


Now I will finally show you the fun binder I'm using.
It's an Avery binder from Walmart for less than $7.
It houses this great planner perfectly.
The front cover is a clear pocket. I simply slipped this pretty page into it.
It is held together with a wonderful Tim Holtz elastic that is attached to the back cover.


There is a pocket on the inside front cover.
The perfect spot for extra envelopes and tags.


The back cover also has a pocket. 
There was printed information about the binder but I just adhered the pretty tag over it.
Then I added another one to the front pocket.


Then I had to dress up the spine a little bit.
I added a Tim Holtz hitch fastener to hang the pretty bead tassel from. 
Finally, I added a pink seam binding bow!


Here's a closer look at the hitch fastener.
I just punched a hole in the binding and put it through.
Then placed an "n" from the collection on the other side to cover the brad prongs. 


So there you have it!
The third and final section in my new planner. 
You probably noticed that I have left it all blank for these photos.
I wanted you to see that it can be TOTALLY customized to whatever your needs are. 
Pages can be added...or omitted...however you like!
Debbie has done a really incredible job of designing this planner!
I'm looking forward to filling each and every page!

* * * * *
Head on over to Ephemera's Vintage Garden and look at all the fantastic printable kits available!
Consider picking up this wonderful "My Crafty Life" Planner Kit for your own use!
Oh, and don't forget to go to Debbie's blog HERE to sign up for her newsletter. 

Debbie is very generous with her gorgeous freebies! :o)

Tuesday 12 August 2014

A New Adventure Down...The Paper Trail!

Hello, my friends!

I hope you're all enjoying a beautiful summer day!
Here it is hot, hot, hot...yuck, yuck yuck!

I must confess that I am really looking forward to some lovely Fall temperatures
...and dare I say Winter?? lol 
It is just around the corner, you know!

I recently discovered a wonderful Canadian online store.
I've been spending a lot of time and money there! ;o)
It's called The Paper Trail.
Chelsea has some really great product, and loves to have sales...my favorite kind of store.
This is a Canadian store with shipping world wide.
There is free shipping for orders over $99 in both Canada and the US.
All my American friends will be happy to hear that orders under $99 are a flate rate $15.
With the exchange rate being what it is, you should all be shopping here! 

Shortly after I found this great shop they had a Design Team call.
I just had to apply!
I'm very happy to report that I was invited to the team!
For the next few months I'll be sharing some projects made with products from this store.
Here is what I created for my application project.


It was so much fun to make!


This is an All Dressed Up image called Country Cow Girl.
You can find it HERE.
Every girl should have a pair of red cowboy boots...I do! 


The sentiment was a fabulous freebie from Paulette at Create With TLC.


I layered, stamped, and texturized the background.
Then I embossed and inked the chipboard fence. 
I popped it up on dimensionals and hung the lariat on the post.
The flowers were cut from burlap with a Sizzix flower die.
To finish it off, I wrapped the entire canvas with jute.


Materials Used:
Papers: DCWV - Songbird;
Image: All Dressed Up - Country Cow Girl;
Sentiment: Create With TLC Freebie;
Canvas: 8 X 10 from Michaels;
Dies: Sizzix Flower Layers, Fence;
Punch: Fiskars - Grass;
Embossing Folder: Tim Holtz Texture Fade - Woodgrain;
Stamps: Bo Bunny - Distress Textures, Recollections - Script;
Inks: Staz On - Timber Brown;
Glimmer Mists: Chocolate Covered Cherries, Butternut Squash,
Partridge in a Pear Tree;
Stencil: Heidi Swapp;
Mediums: Gesso, Texture Paste, Matte-Multi Medium;
 Burlap, Brads and Chipboard from My Stash.

* * * * *
I look forward to sharing my new DT projects with all of you!

Until the next time, please go take a look at The Paper Trail,
join The Paper Trail Blog,
and The Paper Trail on Facebook!
Then you can hear all about the fun events and sales!

Also, Chelsea has just started a fabulous new monthly challenge blog with a great prize up for grabs!
The first challenge is Anything Goes, and I know you ALL have something to link up to that!
So join The Paper Trail Monthly Challenge Blog too.
I'm so happy to see that a couple of you have already joined the blog! Thank you!

I have all this information included on my Design Team Page,
along with the links to my wonderful new teammates Janet and Cheri!

Thank you for stopping by!
See you again soon! :o)


Monday 11 August 2014

A Happy Monday Kind Of Card!

Happy Monday, my friends!

I found some extra play time,and I spent it making this fun card!

I've made my first side-step card using this lovely new image from StampArt Design by Kathryne.
Her name is Maggie, and you can find her right HERE at Whimsy Stamps.

Isn't she adorable? She comes with bonus butterflies and sentiments, one of which I used on my card.
I will be adding my side-step template to my "Free Stuff" page as soon as I get a chance.

I coloured the image, matted it, and placed it on the left side of the card.
For the flowers I used a freebie stamp that came with a recent magazine purchase. 
I thought it matched the image very well. I stamped and coloured those, and fussy cut them. 
I layered them up on the "steps" along with a grass border punch.
I used the sweet sentiment and turned it into a sign post.
I coloured the butterflies and added them.
Then I added a little bit of stickles to everything!

Here's a side view:


Here's the front view:


Here's a close-up of the lovely image:


Materials Used:
Papers: Recollections Cardstock;
Image: StampArt Design by Kathryne - Maggie,
Prismacolor Pencils and OMS;
Punch: Fiskars - Grass, WRMK - Cloud Corner Chomper;
Stamp: Unknown Flower Stamp;
Ink: Memento - Tuxedo Black;
Stickles: Diamond;
Bling: My Stash.

* * * * *
Working with images from StampArt Design by Kathryne always makes me smile!
To get your own smiles pick up some fun images HERE.
Also, join Kathryne's BLOG and FACEBOOK.

Have a HAPPY day! :o)


Wednesday 6 August 2014

Ephemera's Vintage Garden - My Crafty Life - Part 2


Hello, my friends!

I'm back today to share the second part of the My Crafty Life kit 
from Ephemera's Vintage Garden.
 If you missed Part 1 you'll find it right HERE.
This kit is found in the "Planner" section of the store, right HERE.
Part 1 was all about organizing our crafty life: DT work, swaps and challenges. 
Part 2 is all about keeping our daily home life organized.

The planner pages measure 5 1/2" X 8 1/2". 
In Part 3, I will share about the binder I am using...and that you can use too.
If you have never used a printable kit before, or if you like to conserve ink, then this is the kit for you. 
The entire kit prints with black ink. 
The first section of my planner was black on blue, 
and this section is black on yellow.
The kit comes with video instructions on how to print the pages back-to-back.
I opted to print them single sided, giving me much more room for extra notes and such.

There are lots of photos in this post, so let's get started:


Just like with the first divider, I fussy cut around this beautiful wreath. 
Since this section is all about time and keeping track of schedules,
I thought this Scripture verse from Ecclesiastes was appropriate.


I printed another envelope in yellow and placed it behind the divider. 
It's the perfect place for storing little bits. 
The right hand page houses a pocket to hold the wonderful list cards.


I added a black ribbon to a gold metalic paper clip, and used it to clip one of the list cards on this blank page.
The next page is all about budgeting.
Don't forget you can print out another one any time you need to adjust your budget! ;o)


Here's a shopping list and a menu planner.
Such pretty graphics!
These pages actually are the same colour but a storm was brewing so it was a bit gloomy for photos.


Wouldn't it be fun to list your household chores on that pretty page? 
One for you...and one for the kids!


I had fun on these pages with some of the cool letters in the kit. 
I simply punched them out with a 1" punch.
My thinking on the left page is to list the recipes from the menu planner that were favorites.
I made a subsection by adding another divider. 
This is the address section.
I added "people" to dress up the plain divider.


On the back of the divider I added a corner pocket to hold some cards. 


These pages are obviously for addresses. 
I added extras just like this but you only needed one photo.


Here's a very helpful page to keep track of all your favorite websites and passwords.
Again, you can print as many as you need.
On the right is another subsection.
This one is the calendar, hence the "what is going on."


On the left is a bookmark. 
I opted to punch holes in mine.
It extends past the other pages,
so it can be placed anywhere in the book to mark your page.


Here is a month at a glance.
Just add the month and write in the numbers. 
Print one out for every month!


There's also this fabulous week at a glance!


There are two pages to keep track of "special days to remember."
I've placed one at the front of this section, and one at the back.
The bird and birdnest graphics are so lovely!
That leaves us with the next divider that is all ready for Part 3.

* * * * *
So there you have it!
The second section in my new planner. 
You probably noticed that I have left it all blank for these photos.
I wanted you to see that it can be TOTALLY customized to whatever your needs are. 
Pages can be added...or omitted...however you like!
Debbie has done a really incredible job of designing this planner!
I hope you'll come back to see Part 3, and all the goodness it holds!

* * * * *
Head on over to Ephemera's Vintage Garden and look at all the fantastic printable kits available!
Consider picking up this wonderful "My Crafty Life" Planner Kit for your own use!
Oh, and don't forget to go to Debbie's blog HERE to sign up for her newsletter. 
Debbie is very generous with her gorgeous freebies! :o)

Sunday 3 August 2014

All Dressed Up - New Image Inspiration

Hello, my friends!

It's new release time at All Dressed Up!
This is not my usual new image inspiration day.
However, we've switched thing up a bit and the entire Design Team is sharing all on one day!

I have some wonderful new images to share with you but I'll show you my card first.
I used the new image called "A Star Is Born" which can be found right HERE.

I cut some star shapes out with my Cricut, and layered them together. 
The top one has been embossed. 


Here's another photo of it standing up:

Materials Used:
Papers: Recollections - Cardstock;
Image: All Dressed Up - A Star is Born,
Prismacolor Pencils and OMS;
Cricut Cartridge: Alphabet;
Punch: Fiskars - Star;
Dies: Spellbinders Nestabilities - Standard Circles (LG);
Embossing: Sizzix Texturz Plate - Stars and Swirls;
Pearls: Queen & Co - Chocolate Delight.

* * * * *
Here are all the new releases:

A Star Is Born


Night Night Little One 


We also have some fantastic papers to match:
The papers can be purchased here. 

* * * * *

Aren't they lovely? 
To purchase any of the images please head on over to the Shop.

Don't forget our current Challenge  is Anything But A Sqaure. 
These images would be perfect for the challenge theme, 
and you may be the winner of 3 images of your choice!
Please stop by our Facebook Group to share your All Dressed Up creations & chat with fellow crafters.

Saturday 2 August 2014

All Dressed Up Challenge - Anything But A Square

Hello, my friends!

It's new challenge time at All Dressed Up.
Our theme for this challenge is *Anything But A Square.*

Here is the card I created for this challenge.
I used the ADORABLE image called "Love To Craft."
You can find it in the All Dressed Up Shop.

I made a palette shaped card,  punched out "paint spots", and made a paper bow.  
Isn't that a sweet image?


Materials Used:
Papers: MME - Home Glitter Pack - Pink;
Image: All Dressed Up - Love To Craft;
Punch: Stampin' Up - 7/8" Scallop Circle.

* * * * *

This challenge will run until the 15th of August!

Head on over to All Dressed up blog to check out the rest of the teams creations, 
and why not enter the challenge whilst you are there.

 **Please note** 
To enter our challenges you MUST use an All Dressed Up Image or paper.
Don't forget to stop by our Facebook Group to keep up to date with all the latest All Dressed Up news, 
and to chat with fellow crafters. 

* * * * *

Friday 1 August 2014

Lia Stampz Challenge #70 - Colour Challenge


Hello again, my friends!

Today begins a fun new challenge over at Lia Stampz.
It's a colour challenge...and what a pretty combination it is!
Take a look:


Isn't that lovely?
It was a lot of fun to work with!
For my card I used this wonderful Lia Stampz image called "My Valentine". 
You can find it at Whimsy Stamps right HERE.
Isn't he charming?
I coloured it up, a little punching and layering, then made some flowers and added them.


Materials Used:
Papers: Recollections - Cardstock;
Image: Lia Stampz - My Valentine,
Prismacolor Pencils and OMS;
Punches: EK Success - Circles and Flowers,
Stampin' Up - XL Boho Blossom;
Bling: My Stash.

* * * * *
Come on over to Lia Stampz and join in the fun!
You could win an image or be chosen as our Featured Artist!
If you use a Lia Stampz image for your project, you can enter twice!

You can find all of Lia's great stamps in the Whimsy Shop HERE.

I hope to see you all again very soon! :o)

Blog Archive