Thursday, 25 September 2014

Happy Thursday Card!

Happy Thursday, my friends!

Just a quick post today!

I linked up a recent card to the Scrapping Everyday Miracles Welcome Back Mini Crop.
I received so many sweet comments from the DT that I just had to link up another project!

This card was inspired by Bev's lovely card for Challenge #1.

I recently received a gorgeous assortment of die-cuts from my generous friend Willy. 
I used two of them on this card. Thanks again, Willy!


Materials Used:
Papers: Momenta, Recollections;
Dies: Gift from Willy;
Stamp: Stampin' Up - God's Beauty;
Ink: Memento - Tuxedo Black;
Ribbon: Celebrate It!

* * * * *
Linking Up To:


* * * * *
I can't believe tomorrow is already Friday!
Where is the time going?
See you again soon! :o)


Saturday, 20 September 2014

Again...So Soon??

Hello again, my friends!

I didn't expect to be back with another share quite this soon...but here I am! :o)

I thought that now would be a good time for me to focus on something new. 
I've managed to collect a number of Spectrum Noir markers recently, 
and I've had a chance to play with them.

This is the very first image that I've coloured with these markers, 
and I must confess that I'm hooked!
I will continue to use my pencils...because I love them
...but you will definitely be seeing more of the Spectrum Noir too. 

Please keep in mind that this is my first effort. 
As with all things...practice makes perfect!
I will continue to practice and have lots of fun doing it!
I didn't think to keep track of the markers I used, 
although I did write down the skintone combination.
I've added the numbers in the list of materials used.

The image is called "A Cuddle Makes it All Better" from All Dressed Up.
You can find it right HERE.

Here's my card:

Materials Used:
Papers: Recollections - Cardstock, 
K & Company - Watercolor Bouquet;
Image: All Dressed Up - A Cuddle Makes it All Better;
Spectrum Noir Markers,
(Skintones: FS1, GB2, CR3);
Die: Cheery Lynn Designs - English Tea Party;
Jewels: Eyelet OutLet;
Ribbon: Celebrate It.

 * * * * *
Linking Up To:


* * * * *

I hope you're all having a wonderful weekend! 
See you soon! :o)


Wednesday, 17 September 2014

Creative Therapy Card

Hello, my sweet friends!

I must begin this post with another HUGE thank you!
Your love and prayers have been such a wonderful encouragement to me! 
Each of you are such a beautiful blessing!
Thank you! 

I finally felt like making something today.
My motivation has been somewhat absent lately, so it felt great to make something.
I'm still not feeling very "social" but I am trying to work on that too.

So...remember a little while back I shared a fun announcement with you? 
I was invited to be on the Design Team of The Paper Trail.
(You can read that post HERE)

Well, right after announcing the new DT members, Chelsea made the decision to close up shop.
Is that the shortest DT term ever? lol 
Chelsea is now having a big clearance sale. Everything in the store is 40% off!
Things are going fast, so you better hurry if you want to do some shopping!

I created a fun card using the Lawn Fawn - Winter Sparrows stamps and die. 
Last time I checked these were both still available in the store for "cheep"! 
That is not a misspelling...it's just a little bird humor! lol

The sentiment I used on the front of the card is one that I made myself.
It's available for you on my "Free Stuff" page.

I coloured my sweet little birdies yellow to represent the flock of gold finch we have in our yard every day.
They are still enjoying our sunflowers very much.
However, the nights are getting pretty cold, and I think it's time 
for them to bundle up with their little scarves, hats and muffs! 

Here is my card:

The inside:

Materials Used:
Papers: Recollections - Kraft and Cardstock;
Image: Lawn Fawn Clear Stamp- Winter Sparrows;
Ink: Memento - Tuxedo Black;
Die: Lawn Cuts Custom Craft Die - Winter Sparrows,
Tim Holtz Alterations Die - Bird Branch;
Cricut Cartridge: Bags, Tags, Boxes and More 2;
Sentiment: The Nickel Nook - Freebie;
Ribbon: Celebrate it.

* * * * *

Linking Up To:


* * * * *

Head on over to The Paper Trail and catch the sale.
The store closes at the end of the month!

I hope to be back soon with another project to share with you! :o)


Wednesday, 10 September 2014

A Personal Update

Hello, my dear friends!

I thought it was time for me to pop in with a little update for you, 
as I know that some of you are wondering where I have gone.

Many of you already know that I have just lost my Mom.
I was grateful to be able to spend the last few days of her life at her bedside.
We were home for a couple of days, and then went back for the funeral services.
I am now home again, feeling exhausted and sad, but God is good! 
I know that my Mom is rejoicing in heaven!

A verse was shared at the funeral that has stuck with me.
It is the last part of 1 Corinthians 15:54:

"Death has been swallowed up in victory!"

The day after the funeral we headed for the mountains. 
It was a day of gratitude in the beauty of God's majesty! 

Here are some pictures for you:


Please forgive me for not coming around to visit you all.
I will be back to my rounds as soon as I am able.

In the meantime, please keep those prayers coming! :o)


Tuesday, 2 September 2014

All Dressed Up - Challenge #21 - Autumn Colours

Hello, my friends!

It's new challenge time at All Dressed Up.
Our theme for this challenge is *Autumn Colours.*

Here is the card I created for this challenge.
I used the image called "My Best Friend."
You can find it in the All Dressed Up Shop.

Isn't she the sweetest thing? 
She reminds me of my girls heading off to school on a beautiful Fall day!


Materials Used:
Papers: Basic Grey - Indian Summer, Recollections - Cardstock;
Image: All Dressed Up - My Best Friend,
Prismacolor Pencils and OMS;
Die: Sweet 'n Sassy - Small Leaves Die,
Sizzix Framelits - Tags, Rounded;
Ink: Distress Ink - Walnut Stain;
Ribbon: Darice.

* * * * *

This challenge will run until the 15th of September!

Head on over to All Dressed up blog to check out the rest of the teams creations, 
and why not enter the challenge while you are there.

 **Please note** 
To enter our challenges you MUST use an All Dressed Up Image or paper.

Don't forget to stop by our Facebook Group to keep up to date with all the latest All Dressed Up news, 
and to chat with fellow crafters. 


Monday, 1 September 2014

Lia Stampz - Challenge #72 - Feminine/Girly

Hello again, my friends!

Today begins a fun new challenge over at Lia Stampz.
This time it's "Feminine/Girly" and that's easy enough for you to all participate! 

For my card I used this wonderful Lia Stampz image called "Buttercup". 
You can find it at Whimsy Stamps right HERE.
Isn't she lovely?
I coloured the image and fussy cut around it. 
I punched the pretty card shape using a Mini 8 Punch.
Then I added some girly touches of lace, flowers, and bling!


Materials Used:
Papers: Recollections - Cardstock;
Image: Lia Stampz - Buttercup
Prismacolor Pencils and OMS;
Punch: WRMK Mini 8 Punch - Vine;
Flowers: Prima - Summer Mix;
Ice Stickles - Grape Ice;
Lace and Bling- My Stash.

* * * * *

Come on over to Lia Stampz and join in the fun!
You could win an image or be chosen as our Featured Artist!
If you use a Lia Stampz image for your project, you can enter twice!

You can find all of Lia's great stamps in the Whimsy Shop HERE.

I hope to see you all again very soon! :o)

Thursday, 14 August 2014

Ephemera's Vintage Garden - My Crafty Life - Part 3

Hello, my sweet friends!

Before I begin sharing today's project I must give you all a BIG thank you!
Your positive response to my last post, both here and on facebook, was overwhelming!
I sure do appreciate you all! :o)

* * * * *
I'm back today to share the third and final part of the My Crafty Life kit 
from Ephemera's Vintage Garden.
 If you missed Part 1 you'll find it right HERE.
Part 2 is right HERE.
This kit is found in the "Planner" section of the store, right HERE.
Part 1 was all about organizing our crafty life: DT work, swaps and challenges. 
Part 2 is all about keeping our daily home life organized.
Part 3 is all about our personal health: mind, body and spirit.

The planner pages measure 5 1/2" X 8 1/2". 
If you have never used a printable kit before, or if you like to conserve ink, then this is the kit for you. 
The entire kit prints with black ink. 
The first section of my planner was black on blue, 
the second was black on yellow, 
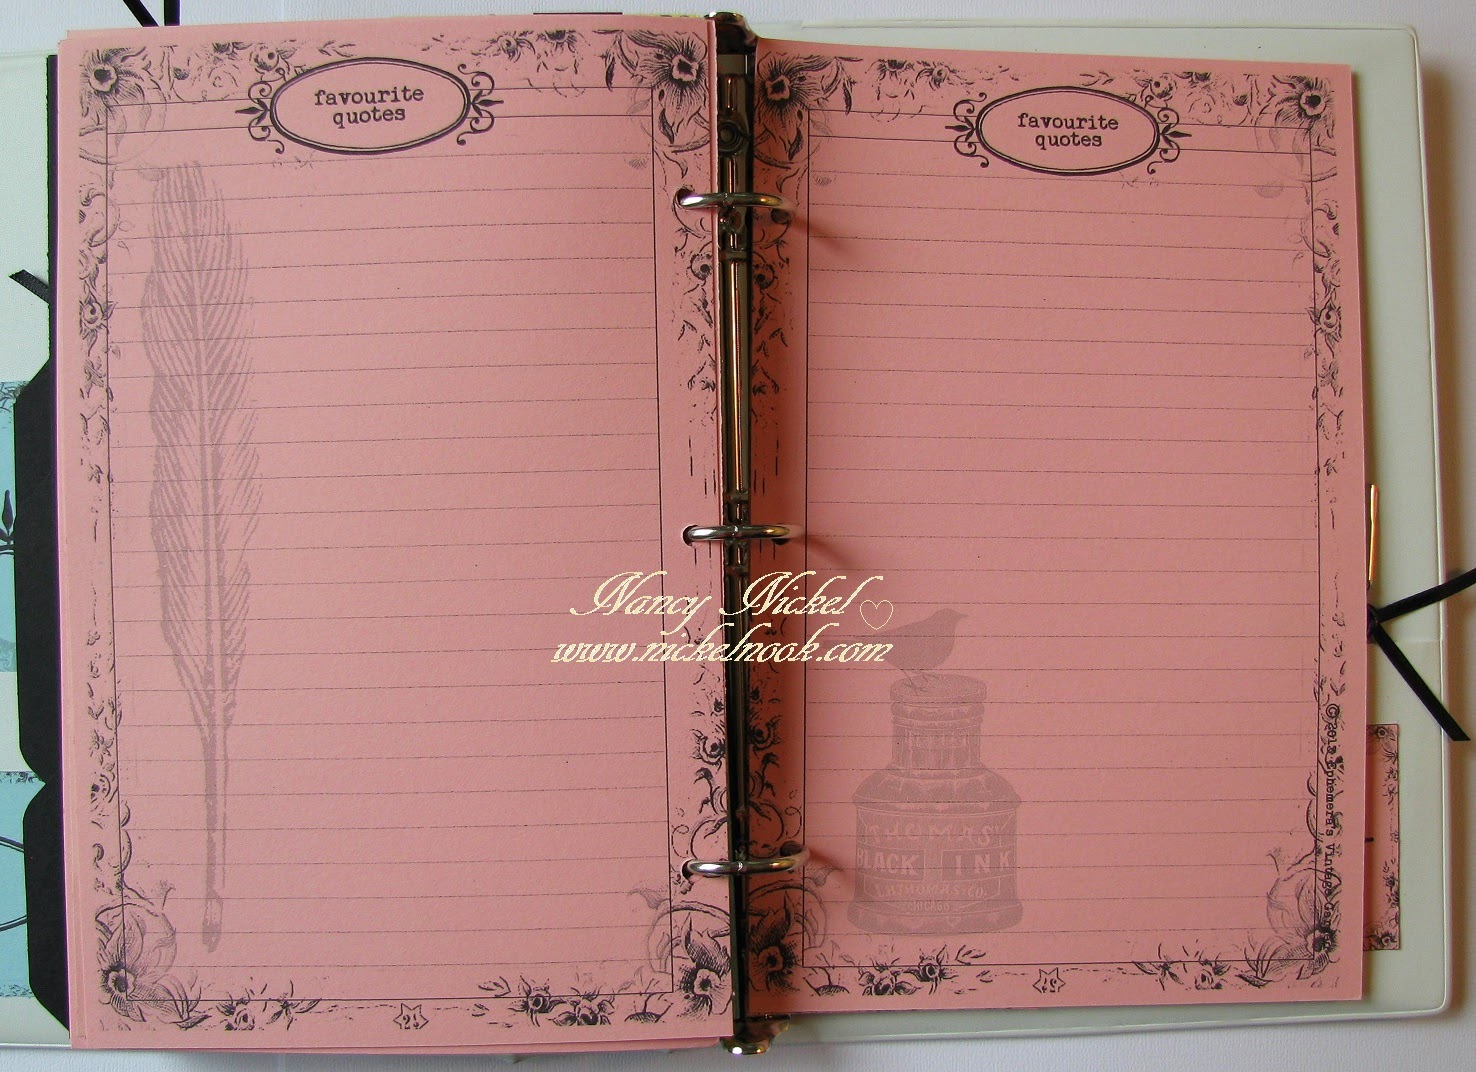
and this section is black on pink.

Let's begin!
As with the other sections, it begins with a divider. 
I fussy cut the wreath and added an appropriate Scripture verse.
Then I added the "my self" from one of the pages.


Again, this page mimics the previous sections.


Look at this great bucket list page...it's so long!
Then there's a wonderful health checklist for body, mind and spirit.


I really like the procrastination worksheet.
I'll have to print off a few of those! lol 
"What feeds my soul" is another fantastic thing to ponder and record.


These are such pretty journal pages.
I REALLY like the gratitude list!
I clipped a "today" list here.


I love to record Scripture and quotes, so these pages are great too!


One last page on the left. I clipped a journal card to it.
On the right is another bookmark, like in Part 2.


Now I will finally show you the fun binder I'm using.
It's an Avery binder from Walmart for less than $7.
It houses this great planner perfectly.
The front cover is a clear pocket. I simply slipped this pretty page into it.
It is held together with a wonderful Tim Holtz elastic that is attached to the back cover.


There is a pocket on the inside front cover.
The perfect spot for extra envelopes and tags.


The back cover also has a pocket. 
There was printed information about the binder but I just adhered the pretty tag over it.
Then I added another one to the front pocket.


Then I had to dress up the spine a little bit.
I added a Tim Holtz hitch fastener to hang the pretty bead tassel from. 
Finally, I added a pink seam binding bow!


Here's a closer look at the hitch fastener.
I just punched a hole in the binding and put it through.
Then placed an "n" from the collection on the other side to cover the brad prongs. 


So there you have it!
The third and final section in my new planner. 
You probably noticed that I have left it all blank for these photos.
I wanted you to see that it can be TOTALLY customized to whatever your needs are. 
Pages can be added...or omitted...however you like!
Debbie has done a really incredible job of designing this planner!
I'm looking forward to filling each and every page!

* * * * *
Head on over to Ephemera's Vintage Garden and look at all the fantastic printable kits available!
Consider picking up this wonderful "My Crafty Life" Planner Kit for your own use!
Oh, and don't forget to go to Debbie's blog HERE to sign up for her newsletter. 

Debbie is very generous with her gorgeous freebies! :o)

Blog Archive