Hello, my friends!
Today I'm back with a new project for ScraPerfect!
My first ScraPerfect post of the month has typically been my calendar page.
I thought I would continue that in this new year,
although I am changing the format.
I missed the Memory Dex trend the last time it was hot.
It's a trend that has come back full force,
and I'm totally embracing it!
I'll be using it for my 2020 Calendar Pages.
Here's January:
Here's the back of the card.
I added the same paper, as well as my January calendar.
I also added more of the cut/embossed bits.


My first ScraPerfect post of the month has typically been my calendar page.
I thought I would continue that in this new year,
although I am changing the format.
I missed the Memory Dex trend the last time it was hot.
It's a trend that has come back full force,
and I'm totally embracing it!
I'll be using it for my 2020 Calendar Pages.
With this format I get to decorate the front and the back.
Unfortunately, I don't have any process photos for you.
We've had some dark and gloomy days here recently.
It can be tough to get good photos.
Here's January:
I began with a white cardstock memory dex card.
I added a piece of snowy looking paper.
I then cut the "January" out using my Cricut Explore Air.
It's such an intricate design.
It was easy to glue in place,
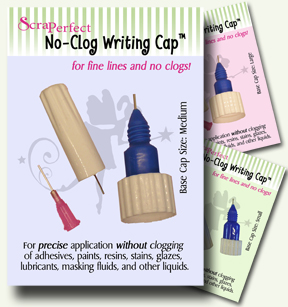
using the Best Glue Ever with the No-Clog Writing Cap.
Then I die-cut and embossed some snowflake swirl bits
to embellish my card.
Here's the back of the card.
I added the same paper, as well as my January calendar.
I also added more of the cut/embossed bits.
Using my finger, I dabbed some Best Glue Ever,
onto the raised portions of all of the cut/embossed bits.
After letting it dry for a little while,
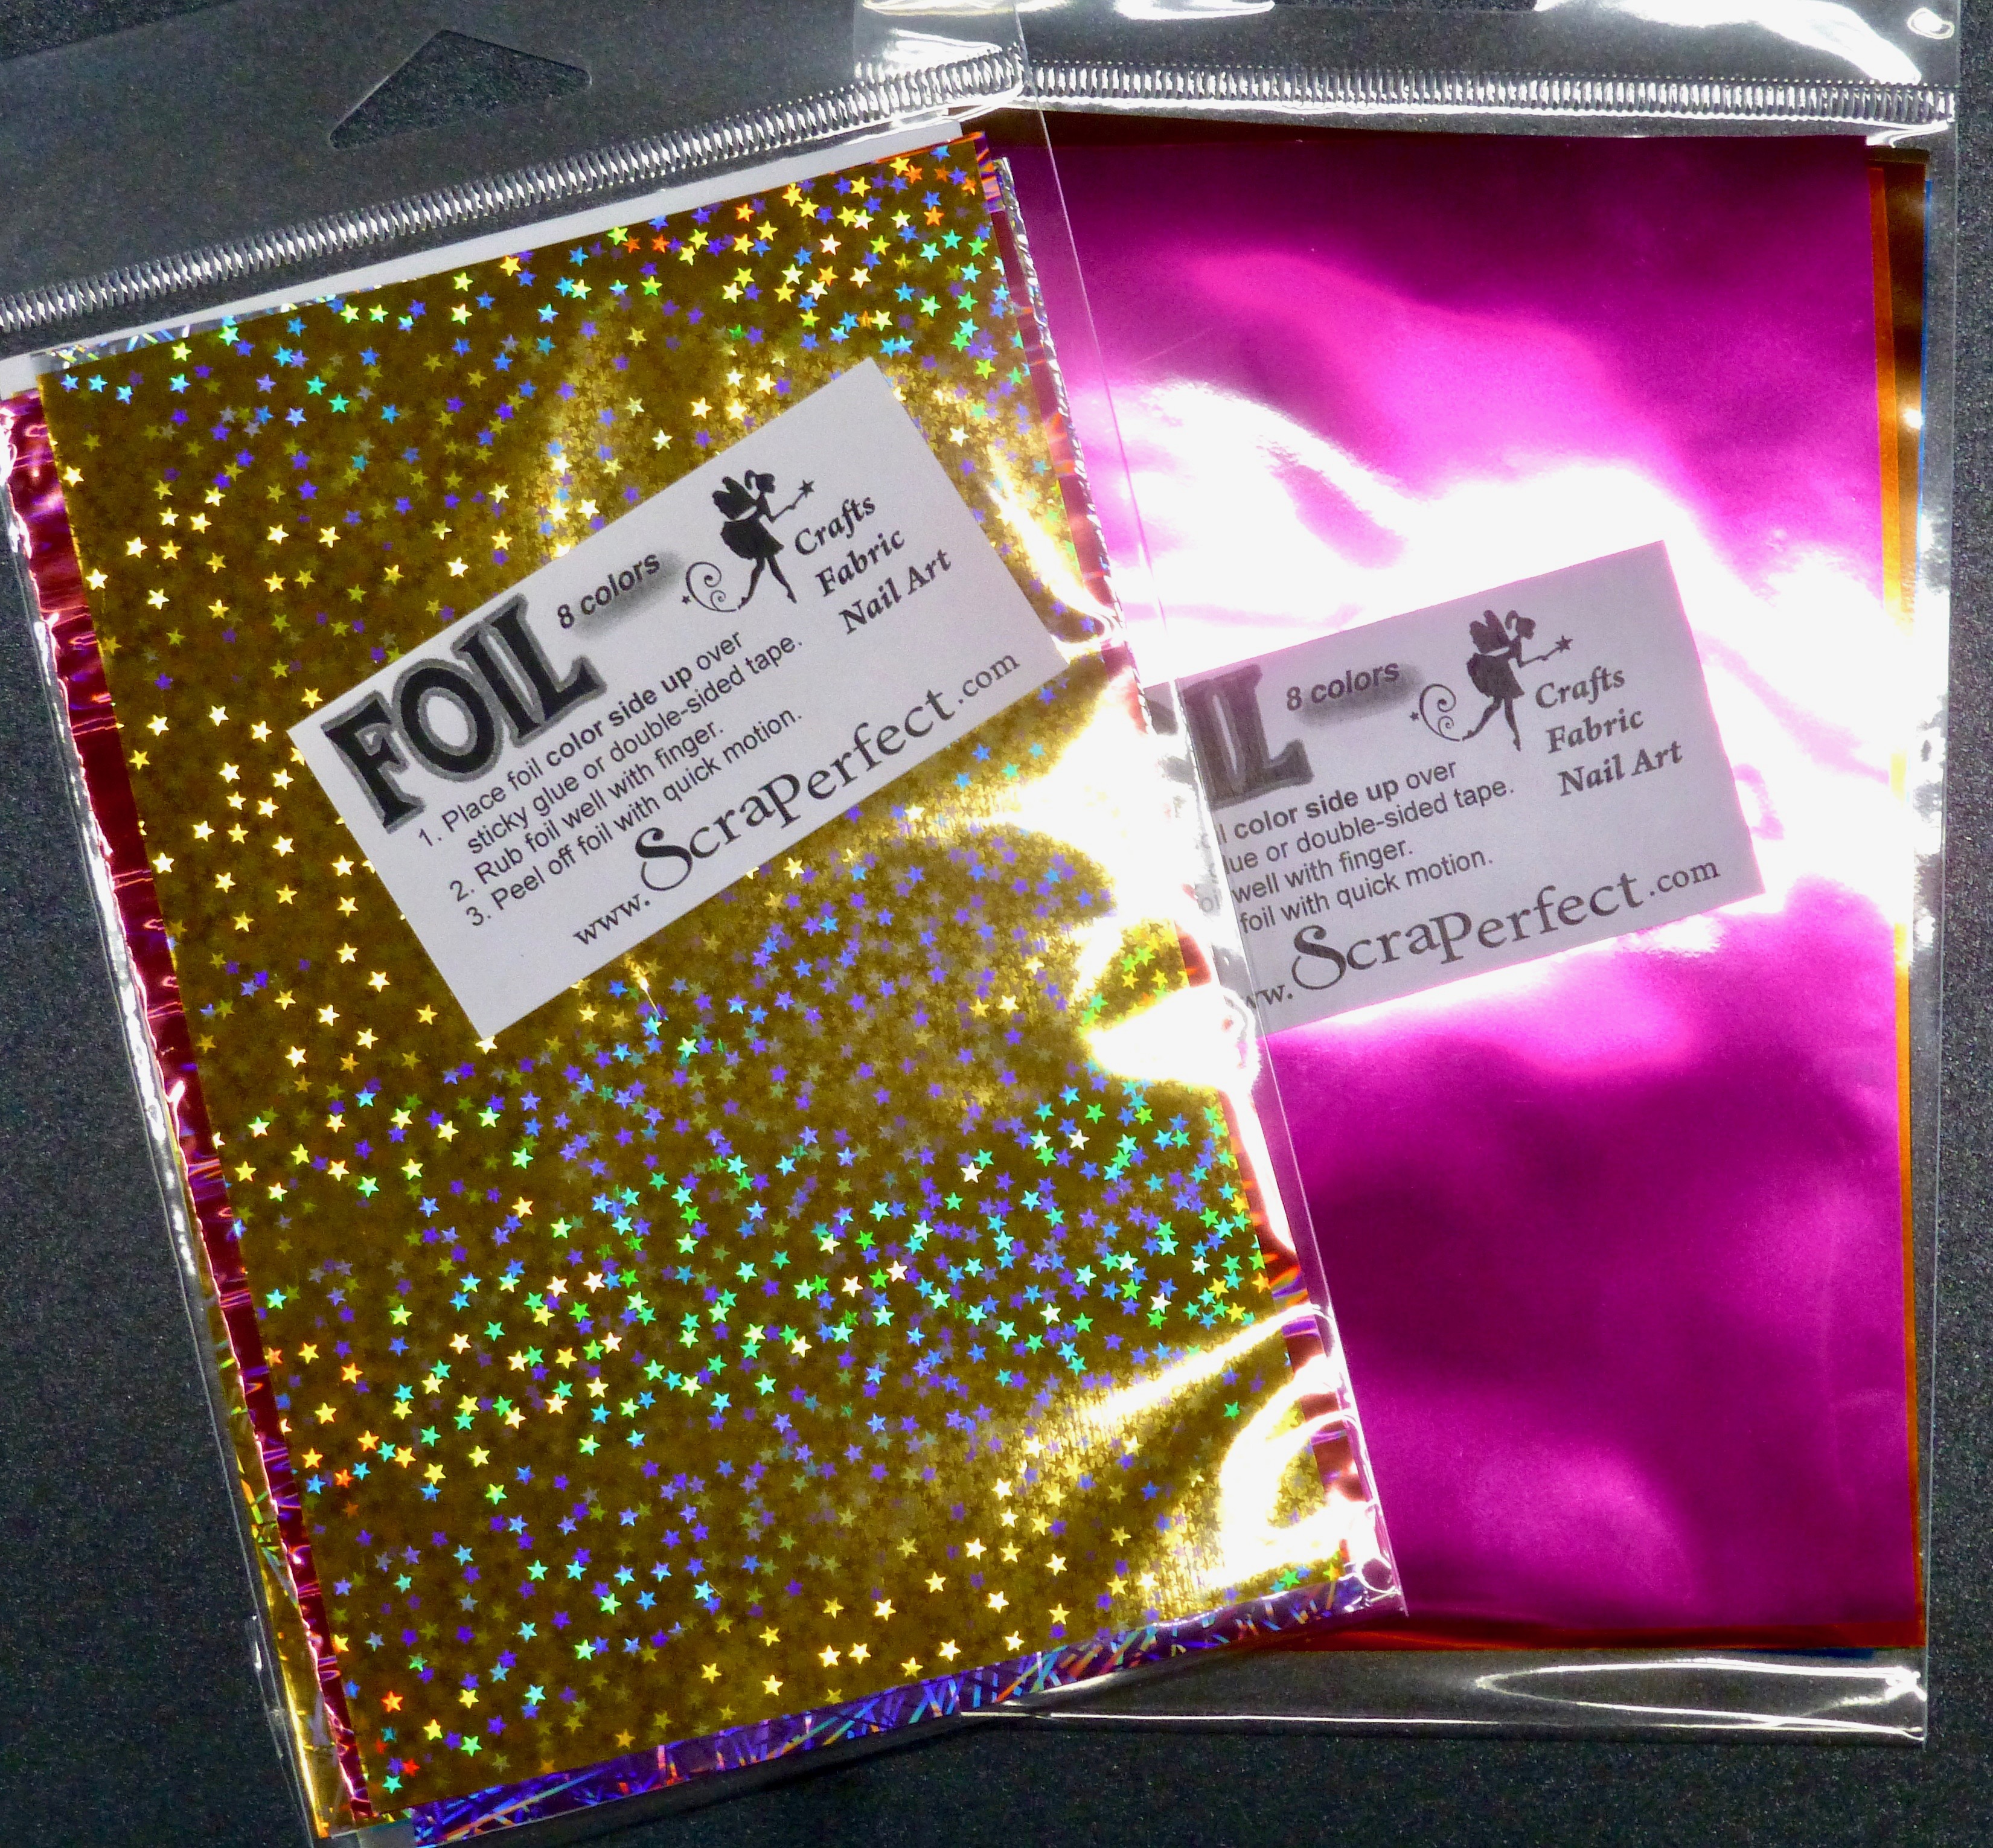
I laid a sheet of the white/silver Transfer Foils over top.
I burnished it well with my finger before peeling it back.
It left such a lovely shimmery accent!
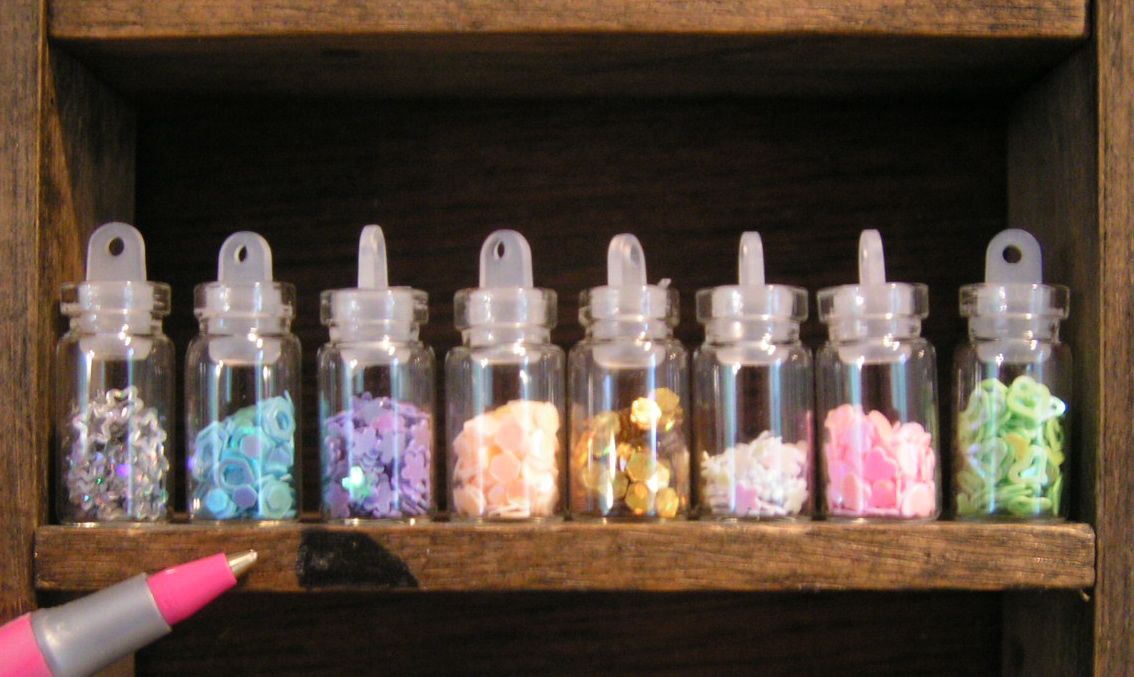
In this photo, you can also see the tiny little silver stars that I added.
I did this by leaving just a teeny tiny drop of glue.
The No-Clog Writing Cap allows you to do this.
Then I used the Embellie Gellie to pick up the tiny silver stars,
and place them on the dots of glue.
These come in the Tiny Shorter Bottles of Embellies.
Here I nestled the shimmery corner pieces around the calendar,
and added some snowflakes.
Below is a close-up look at the foiled snowflakes.
This January Calendar card will the the first one on my Memory Dex.
Behind it I will add any other cards I do this month.
It would also be a good place to add a card
with important January dates to remember.
I seem to be needing those reminders more all the time! lol
Other Materials Used:
Papers: Recollections - Cardstock,
Tim Holtz Paper Stash - Vintage Shabby;
Die: Creative Expressions - Festive Collection;
ScraPerfect Products Used:


* * * * *
Thanks so much for stopping by today!
I'll be back soon with another project share!
* * * * *
Here are all the links for you:



4 comments:
Love this idea Nancy. January looks so pretty with all your added sparkle.
A gorgeous way to keep up to date Nancy, it's really a great idea, beautifully done.
Faith x
So pretty! Love all the details.
Janet’s Smiles
Nancy I hadn't heard of this trend. Must find out more. I LOVE your calendar. Your design just screams January! Very well done my friend!
Post a Comment