Hello, my friends!
I'm back with another fun project for Bowdabra!
If you're not familiar with the Bowdabra, it's a wonderful bow making tool!
Anyone can make a beautiful bow very easily using the Bowdabra!
Today I'm back to playing with paper.
Last time, for my teddy bear bow, I used the large Bowdabra.
This time I have used the Mini Bowdabra Bow Making Tool.
This tool is idea for making smaller bows of all kinds.
I've used it to make some tag topper bows.
You've often seen me use multi-looped bows on my cards and tags.
Since I have always used my fingers to make them,
the loops are all the same size.
This fun tool allows me to create loops of different sizes,
and it's so easy! :o)
Here are my finished tags:
Aren't those pretty bows?
Here is how I made it:
Supplies Used:
Ribbon of Choice;
Tags;
Skewer.
Follow these steps:
1. Place the Bowdabra Ruler on top of the Mini Bowdabra. One side is in inches and the other side is in centimeters.
2. Cut an 18" piece of the Bowdabra Bow Wire. Fold it in half. Position it in the tool and tuck the ends underneath the tool, as shown in the photo.
3. Cut a 28" piece of ribbon. Place the ribbon end at the 3" mark on the left side. On the right side, turn the ribbon back on itself, creating a loop at the 1" mark. Insert the ribbon, and form a matching 1" loop on the left side. The markings on the ruler make it so easy!
4. For the second loop, repeat the process making your loops 1 1/2", right on top of the first loop.
5. The third and final loop will measure 2". Repeat the same process again, layering the final loop on top of the previous loops.
6. Insert the Bowdabra Wand into the slot, and scrunch your bow down. Remove the wand.
7. Now pull up the ends of the Bowdabra Wire. Insert the cut ends through the loops. While holding your bow down with one hand, pull on the wire ends with your other hand.
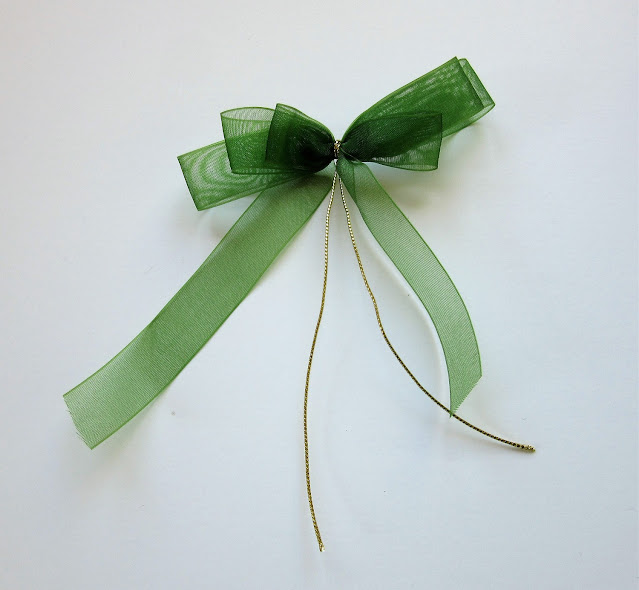
8. Remove the bow from the tool. This is what you have.
9. Tie a knot in your wire. Pull the ribbon ends down, and position the wire as you please. At this point, you could trim the wire, and tuck the ends to the back. Or you could continue on as I did.
10. Wrap the Bowdabra Wire ends around the skewer. If you don't have a skewer, you could also use a knitting needle or a paint brush. Remove the skewer and trim the wire ends.
11. Adhere the bow in place at the top of the tag, positioning the wires as you please.
I went on to make two more bows in the same manner.
They're such a lovely addition to the top of these tags.
They will be wonderful tucked into one of my journals.
* * * * *
Thanks so much for stopping by today!
I'll be back next month with another fun bow project!
* * * * *
Here are all the links for you:
Bowdabra Shop
Bowdabra Blog
Bowdabra Facebook


2 comments:
Beautiful tags and bows and great instructions too !
Such pretty bows, love the gold twine you used and those gorgeous tags Nancy.
Faith x
Post a Comment