Showing posts with label Study Buddy's Collection. Show all posts

Monday, 5 February 2018

Fun With FabScraps - Study Buddy's Pencil Tin

Hello, my friends!

I have a fun new FabScaps project to share with you today!
This is one I did a while ago but haven't shared here on my blog yet. 
It's using the fun C98 Study Buddy's Collection. 
As always with my FabScraps posts, I first have all the photos,
followed by the full tutorial.


STUDY BUDDY’S COLLECTION
Star Student Pencil Tin
Nancy Nickel
For this project you will need:
·        FabScraps Study Buddy’s Collection Paper Range C98 007, 008
·        FabScraps Study Buddy’s Collection Sticker Sheet ST98 001
·        Favorite Layered Labels Die (Spellbinders Nestabilities – Labels Eighteen)
·        Cardstock – White
·        Ribbon – Coordinating Colour
·        Scor Tape
·        Tin of Choice
Instructions:
1.     Measure height of tin between top and bottom rims. Cut C98 007 this measurement by full width of paper. Depending on the size of your tin, this may not be enough to go around. Cut a second piece to cover the remainder of the tin. Cut it from the same place on the second sheet of paper, and the pattern will line up around the entire tin. You can see how I pieced it by the photo of the back of my tin. Adhere paper to the tin using Scor Tape. This gives a smooth and strong hold.
2.     Cut labels from white cardstock. Apply “Star Student” sticker to one label, and “DON’T BE AFRAID TO BE GREAT!!” sticker to other label.
3.     Cut two lager labels from C98 008. Add white labels to the front of these labels.
4.     Adhere labels in place on the tin front, and the tin lid, as shown in photos.
5.     Wrap coordinating ribbon around rim of tin.
6.     Tie ribbon bow and add to corner of front label. Enjoy!
Thanks so much for looking! See you again soon!

* * * * *
Don't forget to head on over to the FabScraps Blog,

There's lots of gorgeous inspiration to see!

Saturday, 21 October 2017

Fun With FabScraps - Study Buddy's Collection

Hello, my friends!

Happy Saturday to you all!
I'm just popping in today to share a couple of cards I created using the fun 
Study Buddy's Collection from FabScraps!

There are two of them here today.
As with all of my FabScraps posts, I'll have the photos, followed by the full tutorial!
I hope you like them! :o)

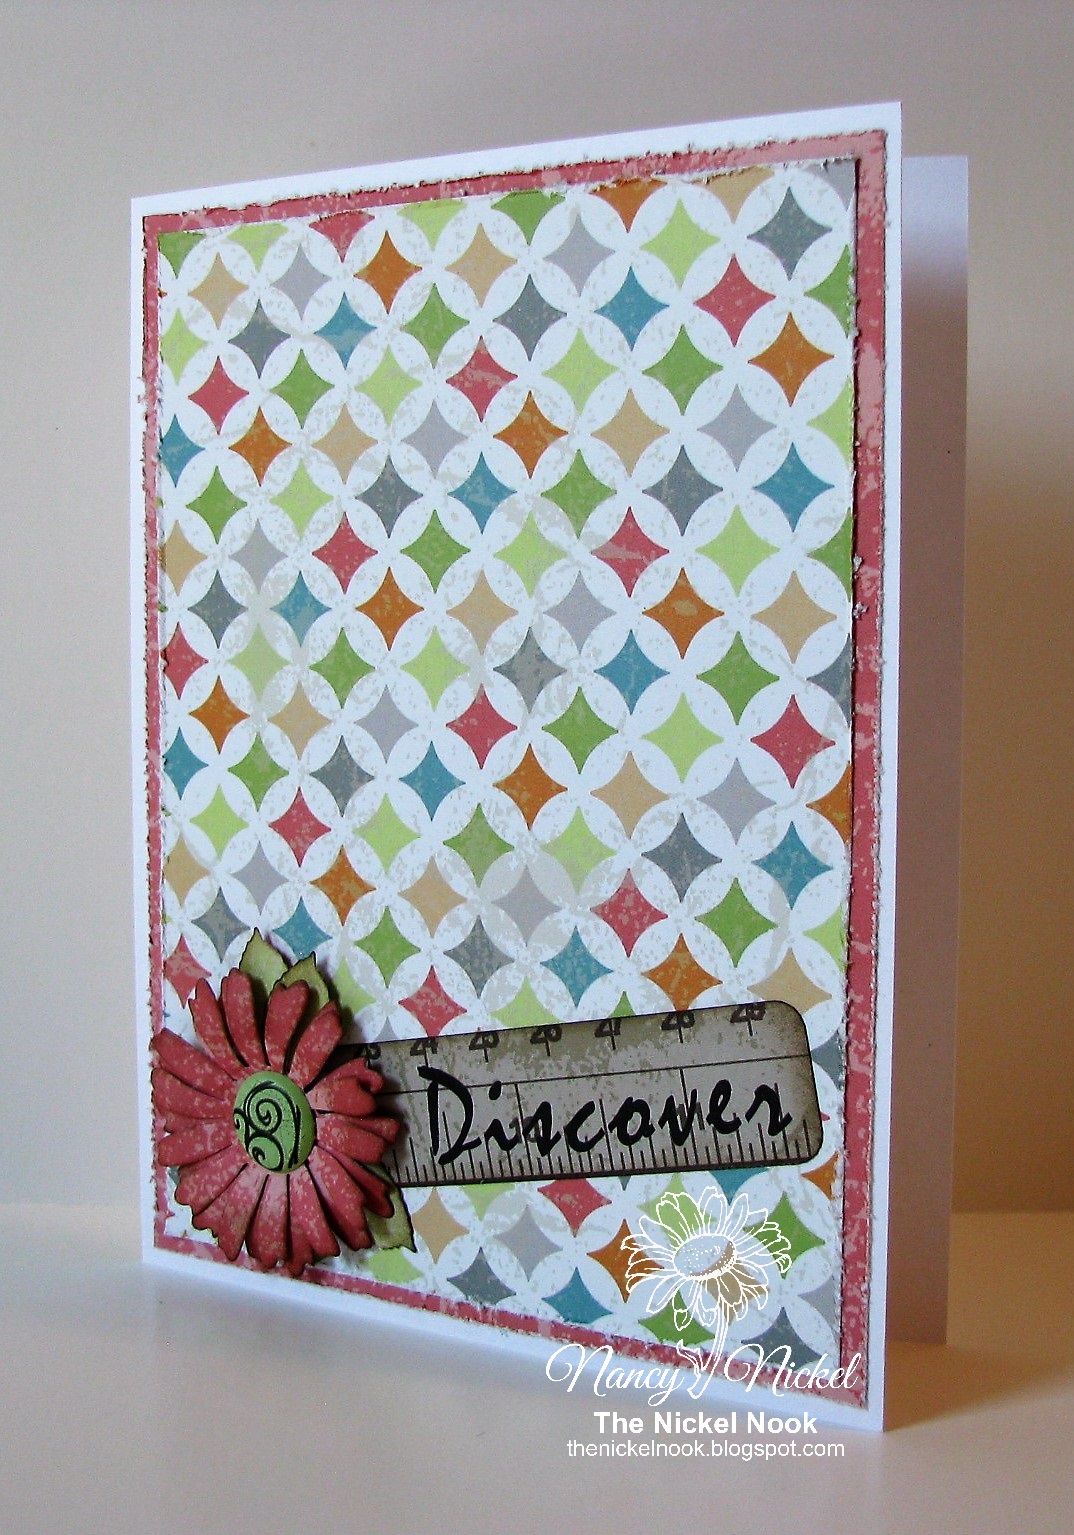
First up is the Discover Card:


For this project you will need:
·        FabScraps Study Buddy’s Collection Paper Range C98 003
·        FabScraps Study Buddy’s Collection Card Kit MC98 001A: 1 – Quilt Design Page, 1 – Discover Tag
·        Cardstock – White
·        Favorite Flower Die (Spellbinders – Jewel Flowers and Flourishes)
·        Favorite Flower Center (Large Fabric Brad)
Instructions:
1.     Create 6 ½“ x 5” card base from white cardstock. Do this by cutting it 10” x 6 ½ “ – score at 5”.
2.     Cut card front from C98 003: 6 ¼ “ x 4 ¾ “. Distress edges. Adhere to card base.
3.     Cut next layer using the paper from the card kit: 4 ½ “ x 6. Distress edges. Adhere on top of last layer.
4.     Adhere “Discover” tag, at an angle, across the bottom of the card.
5.     Create a flower using your favorite flower die, and C98 003. Add a pretty flower center. Adhere the flower in place on the card, as shown in the photo.
6.     Enjoy!

* * * * *

Second, I have my Well Done Card:


For this project you will need:
·        FabScraps Study Buddy’s Collection Paper Range C98 003
·        FabScraps Study Buddy’s Collection Card Kit MC98 001A
1 – Well Done Tag, 1 – Study Hard Ruler Tag, 1 – Striped Chevron Paper
·        Cardstock – White
Instructions:
1.     Create a 4 ½ “w tend fold card base: cut white cardstock 4 ½ “ x 8” – score at 4”.
Place fold at top.
2.     Cut a piece from  C98 003 – 3 7/8” x 4 3/8”. Adhere to front of card base.
3.     Add tag from Card Kit MC98 001A. Line up top of 003 with line in the pattern of tag. The tag will extend beyond the card fold. Adhere in place.
4.     Now for the inside of the card. Cut a strip from the card kit paper. Adhere it to the bottom of the card. Adhere the Study Hard Ruler Tag over it, as shown in the photo.
5.     Enjoy!

* * * * *

Don't forget to head on over to the FabScraps Blog!
There's lots of gorgeous inspiration to see!

Blog Archive