Wednesday, 4 December 2013

You're Going to Love This One!

Oh happy day, my friends!

Wait 'til you see what I have for you today!! Can you tell that I'm excited?? Well, I am VERY excited! :o)

Today is my very first post as a Design Team member of Ephemera's Vintage Garden! Why are YOU going to love this one? It's because each of you will be able to make this project using the fabulous FREEBIE that Debbie is sharing today on her blog HERE!

For those of you that aren't familiar with what Ephemera's Vintage Garden is, well...it's all about digital art! Debbie creates these beautiful digital kits that you can buy and print out at home. They are amazing kits full of lots of goodness to play with and create! The beauty of digital art is that you can buy it from anywhere in the world and not have to pay shipping fees. You also don't need a lot of fancy equipment to use the kits. I have just a regular old inkjet printer, and these images work beautifully. I have a button to the store in my sidebar, and I'm including all the links throughout this post. You're going to want to make sure you head over to the Ephemera's Vintage Garden blog and join the mailing list. Debbie generously shares a freebie every week for us to play with! I would encourage you to join the blog, as well!

This is going to be a fairly length and photo full post but I hope you'll enjoy it!

This freebie is called "A Place for Lace" and it makes these four wonderful tags to wrap your lace and trims around. I didn't take a photo of my printout but you'll see how it works when you get your own. I printed it out on a regular old Recollections 8 1/2 X 11 white cardstock. Then I printed out another one because I decided I wanted my tags to be the same front and back. I also added chipboard. Here they are...aren't they pretty?


I do have a few tips for you if you also want to make chipboard tags:
After printing out your tags cut them out in a rectangle shape. 
They print with rounded corners on the bottom and a rounded top. 
Cut them in a rectangle shape, 
then measure them and cut rectangles of chipboard in the same size. 
Adhere the rectangle tags to the rectangle chipboard. 
I like to use Scotch Quick Dry adhesive. 
Now cover the back, either with another printout or plain cardstock. 
Once the glue is dry you can trim the corners. 
I used my 1/4" corner chomper for the bottom and cut the top with scissors. 
It was very easy to do on my medium weight chipboard. 
When they were all cut out, I inked them with Walnut Stain Distress Ink.

Then I decided to try the same printout using cream colored cardstock. 
This photo shows the difference between the two:


Then I went on to try a few other things with my tags. 
To the first one I just added an eyelet on the top. 
The second one I cut out into more of a spool shape. 
I drew my line, cut it out, and then used the cutout as a template on the other side. 
For the third tag, I notched grooves into the side using my big bite. 
That makes it perfect for twine and skinny fibers.
The fourth one was just left plain for ribbon.


Here are the white tags all finished and wrapped. 
Do you see now what that empty space at the top is for? 
It's to label your tags as to what they're holding! Isn't that a great idea?


Here are the cream colored tags all finished. 
I tied a ribbon through the eyelet on the first one.
Wouldn't that make a beautiful tag in a mini or pocket card?


Now I have just a couple of ideas of what you can do with them once their finished. 
Wouldn't this make a fantastic Christmas gift? This little pail holds four tags perfectly!
The name of the printout is so pretty! 
I had to add that to the front of the pail, along with a bow.


Finally, here's what I'm doing with all my pretty tags. 
I've filed them all in this little antique wood box!


So there you have it! 
My very long...but hopefully inspiring...first post for Ephemera's Vintage Garden!
Now head on over to the blog and pick this beauty up for yourself! 
Then go visit the Ephemera's Vintage Garden and take a look at the gorgeous kits available!
I will be sharing much more with you in January!


Have fun! :o)

* * * * *


Monday, 2 December 2013

All Dressed Up Challenge - Christmas

Happy day, my friends!

Today I'm wearing my "Dressy Girl" hat, and I'm here to share the new challenge beginning over at the All Dressed Up Challenge blog! For the next two weeks it's all about Christmas! YAY!!

You must use an All Dressed Up image to join in the fun. You can find them in Wendy's store HERE, or you can snag one of the fabulous freebies HERE. So there are no excuses to not come and play along! The winner of the challenge will receive three All Dressed Up images!

For my project I used a brand new image called "A Star Is Born" which you'll be able to find in the shop. Isn't it a fantastic image? I have created an 8" page for a special book I'm starting. I hope to be showing you more of my book very soon. We'll see how that goes! ;o)

I started by printing my image out on kraft cardstock. I coloured it up and fussy cut the image out. I had an idea in my head of what I wanted the scene to be. Again, I had no Cricut or Slice designs that would work for me so I had to be creative. I picked the night sky paper, and added the sand hills in the front. Then I added the black hills and got to work on the silhouette details. The little palm trees I cut with a Slice card. The Bethlehem buildings were created using various square and circle punches and gluing them together. I couldn't find anything on-hand for the nativity, so I drew one and cut it out with my craft knife. All the little silhouette pieces were then glued behind the black hills. Several of the stars were cut out from the image, and then I added a couple more that I punched out. I added some colour and stickles under the "A star is born" star. Then I used some Frantage for the first time. I thought it would be great to finish off the "sand." Finally, I added the sentiments; one stamped and one hand-written. These both come from two of my favorite Christmas songs. On the back of my page I will add a pocket that will hold the music sheets for these two songs.

There you have it...a lovely little scene page depicting the story of the birth of Christ! It's what Christmas is truly about! :o)


Here's a close-up of the image and the Frantage:


Materials Used:
Papers: Recollections - Cardstock;
Image: All Dressed Up Stamps- A Star is Born,
Prismacolor Pencils and OMS;
MM Slice Design Card - Summer;
Punches: Fiskars - 1" Square, 1/2" Circle;
Frantage: Stampendous - Aged Bronze;
Stamp: Simon Says Stamp - Merry Everything;
Ink: Memento - Tuxedo Black;
Stickles - Diamond.

* * * * *

You're going to want to pop over to the All Dressed Up blog and see what the rest of the Design Team has created! There's also a second brand new image to see!


Saturday, 30 November 2013

Lia Stampz - Challenge 54 - CAS

Hello again, my friends!

It's time for a new challenge at Lia Stampz. This time you need to make it CAS...or "clean and simple."

For my card I used an image called "Igor and Ilinca" and you can find it in the Whimsy shop right HERE. This image was among the first Lia Stampz images I ever purchased. It made me smile and I couldn't resist! Isn't it fun? 

My card looks a little busy for a CAS card but I think it's the paper. I just matted the image, added a bit of Washi tape and the sentiment, and then a touch of stickles. Not only CAS but QAE...quick and easy! 


Materials Used:
Papers: Recollections - Cardstock, Crate Paper - Peppermint;
Image: Lia Stampz - Igor and Ilinca;
Prismacolor Pencils and OMS;
Stamp: October Afternoon - Home for the Holidays;
Ink: Momento - Tuxedo Black;
Punch: Stampin' Up - Scallop Circle;
Washi Tape: My Stash.

* * * * *

Why don't you make a CAS card and come on over to Lia Stampz!
You could win an image or be chosen as the Featured Artist!

Friday, 29 November 2013

Some New Yummies and a Month Long Challenge

Hello, my friends!

There are going to be a few exciting changes happening around here in the next couple of months. Today I get to tell you about one of them!

I know that many of you are familiar with my fondness for Jellypark digi images. I have used them regularly for a long time. Well, I am very happy to share that I am now part of the Jellypark Design Team! I've been a fan of Claire's sweet images ever since I first saw them, and I'm so excited to have joined the team! :o)

For my first project I have used this brand new Jellypark release called "Gingerbread Dress Up" that you can find in the Jellypark Store. As soon as I saw it I had an idea of what I wanted to make. Since this is for my introduction at the  Jellypark blog I wanted my project to be special. Here it is:


Here it is open:


Yes, I made a little gingerbread easel card for my gingerbread man! The trick came in putting my plan into action. I only have a few Cricut Cartridges...nothing Christmas themed...and nothing that could be adapted. My Slice Cards have gingerbread houses but they were too small. So I had to make this one from scratch...which was lots of fun! I drew out the house in the size I wanted. Then I cut the icing trim and used the goo punch on it. The candy was made from a circle punch and the modern label punch. I then covered it with Glossy Accents. It looks a little bit cloudy in my photos because it was still wet.


Materials Used:
Papers: American Crafts - Merrymint, Kraft Cardstock;
Image: Jellypark - Gingerbread Dress Up;
Dies: Sizzix Framelits - Tags, Rounded;
MM Slice Design Card - Fa La La;
Punches: Martha Stewart - Drippy Goo Punch,
Fiskars - 1" Circle, Stampin' Up - Modern Label,
WRMK  Corner Chomper - Cloud;
Stamp: Tim Holtz - Mini Holidays;
Ink: Memento - Tuxedo Black, Distress Ink - Walnut Stain;
Buttons & Ribbon: My Stash;
Other: Enamel Accents - White, Glossy Accents, Clear Glitter Glue.

* * * * *

Please head on over the the Jellypark Friends Friday Challenges where we're having a month long Christmas Challenge. Then make something and join in the fun! :o)

Sunday, 24 November 2013

Hymn and Scripture Challenge #20 - I Need Thee Every Hour

Happy Sunday to you all, my friends!

I'm here with my latest Hymn and Scripture Challenge page. The new one starts today but I saved this one to share with you on this beautiful Sunday morning!

It's another very beautiful and meaningful hymn today. Here are the words:


I need thee every hour, most gracious Lord;
no tender voice like thine can peace afford.
Refrain:
I need thee, O I need thee,
every hour I need thee!
O bless me now, my Savior--
I come to thee!

I need thee every hour; stay thou near by; 
temptations lose their power when thou art nigh[Refrain]
 I need thee every hour; teach me thy will,
and thy rich promises in me fulfill. [Refrain]

I need thee every hour, Most Holy One;
O make me thine indeed, thou blessed Son. [Refrain]


I know that I need my Lord every hour of every day! As one who lives with almost constant pain...I could not make it through the day without His strength. I could not enjoy the day without His JOY! The Scripture verse I used is found in Psalm 86: 3-4. It says:

Have mercy on me, O Lord,
for I call to you all day long.
Bring joy to your servant,
for to you, O Lord, 
I lift up my soul.


No matter what we struggle with in life...physical pain, emotional pain, loss, trying circumstances...we all need God! He is always there for us, waiting to shower us with blessings!

My page is very simple. I printed out the music sheet but I had to cut it down so it would fit on my 8 1/2" page. Black and pink is one of my favorite colour combinations, so I matted everything in pink and then layered it on a black base. I've had this stamp & punch set for quite some time but I think this is the first time I've used it. Well, I stamped and punched! lol I used some of the extra strips cut off the music sheet for the leaves. I added the pretty pearl butterflies and some extra black bling...and there you have it!

I pray you all have a Sunday full of Joyful Blessings! :o)


Materials Used:
Papers: Recollections - Cardstock;
Stamp: Stampin' Up - Mixed Bunch;
Ink: Momento - Tuxedo Black, Distress Ink: Vintage Photo;
Punches: Stampin' Up - Blossom Punch, Blossom Petals,
Fiskars - 1" Circle;
Dies: Sizzix Framelits - Label, Ornate #3;
Butterflies: Prima - Say it in Pearls;
Other Bling: My Stash.

* * * * *
Linking Up To:


* * * * *
This is fabulous! I hope you can take the time to listen:


Wednesday, 20 November 2013

A Die for a Sketch - Challenge #18 - Reminder

Hello, friends!

Just a quick reminder that Challenge #18 that is going on over at A Die for a Sketch! Our wonderful sponsor this month is:


* * * * *

Here is the fun sketch created by Dunja:


* * * * *

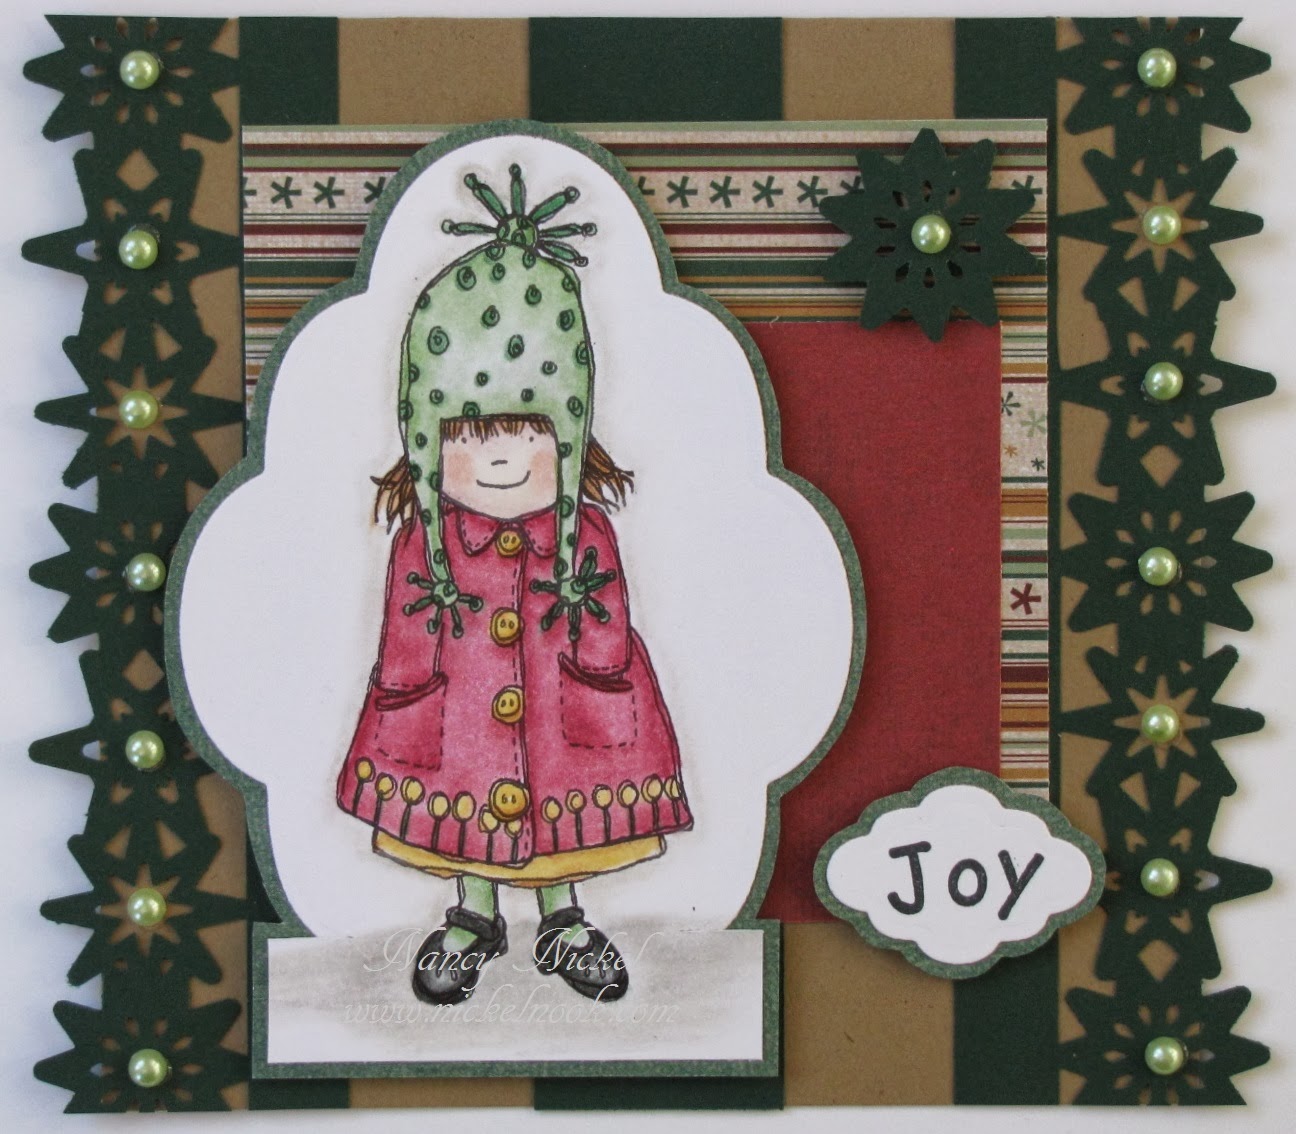
For my card I used the super sweet Jellypark image called Girl in Coat. I coloured it up with my pencils and had fun with punches and dies.  A fun sentiment and it's done!

I wish you all JOY! :o)


Materials Used:
Papers: Hot Off the Press - Ultimate Christmas Creative Pack;
Image: Jellypark - Girl in Coat,
Prismacolor Pencils and OMS;
Ink: Momento - Tuxedo Black;
Stamp: Unknown;
Punch: EK Success - Stars;
Spellbinders Nestabilities - Labels Six;
Pearls: My Stash.

* * * * *

Head on over to A Die for a Sketch and join in the fun!

Sunday, 17 November 2013

All Dressed Up - Inspiration Post

Hello, my friends!

Today it's my turn to share an inspiration post over at the All Dressed Up Challenge Blog. Besides the two challenges a month, there are also tutorials and inspiration projects posted almost every day. It's really worth taking a look if you haven't stopped by yet!
Most of you have already seen the stitchery that I made using one of Wendy's lovely images. I have another stitched project for you but this time I stitched on paper instead of fabric. I used the "Cute Just Got Cuter" from the freebie pageI printed it the image "fit to page" onto 8 1/2 X 11 kraft cardstock. Then using my piercing tool I pierced holes evenly on all the main lines. When that was finished, I stitched in the holes using a variety of colours of embroidery floss.  I added french knots for the freckles. I set that all aside and moved onto the rest of it. 

I used an 8" X 10" canvas board from my stash. I took a 9" X 11" piece of red tissue paper and wrinkled it all up into a ball, then I smoothed it out flat. Using a paintbrush, I coated the entire canvas with Delta Ceramcoat Satin Varnish and laid the tissue paper over it and gently smoothed it down with my hands. Again using the paintbrush, I adjusted any wrinkles that needed it. When it looked the way I wanted, I brushed another coat of varnish over the top. I wrapped the tissue paper around to the back and secured it with varnish. Then I set it aside to dry.

*You may be wondering why I use varnish at a time like this. It serves the same purpose as Mod Podge, but I prefer it. Mod Podge always seems to have a bit of tackiness to it, even after it's dried. The varnish is easy to work with, very affordable, cleans up beautifully with soapy water, and I have lots of it on hand. 

Okay, my canvas board is dry. I cut my stitched piece down to the size I wanted and adhered it to the board. I used the trim to frame the edge of the paper, mitering the corners. All that's left is to add the buttons, and the yoyos.


Materials Used:
Trim: KI Memories - Fire Line;
Embroidery Floss: DMC;
YoYos, Canvas Board, 
Tissue Paper, Buttons:
From My Stash.

* * * * *

Wendy has many adorable images that are perfect for this kind of application...
...or any other application you may want to try!
So pop on over to the SHOP and be inspired! :o)

Blog Archive