Hello, my friends!
It's time for another fun Bowdabra project!
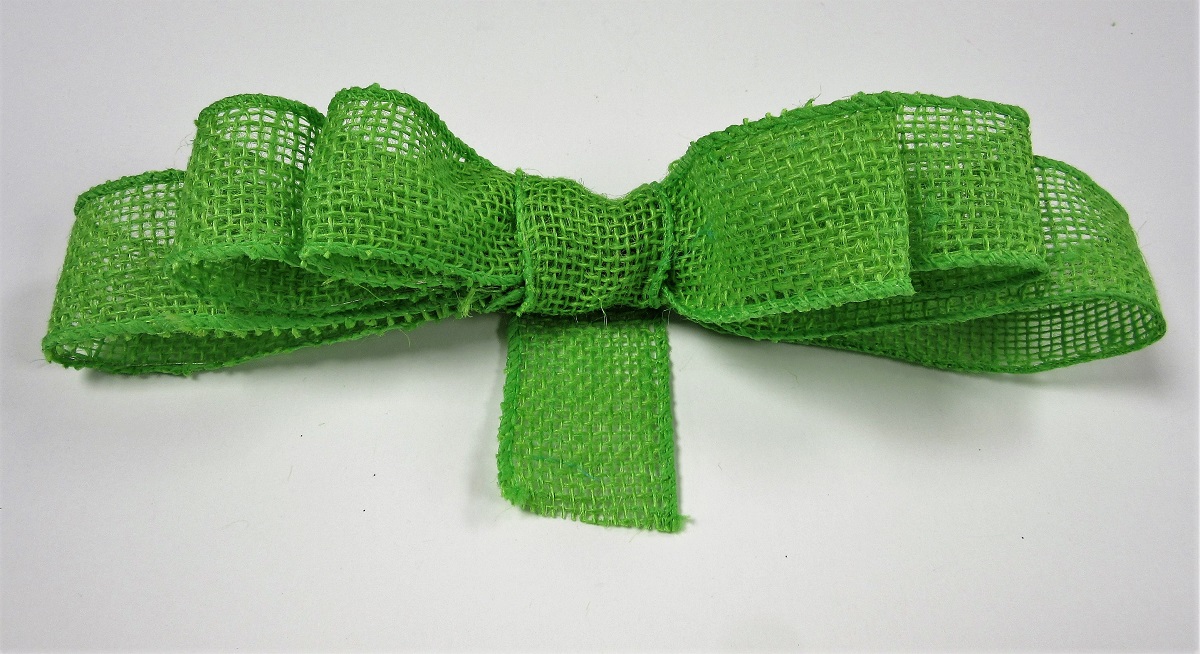
I just love this beautiful lime green burlap ribbon!
I've been really anxious to use it on a project.
It's so bright and cheerful, and the texture is fabulous!
I finally decided to use it on a fun home decor project:

Here is how I did it:

Supplies Used:
Three Small Wood Frames;
Acrylic Paint - Cobalt Blue;
Frame Inserts of Choice;
Hot Glue Gun and Glue;
Scissors.
Instructions:

1. I started by preparing my small wood frames. I found these at a local dollar store. They came in a set of 6. I chose three of them to fit on my ribbon. I removed the glass and the backing. I then painted them with a cobalt blue acrylic paint. I love the contrast of the lime green and the cobalt blue!

2. I cut matching green cardstock to fit into each of the frames. It's easy to get the right size by measuring the backing paper that was removed. I went through my stamps and found some fun images. I stamped them on the green cardstock, using a matching cobalt blue ink. Any image or photo that fits into the frame will work. I then reassembled the frames with the glass and backing. Then I set these frames aside and moved on to my bow.

3. I cut an 18 inch length of Bowdabra Wire, folded it in half. I inserted it into my Bowdabra, tucking the ends under, as shown in the photo.

4. I decided that I wanted my bow to measure 8 inches across. I began by inserting the ribbon end into the Bowdabra Tool, leaving a 2 inch tail on the right side.

5. I twisted the ribbon, inserted it into the tool, and measured a 4 inch loop on the left side.

6. I twisted the ribbon, inserted it into the tool, and formed another 4 inch loop on the right side.

7. I repeated the process and formed a second loop on the left-hand side. This loop I made 3 inches.

8. I then continued the same steps, until I had three loops on each side: a 4 inch, a 3 inch, and a 2 inch loop. I twisted the ribbon one more time, and insert it into the tool. I then cut the ribbon leaving about an 8 inch tail.

9. I then inserted my Bowdabra wand into the tool, and scrunched down all the ribbon loops.

10. I then pulled up the Bowdabra Wire from under the tool. I threaded the two ends through the loop end. While holding the ribbon down securely, I pulled the wire up tightly. I then removed the bow from the Bowdabra Tool.

11. I pulled the wire ends to the back of the bow, tied it off securely, and trimmed the ends.

12. I then took the 8 inch tail and wrapped it around the center of the bow. In the photo above you can the 2 inch beginning tail that shows on the right hand side. I tucked it into the center, under the wrap.
13. Here you can see that it's all gone.

14. I then cut a 20 inch piece of the ribbon to mount the frames on. I'm sorry but I don't seem to have a photo of it. It is just a straight piece. In this photo you can see where I tucked it into the back of the wrap.

15. I tucked the wrap tail into the back and trimmed it off. Using a needle and thread, I secured all the layers of ribbon together, and stitched on a plastic ring for hanging.
16. Finally, I adhered the frames in place using my hot glue gun. These frames are very light, so just a little dab of the glue on the top and bottom of the frame is all that's needed.

Here it is...hanging on the wall.
This was a really fun project to put together.
This was a really fun project to put together.
It would work with any of the beautiful Bowdabra Ribbons;
just a change of colors and images,
and it would look completely different.
* * * * *
Thanks so much for stopping by today!
I'll be back next month with another fun bow project!
* * * * *
Here are all the Bowdabra links for you:
1 comment:
What a fabulous idea Nancy, I love it and also the blue and green and your little stamped flowers and butterflies. Love it.
Faith x
Post a Comment