Hello, my friends!
It's time for a new project share for Printable Cuttable Creatables!
Today I just want to share a fun tip for you,
when using Cricut Design Space.
Many of you will probably already know this but it's fairly new to me.
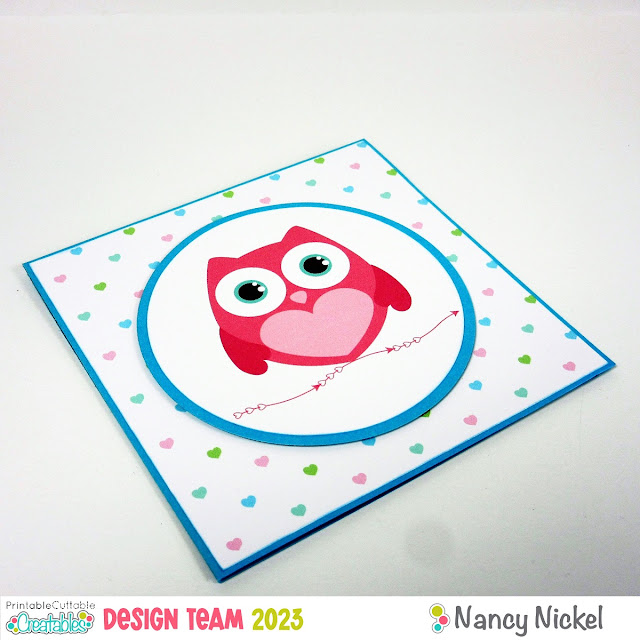
First, here is the card that I made:
The owl image is super cute, right?
Now I'm going to share my process with you.
When I'm using an image like this, that I know I want to print then cut,
I head to Cricut Design Space.
When I'm using an image like this, that I know I want to print then cut,
I head to Cricut Design Space.
I begin by choosing the base size I want to use
and then sizing all my layers accordingly.
Here's a look:
and then sizing all my layers accordingly.
Here's a look:
I knew that I wanted to make 5 1/2" square card base.
So I begin by clicking on shapes, choosing a square, and sizing it to 5 1/2".
This allows me to then resize the owl image.
Then I decided that the owl would look nice in a circle.
So using the "Shapes" option again, I add a circle.
As shown in the photo above I sized the circle to 4".
This allows me to then resize the owl image.
Then I decided that the owl would look nice in a circle.
So using the "Shapes" option again, I add a circle.
As shown in the photo above I sized the circle to 4".
I didn't want the owl to just be "floating" in the circle.
I added the sweet arrow cut, resized it to fit my circle,
and positioned it under the owl.
I also make sure that all my elements are chosen as print then cut.
This intricate arrow was the reason that I was going to use print then cut.
My Cricut does a fabulous job with intricate cuts but this might be pushing it! ;o)
I really like the way everything is looking here, and can see how my finished card will look.
I don't need the green square, as I have other plans for my background.
At this point I highlight the circle section, as shown in the photo.
If you look at the list on the right side you can see the ones that are highlighted.
Then I go to my "Flatten" option, which you can see in the lower right corner,
and I click on it.
At this point I highlight the circle section, as shown in the photo.
If you look at the list on the right side you can see the ones that are highlighted.
Then I go to my "Flatten" option, which you can see in the lower right corner,
and I click on it.
If you want to include the background square in your project,
then you would highlight the entire square and click on flatten.
As shown above, the complete project has been flattened,
As shown above, the complete project has been flattened,
and is ready for print then cut.
Now we can go back to my finished card.
I knew that I wanted to use this pretty heart paper for my background.
I cut my 8 1/2" x 11" paper to a 5 1/2" card base.
I printed the heart paper and cut a 5 1/4" square.
I then matted my finished circle with a matching piece of cardstock.
I adhered it to my card front with foam tape.
I knew that I wanted to use this pretty heart paper for my background.
I cut my 8 1/2" x 11" paper to a 5 1/2" card base.
I printed the heart paper and cut a 5 1/4" square.
I then matted my finished circle with a matching piece of cardstock.
I adhered it to my card front with foam tape.
I also finished the inside of the card using this sentiment cut.
It makes a really great Valentine card, right?
Flattening the layers helps to cut down on some of the bulk,
Flattening the layers helps to cut down on some of the bulk,
making it easier to mail to your Valentine.
Those are my tips for you today!
It's always fun to learn new things and new ways to do our projects! :o)
* * *
Printable Cuttable Creatable Products Used:
Valentine Arrows Borders Set SVG;
Owl Always Love You Sentiment SVG;
Candy Colored Winter Patterns Digital Paper Pack.
Other Materials Used:
Cricut Explore Air Machine;
Cricut Explore Air Machine;
Recollections Cardstock;
WRMK Nesting Circle Dies.
* * *
Thanks for stopping by today!
I'll be back soon with another fun project!
* * * * *
Here are all the links for you:
Printable Cuttable Creatables Shop


1 comment:
Love the card Nancy. I have a Silhouette, and love to make cards like this. Also, a Great insert.
Faith x
Post a Comment