Showing posts with label Creative Scrapbooking Divas. Show all posts

Sunday, 27 November 2011

House Mini Album Tour Continues

Hello my friends! I'm back today with another group of pages from my little House Mini Album. This is also my last post as Guest Design Team Diva for Creative Scrapbooking Divas. Since I took a break from posting last week, this isn't the last you'll see of this mini here on my blog; there are still a few pages left to go. So let's get to it...

Our Home Is Filled With Gratitude and Thanksgiving! This page was decorated with my favorite Martha Stewart punch, some stickers and a bit of bling. It's a fold-out and it's just held down in one corner with a photo turn.
The inside was actually kind of a mistake! lol I intended to stamp the center medallion and some of the other accent pieces, leaving the middle space empty to write my Scripture verses.  As I was doing this I was listening to some great music and I totally zoned out and got carried away with my stamping. Rather than redoing it, I decided to cut out the leaf tags and use those for my verses instead! :o) The fold-out is one page from a Squash Book design. I didn't bother with a template for this one. If you'd like to know how to do this fold you can probably tell by looking, or just google Squash Book and you'll find LOTS of instructions!!
Our House Is Filled With Abundant Blessings! What could be better after a "Gratitude and Thanksgiving" page than a Blessings page! This is literally my overflowing bag of blessings! I used a small paper bag and folded up the bottom to form a tag pocket. I added a bead charm I made and a butterfly charm I received as a gift.
I wrote verses on strips of paper and stuffed them in my bag. God is so good! He gives us abundant blessings! Please take the time to click on the pictures and read the verses!
Our Home Is Filled With Love! I had just a regular fold-out planned for this page but then I saw a variation that Donna did in her video and it was just the twist I needed! Thank you Donna! I'll put a link in the supply list.
You can't really tell the difference in the photo when it's closed, but when you open it up you can see that the front is cut in a heart shape.
Our Home Is Filled With Comfort! When I think of "things" that provide us with comfort, one of the first that come to mind is a warm blanket, so I made one for my page pocket.
Then I filled it with tags that also bring comfort; a pot of soup, a pot of tea and a cup of tea, and a warm bubble bath.
On the back of the tags I added more Scripture verses. The Lord is the greatest comfort of all!
That's it for today! Thanks so much for your interest in my mini! Please let me know if you have any questions! Thank you to the Creative Scrapbooking Divas for having me as their guest for this month! I wish you all a Very Happy Day! :o)

Materials Used That Haven't Already Been Listed:
Gratitude and Thanksgiving
Punch: Martha Stewart  - Wildflowers;
Stamp: Stampin' Up - Day of Gratitude;
Fiskars Leaves Template;
Alphabet: MM Shimmer Stickers.
Blessings
Paper Bag: Celebrate It:
Love 
Flowers: Prima - Pastiche Small;
MM Slice Design Cards: Wedding, Basics 1;
Fold-out Design: Donna's Video - Click HERE
Stamp: Inkadinkado - Scrapbook Sentiments,
and Friendship;
Ink: CTMH Garnet
Comfort
MM Slice Design Card: Bon Appetit

Sunday, 13 November 2011

House Tour Begins! :o)

Hello and Happy Sunday to you all! Thank you SO MUCH for your sweet comments on my mini album! I'm overwhelmed by your generous response to what you've seen so far! I sure hope I don't disappoint you with what I've done to the inside and I certainly appreciate you coming back to take a look! This is my second week posting as November Guest DT Diva for Creative Scrapbooking Divas. You can find their blog by clicking on the bright pink button in my sidebar.
I hope I didn't throw you off with my title because you won't be seeing any photos of my house in this album! Actually, you won't be seeing any photos at all! lol This album is a Faithbooking project. I didn't actually know there was such a term as "Faithbooking" until I found the CSD blog. You know how much I enjoy using Scripture verses on my projects and pages...well, enough rambling, right...let me show you what I did!
This is what the first page looks like when you take off the cloud-like closure:


 Isn't that sun cute shining over the house? Can you guess what my house is filled with? The first page is:


Our Home is Filled With Light. I had lots of fun with this page. I spread it over two pages because the first one is quite small. Here are a couple more pictures of it. I added Stickles to the sun, pleated vellum for the lamp shade, and a doily lace punch under the lamp.


On the tags I wrote some of my favorite Scripture verses about being a "light". The tags have a second generation stamping of a chandelier in the background. If you click on the picture you'll be able to read a couple of the verses I've chosen.


Our Home is Filled With Peace. Now this word has nothing to do with our nest being empty and our girls being gone! lol Thankfully our home has always been a place of peace. I heat embossed "Peace" on a tag pocket. There are four tags with lots of room for verses. Some fiber, ribbon, and buttons for embellishments.


Here is a look at the page with the tags pulled out. I used two different styles. Again, please read some of these tags...the verses are fantastic! The next page is made to follow this one.


Our Home is Filled With Quiet. Again, this has nothing to do with our girls being out of the house! Well, on second thought, it has become significantly quieter since then! ;o)  This page also has a pocket on it. I decorated it with some dies that I cut with my Slice Machine, and a border punch.


Here's what this page looks like open. To me a cozy chair, a fireplace, and flowers are all "quiet" things.


Here's another photo that includes the tag from the front pocket as well. The pull-outs on this page actually open, so there's lots of room to write on them. The verse on the tag to the right about living a quiet life is very special to me. Years ago when I had my website it was front and center on my homepage. I guess you could even call it one of the "theme verses" for my life!


Here is a template for the pocket that I made for my Quiet page. 


Instructions for pocket:
  1.  Score in half both ways along score lines - at 4 1/4".
    1. Cut along diagonal cutting lines. *Note: if you want to use a border punch along angle cut it should be done now.
    2. Apply glue along glue lines. *Note: I advise using a wet glue for this purpose. My favorite is Scotch Quick Dry Adhesive; it's easy to apply in a very thin line, it dries very quickly, and the tags won't get stuck in it. 
    3. As soon as you have applied the adhesive, fold along the horizontal score line and have A meet B. Hold for a moment until the glue is set.
    4. When glue is all dry fold in half along vertical fold line. 
    I sure hope that makes sense. Let me know if you have any questions. This design can be adjusted for any size pocket you need. My tags are cut 7 1/4" X 4" and folded in half to measure 3 1/8" X 4". This size may need to be adjusted depending on how thick a line of adhesive you use.

    One more little tip I'll share with you is how I made these little flower clips.


    I layered two Prima flowers and attached them together with a brad. I punched out a 1/2" circle from blue cardstock. I laid a white paperclip on the circle and then sandwiched it together with the flower using a Zot adhesive dot. It works great! I put one on the corner of each of my folio tags. They serve as a little pull to take the tags out of the pocket.
    Okay, friends...that's it for today! It was another super long post. Thanks so much for coming! I hope you'll come back again next week to see what else my little house holds! Have a very happy week! :o)


    Materials Used  That Haven't Already Been Listed:
    Light:
    Dies: Sizzix Scallop Tags; 
    MM Slice Design Card: Home Sweet Home, Summer;
    Ranger Stickles - Gold;
    Punch: Martha Stewart - Doily Lace;
    Stamp: Inkadinkadoo - Chandeliers;
    Ink: CTMH - Moonstruck;
    Stash: Buttons, Vellum.
    Peace:
    Stamps: Recollections - Feelin' Groovy;
    Bling: i-Rock Compact - Jewels;
    Stash: Ribbon, Fiber.
    Quiet:
    MM Slice Design Cards - Home Sweet Home, 
    Vintage Findings;
    Bling: i-Rock Compact - Crystals;
    Flowers: Prima;
      Martha Stewart  Border Punch;
    Brads: Recollections.

    Sunday, 6 November 2011

    Another Special First For Me! :o)

    Hello, my friends! Guess what? My big project is complete! It's actually not really that big...it's mini since it's a mini album! lol It's a special mini album that I made for a special event. I was invited to be the Guest DT Diva at the Creative Scrapbooking Divas Mansion for the month of November! So I made a special house mini just for them. When you're finished here pop on over there and take a look. I even answered some questions for them! :o) You'll find their bright pink button just to the left of this post! Today I'm going to share a little bit about my process of putting this mini album together. First though, here's a peek at the finished product:


    This album is entitled "OUR HOME IS FILLED WITH..." I'll share more about that in later posts, but for now we'll just talk about the construction. The first thing I did was gather up some supplies that I decided I wanted to use.


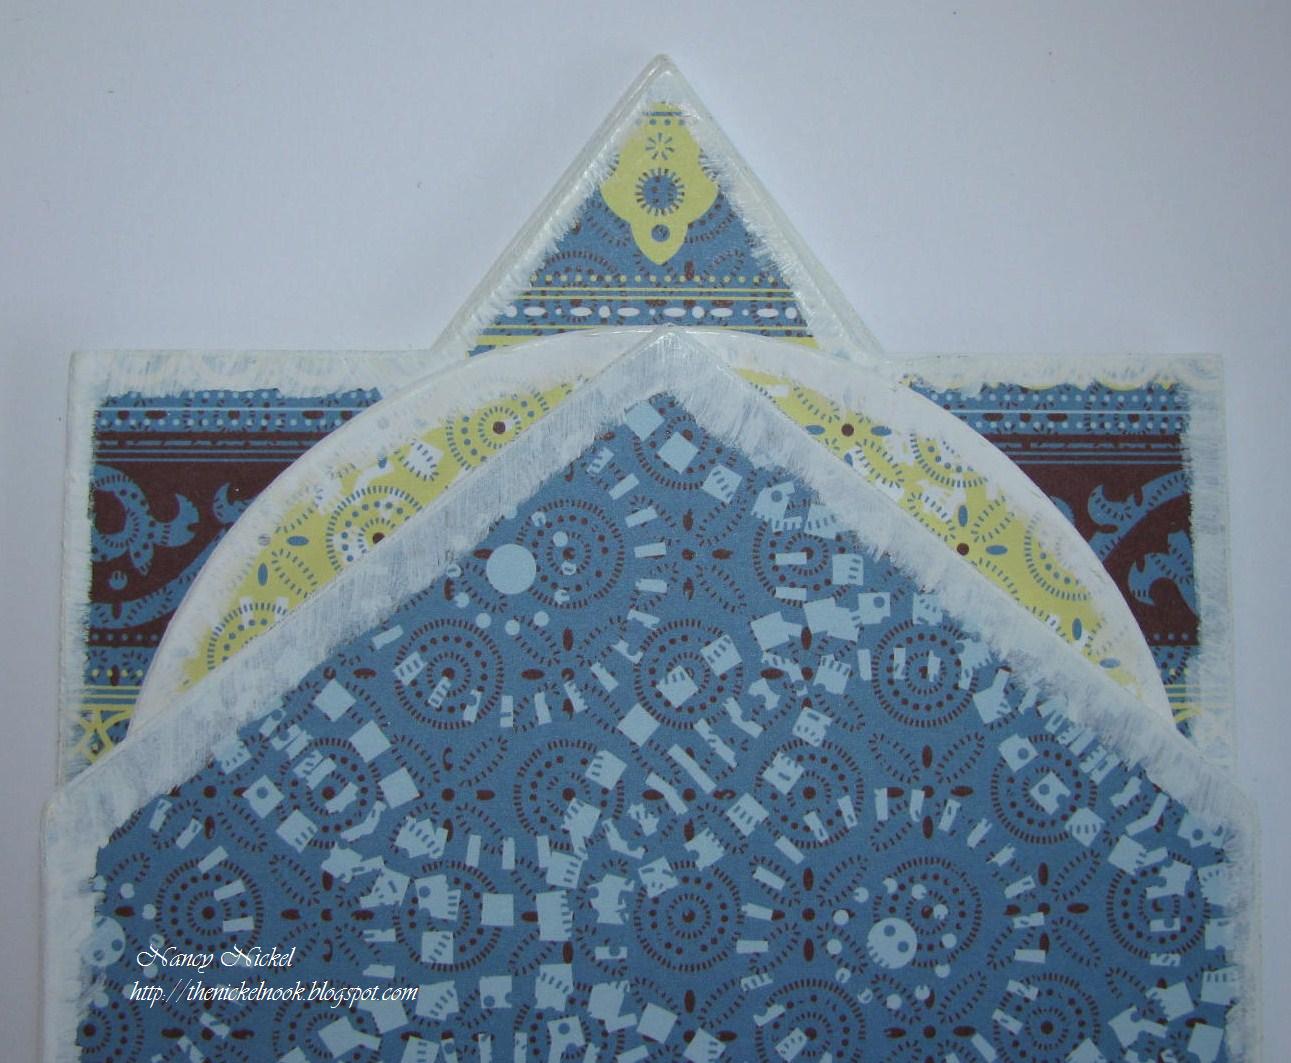
    Then it's time to cover the base pieces with the paper. I covered my house pieces liberally with my ATG adhesive, laid my chosen paper over, and used my craft knife to trim around. I did this on all the pieces of the album. Some careful planning was involved due to the varying sizes of the album pieces. Next, it's time to smooth all the edges of the album. I've discovered a quick and easy tip when it comes to the sanding all the edges...I use my Dremel Tool. I used to use my sanding block and emery board, but when I saw the Imaginisce d-stress tool it reminded me of my Dremel sanding tip and I tried that. It works like a charm...so quick and easy! I just have to remember to keep it on a LOW speed, or I have a completely new shape! lol
    Usually I ink all my edges but this time I wanted to try something different. I thought white would look nice so I painted all the edges with white acrylic paint. When using acrylic paint on paper products, try to use a good quality paint because it has less water in it. Also, use a dry bush and don't ever add water. I applied the paint and set the pages up on some paint bottles until it was dry. When you paint with acrylic paint it leaves quite a "tooth" or a texture. My solution for this is to take a little piece of brown paper bag and give it a quick sanding. This does a fabulous job of removing all the tooth but not taking away any of the color. It leaves it as smooth as the paper.


    For the front cover I used one of the great house stickers as it fit the shape perfectly. I backed it with cardstock and popped it up on dimensionals. I then punched out a few tiny flowers and glued them along the fence. A few tiny bling and it was finished.


    Since I bound my album along the bottom, and it's made to open forward, I really needed to make a closure of some kind. I also want to have the flexibility of adding more to this album as time passes, so it couldn't be a solid closure. Here's what I came up with:


    The title is a label placed in a Grungeboard book plate that has been heat embossed in white and backed with a tulle ruffle. I took a long piece of tulle and tied random knots along it's length. A loop is sandwiched between the title and a chipboard circle with velcro adhered on the back. The other end of the tulle is looped through another chipboard circle with the other side of the velcro. This end of the tulle is then tied in a bow and can be tightened or loosened as needed. This fastener can just be wrapped around the album and placed above the house to look rather cloudish!
    So that's my mini album construction! Thanks so much for sticking with me for such a LONG post! Hey, wake up...it's over!! lol Next Sunday I'll start showing you the inside pages! If you have any questions please leave a comment! In the meantime give some thought to what your house is filled with and have a JOYFUL week! :o)
    Materials Used in Book Construction:
    7 gypsies Home Sweet Home binderie board kit;
    My Reflections Paper Packet - Sweet Home;
     My Reflections My Stickease Assortment - Sweet Home,
    Bind It All & 1 1/4" O-Wires, ATG gun & Adhesive,
    Folk Art Acrylic Paint - Wicker White,
    Dremel MultiPro Tool & Sanding Tip; 
    Flowers: Stampin' Up Itty Bitty Shapes Punch Pack, Mulberry paper,
    Crystal Fire BeJeweler & i-Rock Hot Rocks Metal Accents;
    Title Band: Dymo Letra Tag & label, blue tulle, 
    Grungeboard bookplate, chipboard circles,
    Stamp'n Stuff Embossing Powder - detail white opaque, 
    Recollections Brads, Self-Adhesive Velcro, Unknown Bling.


    Friday, 30 September 2011

    Black, White, and Read All Over Challenge

    Here's the completed challenge that I mentioned in yesterdays post. This is Diva Pammie's challenge over at the Creative Scrapbooking Divas. You can read all about it HERE. The rules are:
    *MUST use colors black, white, & red only, with red only being about 20% of the layout.
    There was an Option A, but I went with...
    *Option B: Use a pattern paper with a newspaper print or feel to it. Not a letter, but dictionary pages are okay.
    My problem with this challenge was that I had no paper with a newspaper print or feel to it...so I had to make it from scratch. It was lots of fun to do and I think it looks pretty good. I opted to decorate a frame. I was inspired by a wonderful project we did in my Splurge Group, and also by Diva Jessica. The first thing I did was adhere a piece of white cardstock to the wooden frame. I suspect it may have been smarter to stamp the cardstock before adhering it, in case a big mistake was made, but that didn't occur to me until later! lol I trimmed the extra paper away, cut out the center, then filed and sanded all the edges smooth. Then I gathered all the various word stamps that I wanted to use and just randomly stamped them with black ink. I made sure to stamp off the edge all around the piece. When it was all finished I did a light inking of gray ink over the stamping so it looked more news-printy, and an inking of black around the edges. I then made some red flowers with my new Slice Design Card. Looks like about 20% to me...give or take! I had a great time with this challenge! A couple of the words could be a lot straighter but that's okay, right? :o)
    Ink: Stampin' Up: Basic Black, Basic Gray;
    MM Slice Design Card: Basics 2;
    Stamps: CTMH, 7 gypsies, Prima,
    Inkadinkado, Pink Paislee, K & Company,
    MME Lost & Found, Kimberly Poloson;
    Unknown: Cardstock and Brads.

    Thursday, 29 September 2011

    3D Project Challenge

    Happy Thursday, my friends! Today I'm playing along with my friends over at Creative Scrapbooking Divas. The challenge is to create a 3D project of your favorite holiday. Well, Christmas is my FAVORITE holiday, of course, it's when Jesus was born! :o) I bought this Sizzix die a little while ago and hadn't used it yet, so this was the perfect time! I used some lovely glittery papers that were gifted to me. The die actually cuts out a wonderful ornate window, which I filled in with decorative vellum - also included in the paper pack. I added a few decorative non-paper embellishments and a glittery ribbon. There you have it!  You can find the challenge HERE. I've also added the Creative Scrapbooking Divas button on my sidebar. They're a fun bunch of busy ladies over there! I hope to finish another Diva project tomorrow but we'll see how it goes. I'm actually having trouble finding the paper I need for the next challenge in my stash. Can you believe it? It was hard enough to find Christmas paper! Does this mean I have to go shopping? Oh, no!! lol :o)

    Papers: Papermania - A Silent Night (Gift from Sarah);
    Die: Sizzix XL - Box w/ Ornate Window;
    Ribbon: Offray - Gold Metallic;
    My Stash: Cinnamon Sticks, Dried Apples, 
    Other unknown Christmas Bits.

    Monday, 8 August 2011

    Summer Project- Flip Flop Card

    On Saturday the fun ladies over at Creative Scrapbooking Divas held a "Dog Days of Summer" Blog Hop! You can find it HERE. This card is part of my participation in the hop. I bought this Sizzix die a little while ago and I hadn't had a chance to use it yet. This gave me the perfect opportunity! Happy Summer Days to all of you! :o)
    Sizzix Die: Card, Flip-Flop;
     Ranger Distress Ink: Walnut Stain;
    Punch: McGill Multi Tag Punch;
    White DMC Embroidery Floss;
    From My Stash: Papers, Button.

    Tuesday, 12 July 2011

    Christmas in July Cards

    Merry Christmas in July to all of you! I attended a Blog Hop on Monday held by The Creative Scrapbooking Divas. They've just started a fun new blog and you can find them right HERE So for part of the fun of their Blog Hop they invited us to participate by making a Christmas project. So I did! The card on the right was "lifted" from a Papercrafts Book that I just bought. I used my new Sweet Nectar paperpad and made it all summery! Isn't it fun? I also had to make a more traditional one of course, and what else would it say but "JOY"! I hope you've all had a great day! :o)

    Blog Archive