Showing posts with label PCC DT. Show all posts

Thursday, 12 September 2024

U R Out of This World Card - Printable Cuttable Creatables

         Hello, my friends!

It's time for a new project share for Printable Cuttable Creatables!

Have you seen all the fabulous Space Themed files that have been added to the shop?
So many fun new listings!
I have combined three of them on my project today.  

I have used:

Out of this World Title SVG,

Spaceship Rocket SVG File,

and Planets SVG File.

Here's my project:


Isn't that Fun? 
Here's how I did it:

I began by making my background.
I've inked "galaxy" backgrounds before.
However, these cuts have so much color in them that I wanted something different.
This was so simple!
I cut a piece of black cardstock 5 1/2" square.
I used a fan brush, with white acrylic paint, and simply splattered the paper.
Then I set it aside to thoroughly dry.


Here are all the pieces I cut out:


The fun title cut includes a little rocket.
Since I was using a bigger rocket, I decided to leave that out.
I had an idea...so I cut 2 of the "OUT" and "WORLD".
From the second cut, I used only a "U" and an "R".
Now my title is "U R OUT OF THIS WORLD".


Then it was just a matter of gluing all the little bits together,
and adhering them in place on the background.
I then added it to a yellow card base.

I did curve the spaceship slightly, and adhered in place with foam tape.


Such a fun card to put together!
Head on over to the shop and check out all the space files!

Find them here:

ALL SPACE FILES

* * *

Use my code to get 15% off your purchase:


Printable Cuttable Creatables Products Used:
Other Materials Used:
Cricut Explore Air Machine;
Recollections Cardstock;
White Acrylic Paint.

* * *

Thanks for stopping by today!
I'll be back soon with another fun project!

* * * * *

Here are all the links for you:

Printable Cuttable Creatables Shop

Printable Cuttable Creatables Blog

Printable Cuttable Creatables Facebook     

Thursday, 15 September 2022

Fun Fall Earring Tutorial for Printable Cuttable Creatables

   Hello, my friends!

It's time for another fun project for Printable Cuttable Creatables!

Today I'm sharing a tutorial on how I made these super cute earrings,
using some fabulous files from the shop.

Here are my earrings:


Aren't they super cute?
I chose some images that would suite the approaching Fall season.
However, you can do the same thing with any of the fun clipart images in the shop.
These could be totally customized and personalized gifts for all your friends!
Definitely affordable as well!

Here's how I made them:


I began by choosing my images.
I went for sunflowers and coffee cups - two of my favorite things! ;o)
Then I decided on the size I wanted them. 
The sunflowers are sized at 1", and the coffee cups at 1 1/4".

I decided I wanted three layers of cardstock for my earrings.
That gives it some nice weight and substance.
Since I'm making dangling earrings, I wanted the image on the back too.
You don't want white cardstock showing every time you move your head, right? 
Due to the nature of various designs, 
the cut lines don't always line up perfectly when you turn them around. 
So what I did was I flipped two images horizontally. 

So here's the run-down:

Size six sunflowers at 1", flip two horizontally.
Size six coffee cups at 1 1/4", flip two horizontally.
I added all of them to my canvas, and used the print/cut feature.
If you look closely, you can pick out the flipped images.


Here are all the images printed and cut out.
I also cut two fabulous cards from the Earring Display Cards SVG File.
The one on the left I sized at 4", and the one on the right is sized at 4 1/2".
From my stash I grabbed 4 fish hook earring wires, and 4 jump rings.


Now it was time to put them all together. 
I used liquid glue to adhere all three layers together - four times.
When everything was dry, I inked around the edges.


You could just punch a hole and add the jump ring
but I decided that I would add a small eyelet to the top of each one.
Then it's just a matter of adding the earring wire and the jump rings.

Here you have the finished sunflowers:


Here's a closer look at the coffee cups:


Cute, right?...and so much fun to make!
Head on over to the shop and see which images inspire you.
There are so many creative possibilities with something like this.
If you want some sparkle, you can add: glitter, stickles, or beads.
If you want some shine, you can coat it with glossy accents.
Experiment and have some fun! :o)

* * * * *

Printable, Cuttable, Creatables Product Used:


Other Materials Used:
Cricut Explore Air Machine;
White Cardstock;
Fish Hook Earring Wires;
Jump Rings;
Small Eyelets.
 
* * * * *
Thanks for stopping by today!
I'll be back soon with another fun project!

* * * * *

Here are all the links for you:

Printable Cuttable Creatables Shop

Printable Cuttable Creatables Blog

Printable Cuttable Creatables Facebook


Thursday, 7 July 2022

Art Journal Fun with Printable Cuttable Creatables

  Hello, my friends!

I'm excited to be sharing my first post for Printable Cuttable Creatables!

Today I'm sharing a tutorial on how I put this art journal page together,
using some great cut files from the shop! 

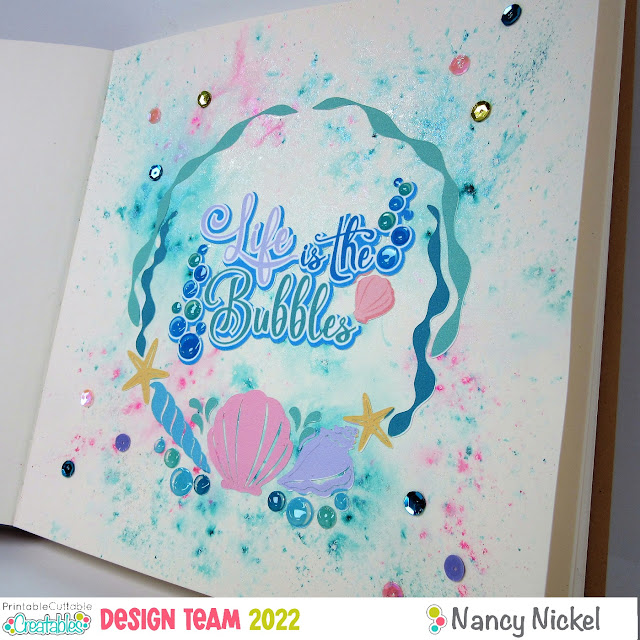
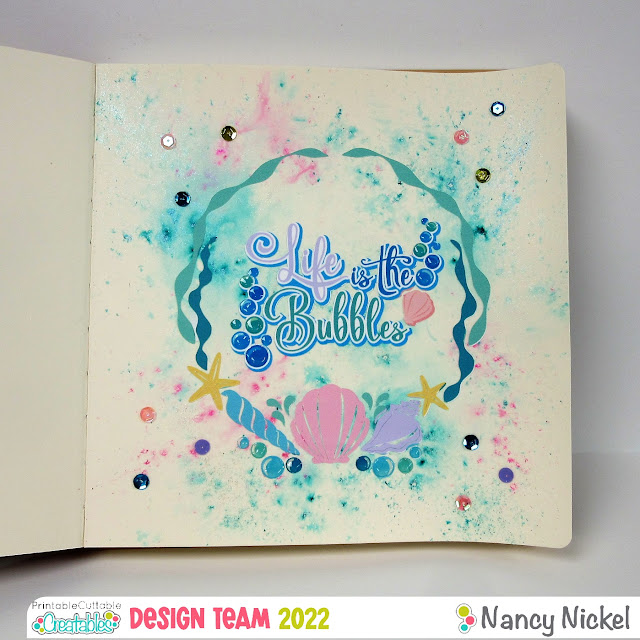
Here's my page:


Here's how I made it:


I began by sprinkling some watercolor powders onto my art journal page.
I spritzed it with water, until I had the look I wanted.
I then set it aside to dry.


I then went to Cricut Design Space and uploaded:


On my canvas in CDS, I inserted the Title into the Frame,
and sized it to fit on my journal page.

I then used the print/cut feature to cut out my design.


Now I come back to my colored journal page.
It's important that the journal page be completely dry before adding the cut file.
Otherwise things won't stick properly.
Isn't that sparkle pretty? :o)


Now...here's a trick to make the positioning of the cut file very simple.
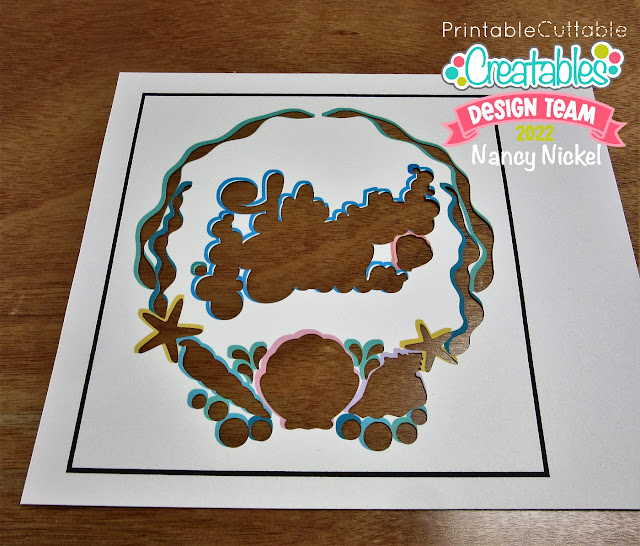
I remove my paper from the mat, 
leaving the cut design in place on the mat.


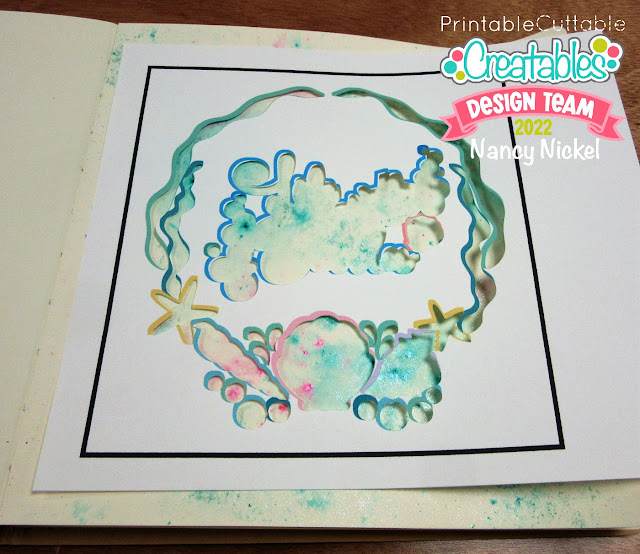
I position the paper in place on my journal page,
exactly where I want to add the design.


Then it's as simple as putting a puzzle together.
I take a piece of the design off of my mat,
and adhere it in place on my journal page.
I like to use my ScraPerfect Best Glue Ever,
along with the No-Clog Writing Cap.


Here's my page with the design perfectly positioned!


 I added a nice coat of glossy accents to each of the bubbles.
It adds some lovely shine to go with all the background sparkle.


Finally, I added some sequins in a variety of colors!


I had so much fun creating this page!
Don't forget to consider other ways to use the fun files from
Printable Cuttable Creatables!
They offer endless possibilities!

* * * * *

Printable, Cuttable, Creatables Product Used:


Other Materials Used:
Cricut Explore Air Machine;
Recollections Cardstock - White;
Dylusions Art Journal - Square;
Watercolor Powders;
Ranger Glossy Accents;
Assorted Sequins.

* * * * *
Thanks for stopping by today!
I'll be back soon with another fun project!

* * * * *

Here are all the links for you:

Printable Cuttable Creatables Shop

Printable Cuttable Creatables Blog

Printable Cuttable Creatables Facebook


Blog Archive