Thursday, 15 June 2017

FabScraps - My Fair Lady Collection - My Dream Life

Hello, my friends!

This layout was shared by FabScraps a while ago but I saved it for today.

Today is my 32nd Anniversary, and this layout was made with this event in mind! 
I can't believe how FAST the years have gone by!
I truly have been blessed with My Dream Life! 
I have so much to be grateful for! :o)


My Fair Lady Collection
My Dream Life Layout

You will need:
·       FabScraps My Fair Lady Collection Papers C94 003, 004
·       FabScraps Chipboard Piece DC94 004 My Dream Life
·       FabScraps Stencil DS 068 Little Blooms
·       FabScraps Sticker Sheet ST94 001 Lady Love Stickers
·       FabScraps Carder’s Kit MC94 001A
·       Chocolate Brown Cardstock 12 X 12
·       Punches: Decorative Edge, Sprig/Leaf (Martha Stewart–Swirling Lace, Branch)
·       Flowers: Dies or Punches of Choice (Spellbinders–Rose Creations)
·       Brown Ink (Walnut Stain Distress Ink), Brown Colour Spray (Kraft Glimmer Mist), Small Piece of Ribbon, Small Flat Back Pearls.
Instructions:
1.    Use a decorative punch all around the 12” C94 004. Using brown ink, apply the stencil design, to the top right and bottom left corners of this paper. Adhere it to the 12” brown cardstock.
2.    Cut a piece from C94 003 that measures 8” wide X 7” tall. Ink the edges with brown ink. Adhere to center of background – as in photo.
3.    Take two of the bird design papers from the Carder’s Kit. Ink the edges with brown ink, and mat each piece with brown cardstock. Then mat the photo with brown cardstock. Refer to picture for placement.
4.    Take the My Dream Life Chipboard DC94 004 and spray with brown spray. When dry, adhere to white paper from Carder’s Kit MC94 001A. Trim paper around edge of chipboard. Adhere it in place using foam tape.
5.    Take the larger oval frame sticker from the Sticker Sheet ST94 001, and adhere it to a piece of the white paper. Trim the image out of the center of the frame. Create a decorative tag (2 ½” X 4”) from the white paper. Ink the edges with brown ink. Place small photo on tag, and adhere frame in place over it. Attach a small piece of ribbon to the top of the tag. Adhere tag in place on page using foam tape.
6.    Make an assortment of matching flowers using punches or dies of your choice. I used two of the 6” white papers from the Carder’s Kit MC94 001A, as well as the remaining C94 003 piece of paper, to create 6 flowers. I used rhinestone and pearl brads in the center of my flowers. Glue flowers in place, as shown. Punch sprigs/leaves of brown cardstock, glue in place around flowers.
7.    Finally, adhere small flat back pearls to centers of stenciled flowers.
Enjoy! 
* * * * * * * *

You're going to want to check out the gorgeous FabScraps Collections!
Also, the blog and facebook are loaded with fabulous inspiration!

Here are the links:


Monday, 12 June 2017

FabScraps - Charms of Spring - Enjoy Tag

Hello, my friends!

I'm up on the FabScraps blog today!

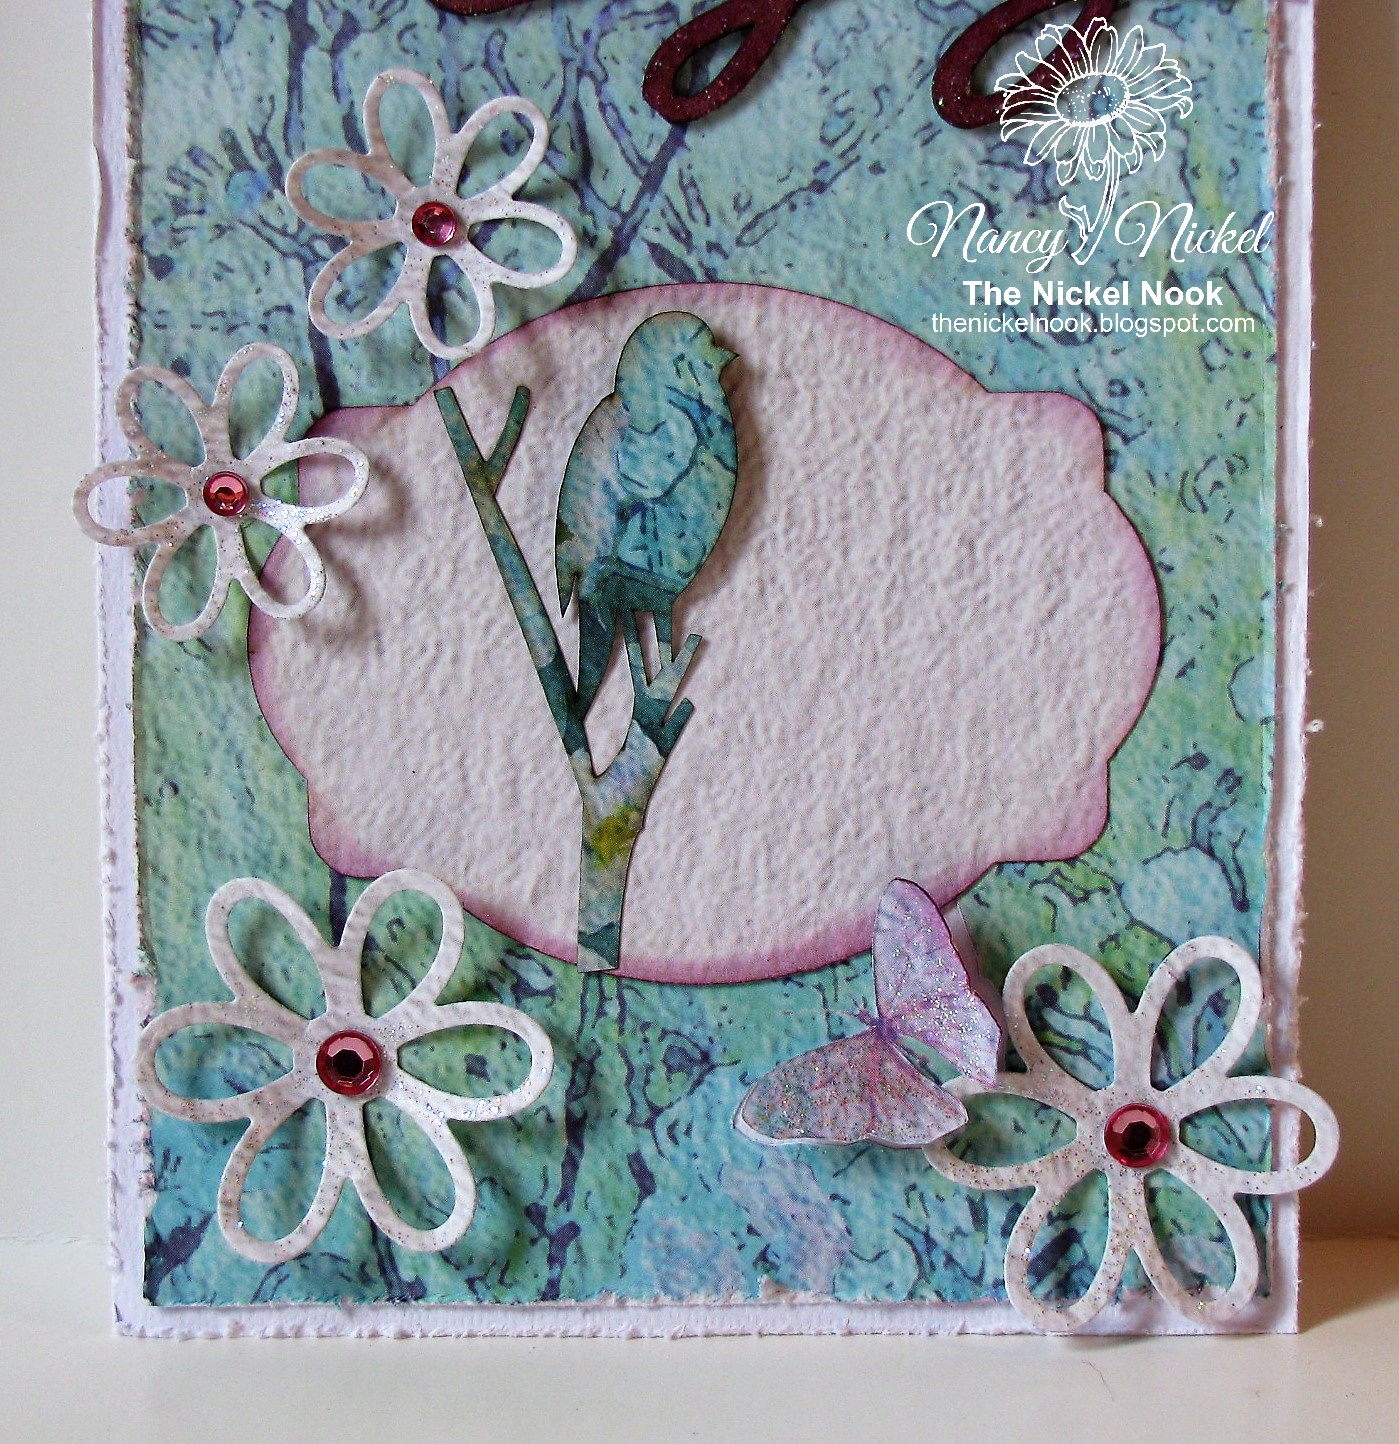
This time I've created a tag using the beautiful Charms of Spring Collection.
As with all my FabScraps posts, the tutorial will follow the photots. 


CHARMS OF SPRING COLLECTION
Enjoy Tag
Nancy Nickel
For this project you will need:
·       FabScraps Charms of Spring Collection Paper Range C97 007
·       FabScraps Charms of Spring Chipboard Pieces DC97 005
·       FabScraps Charms of Spring Card Kit MC97 001A
- 1 tag, 1 bird, 1 6 X 6 paper
·       White Cardstock
·       Purple Ink (Distress Ink – Seedless Preserves)
·       Stickles – Star Dust
·       Pink Rhinestones
·       Open Flower Die of Choice ( Your Next Stamp)
·       Seam Binding to Match
·       Paper Distresser
Instructions:
1.    Cut tag base from white cardstock (8 ½ “ X 4 ¼”). Distress edges.
2.    Cut tag from 007 – ensuring 2 butterflies are on tag (8 ¼” X 4”). Distress edges.
3.    Using craft knife, cut only wings of the butterflies. Do not cut through butterfly body. Fold wings up. Add Stickles to wings. Set aside to dry.
4.    Adhere decorative tag to tag base, keeping wings free of glue.
5.    Cut “Enjoy” from DC97 005 chipboard piece. Colour with purple ink. Add Stickles. Set aside to dry.
6.    Take 1 bird, and 1 journal spot from card kit. Ink edges of white side of journal spot. Adhere journal spot in place, as in photo. Adhere bird on top, as shown.
7.    Using a 6 X 6 paper from the card kit, die-cut flowers from white side of paper. I used an open flower die, so that it didn’t cover all the pretty paper.
Add Stickles to flowers. When dry, adhere to tag as shown in photos. Add rhinestones to the center of the flowers.
8.    Choose a matching seam binding, and tie a double bow. Attach to the top of the tag.
9.    Adhere the “Enjoy” chipboard in place on the tag. Enjoy!
Thanks so much for looking! See you again soon!


Thanks so much for stopping by! See you again soon!

Sunday, 11 June 2017

Tutti Designs - Fancy Saw

Hello, my friends!

It's Monday, and I'm back with a new Tutti Designs share!

This week I'm sharing the fun new Fancy Saw Die,
which you can find right HERE.
This is a great die to use on a Father's Day card, 

or a masculine birthday card.
I've actually made an Anniversary card for my husband. 
Next week we will be celebrating our 32nd! 


I cut my card base from brown cardstock.
I also cut the Fancy Saw from brown cardstock.
What would make a better background for a saw than woodgrain paper?
I used the Stitched Nesting Tags die to cut it out.
I created the sentiment on my computer.
It's been added to my Freebie page.


I added the eyelet, the jute, and the brads. 
Then I adhered the tag in place on the card base using foam tape.


Here's a closer look at the intricate saw die:


Other Materials Used:
Papers: Recollections - Cardstock, Woodgrain - Crate Paper;
Sentiment: The Nickel Nook Freebie Page
My Stash: Jute, Eyelets, and Brads.

* * * * *

Tutti Designs Dies Used:

Fancy Saw


Nesting Stitched Tags


* * * * *
I'll be back next week with a new project.
In the meantime, here are all the links you'll need:


Mustard Seed Faith Challenge - Who Holds Your Tomorrow?

Sunday Blessings to you, my friends!

It's time for a new challenge over at Mustard Seed Faith Challenge Blog! 

Tracey is taking a turn with the challenge this week. 
She has a fabulous devotional over on the blog. 
I do hope you all go and take a look at it!
The answer to the question of "who holds our tomorrow?" 
is a very important one! 

The subject of worrying is always relevant, isn't it? 
It seems there are so many things in life today that can lead us to the wasteful act of worrying:
...health issues, job issues, relationship issues... 
the list can go on and on!
What can worrying do for us? 
NOTHING! It just leads to feelings of fear.
What have we to fear when God, our Creator, is watching over us?
If He holds our tomorrow we have nothing to fear.
This lovely Scripture verse from Matthew 10:30 came to mind 
as I was putting my card together. It says:

"So don't be afraid; you are worth more than many sparrows."


This leads me onto my project for today.
The challenge is to add a bird or butterfly to your project.
I was so happy to make this card.
It's the first crafting I've done in two weeks! 
I used a fabulous new cut file that I recently picked up from The Scrap Chick.
It was just right for the challenge, and so fun to put together. 


The flower is my own addition.


Materials Used:
Papers: GCD Studios - Nostalgia;
Ink: Distress Ink - Walnut Stain;
Punches: Stampin Up - Scalloped Circle, EK Success - 1 1/4" Circle Punch;
Cut File: My Scrap Chick - Bird Takes Flight Card;
Tool: Cricut Explore Air.

* * * * * 
So head on over to the

There you can meet the rest of the Design Team
and see what they've created for the challenge this week. 

Then check out the simple rules, make something,
and link it up!

I can't wait to see what you make! :o)

Vera Lane Studio - The Traveler

Hello, my friends!

I'm back today with nother Guest Design post for Vera Lane Studios!


I've been a long time fan of these wonderful digi images,
so I'm really thrilled to be sharing weekly posts for the month of June. 

This week I am sharing an art journal page I created,
using the fun New Release Image called "The Traveler".
You can find it right HERE.
I'm especially fond of this image because it was inspired by a request I made of Janet.


This is the left side page. 
I used half the globe, the sentiment, and added the camera and postcard.


Here's the right side page.
She's carrying her heavy suitcase, and I put the map in her hand.
She is standing on the other half of the globe. 


Here's a closer look at this darling little traveler:


Other Materials Used:
Dylusions Small Creative Journal;
Spectrum Noir Markers;
Black Pitt Artist Pen;
Distress Inks: 
Mustard Seed,
Picked Raspberry,
Seedless Preserves,
Dusty Concord,
Faded Jeans,
Black Soot.

* * * * *
Vera Lane Studios Digi Images:


* * * * *
Aren't those fun sets?
I'll have more to share with you next week! 
See you then! :o)

* * * * *
Here are all the links you need:


on facebook
This group is so warm and friendly!
It's a wonderful place to be inspired! :o)

Wednesday, 7 June 2017

New Release at All Dressed Up - Flower Pots

Hello, my friend!

Welcome to a New Release post for All Dressed Up!
I'll be here on the 7th of each month to share a fun new image with you! :o)

Today I'm sharing a new image called "Flower Pots",
which you can find HERE.

Isn't it a beautiful image?
 So fun to colour too!


Just some simple layering and punching,
and then adding some bling as the finishing touch.


Materials Used:
Papers: Recollections - Cardstock;
Image: All Dressed Up - Flower Pots;
Color: Spectrum Noir Markers;
Punch: Martha Stewart - Wildflowers Punch Around the Page;
Bling: Crafts - Rhinestones.

* * * * *
Head on over to the blog to check out all the other wonderful new release images, 
and see what everyone else has created! :o)

* * * * *
Here are all the links you'll need:


The Project Bin - More Lemons

Happy Wednesday, my friends!

Today I'm back with a new project for The Project Bin! 

This week I'm sharing another card using the fun Yello! Stamp and Die Set.
You can find it right HERE.

I'm really having fun with the set and look forward to sharing more.
It's funny how many lemon themed papers I have in my stash.


I stamped the lemon on cardstock,
and then punched it out with 1 1/4" circle punch.


Here's a closer look at the stamping:


Other Materials Used:
Papers: Recollections - Cardstock, 
Die: Tutti Designs Die - Stitched Nesting Rectangles;
Ink: Memento - Tuxedo Black;
Punch: EK Success - 1 1/4" Circle Punch;
Ribbon: Offray.

From The Project Bin:


* * * * *
If you're not familiar with The Project Bin,
they specialize in wonderful sentiment stamps.
They're clear photopolymer and stamp as crisp as can be!
Each set has multiple stamps, and 
"A Way With Words."


* * * * *
I'll be back next week to share another wonderful stamp! :o)
In the meantime...

Here are all the links you'll need:


Blog Archive