Hello, everyone!
I'm back today with a fun share for
This is a wonderful shop located in Italy!
Just before I get into my project...
...my year long term on this Creative Team is soon ending!
Mirtillamente is holding a Call for a new Creative Team!
You can find all the details on the blog HERE!
Okay, onto my project...
Just before I get into my project...
...my year long term on this Creative Team is soon ending!
Mirtillamente is holding a Call for a new Creative Team!
You can find all the details on the blog HERE!
Okay, onto my project...
Materials Used:
Silver Metallic Cardstock - 12 x 12 - 1
Georgia Blues Papers
Georgia Blues Flowers
Gather the the supplies...
...as I have listed.
For the covers - cut all pieces 6" x 8":
2 from chipboard
2 from Silver metallic cardstock
2 from Moon Child paper
(as shown - or choose another)
From light and dark purple cardstock:
Make 4 Envelopes that measure 5 1/2" x 7 1/2"
I used my envelope punch board to do this.
Cut a thin slice off the envelopes, as shown in the photo.
On the long side of the light purple envelopes.
On the short side of the dark purple envelopes.
Punch a tab in the center of each opening, as shown.
Now have fun putting your album together,
as shown in the following photos.
For the front cover,
Adhere the decorative paper to the front of the chipboard,
and the silver cardstock to the inside cover.
I added a triangle pocket to the inside to hold a card.
The next page is a double sided paper, cut at 5 1/2 x 7 1/2.
Both sides were too pretty to cover up!
On the right, I covered the envelope with paper,
punching a matching tab opening.
I added a decorative band to hold several cards.
I inserted a tag into the pocket, and used a flower for a pull.
Decorative paper on the envelopes.
Decorative paper on the envelopes, with the tabs punched out.
Tags inserted in the envelopes, with flower pulls.
More pretty paper on the envelopes.
I added punched pockets along the bottom to hold cards.
The back of the last envelope.
I covered it with paper, and punched a tab.
Here you can see the envelope insert pulled out.
I added another decorative band to hold some more cards.
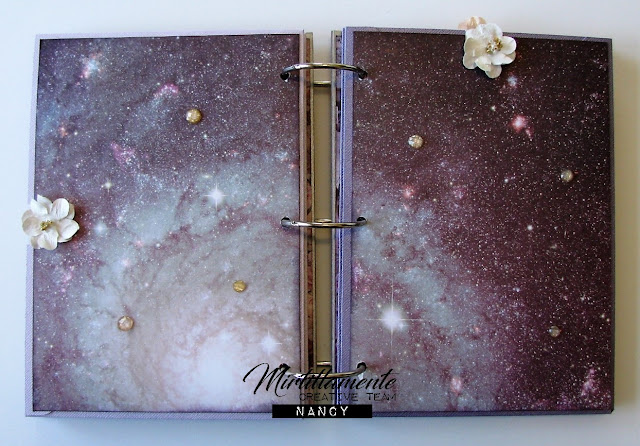
The page on the right is the final double sided paper.
I think it's my favorite!
The last page, and inside back cover.
More cards in the pocket.
All have beautiful metallic silver foil!
Above: The back cover.
Below: One final look at the front cover.
I added a number of the enamel accents.
I hope you enjoyed my mini album!
I really enjoyed creating it for you!
Head on over to the Shop and check out all the fun goodies!
I'll be back again soon!
* * * * * * * * * * *
Here are all the links you'll need:


4 comments:
Wow, Nancy! This mini album is so beautiful - gorgeous papers and colours and so cleverly brought together in your project! x
An amazing way to showcase some beautiful papers! I have plenty I can't stand to cut up, but this would be a lovely way to kinda hold onto them, in a useful fashion! :D I've really enjoyed you DT makes for this company! x
Its fabulous Nancy , so many wonderful pages ! Always love your albums !
WOW! WOW! WOW! this is incredibly beautiful. what a joy you will have just handling this gorgeous album.
Faith x
Post a Comment