Hello, my friends!
Today I have a fun tutorial for Rinea.
This month we are enjoying a wonderful collaboration with Poppystamps!

This month we are enjoying a wonderful collaboration with Poppystamps!

I'm going to show you how to make this fun fairy card,
using these fabulous foiled papers,
along with a stamp and die from Poppystamps!
I'm also introducing the fabulous new Arctic Foiled Paper.
It's just been released...and it's fantastic!

Here's what I used:


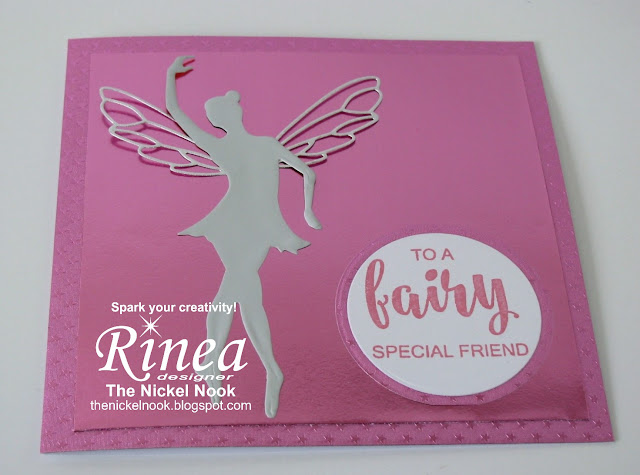
This is such a lovely combination of products!
The fairy is lovely in the new Arctic Foil,
and the wings are so delicate and pretty!
The stamp set offers a really great variety of sentiment options!

using these fabulous foiled papers,
along with a stamp and die from Poppystamps!
I'm also introducing the fabulous new Arctic Foiled Paper.
It's just been released...and it's fantastic!

Here's what I used:

Materials Used:
Poppystamps - Fairy Wishes Clear Stamp Set;
Poppystamps - Fairy Die;
White Card Base - 5 1/2 x 5 1/2;
Small piece of White Cardstock;
Pink Ink;
Circle Die or Punch.
Here's How:
1. Cut a piece of the Blush/Blush Starstruck Foiled Paper to 5 1/2" square. Adhere to the card base.
2. Cut a piece of the Blush/Gold Glossy Foiled Paper to a 5" square. Adhere to the center of the foiled card base.

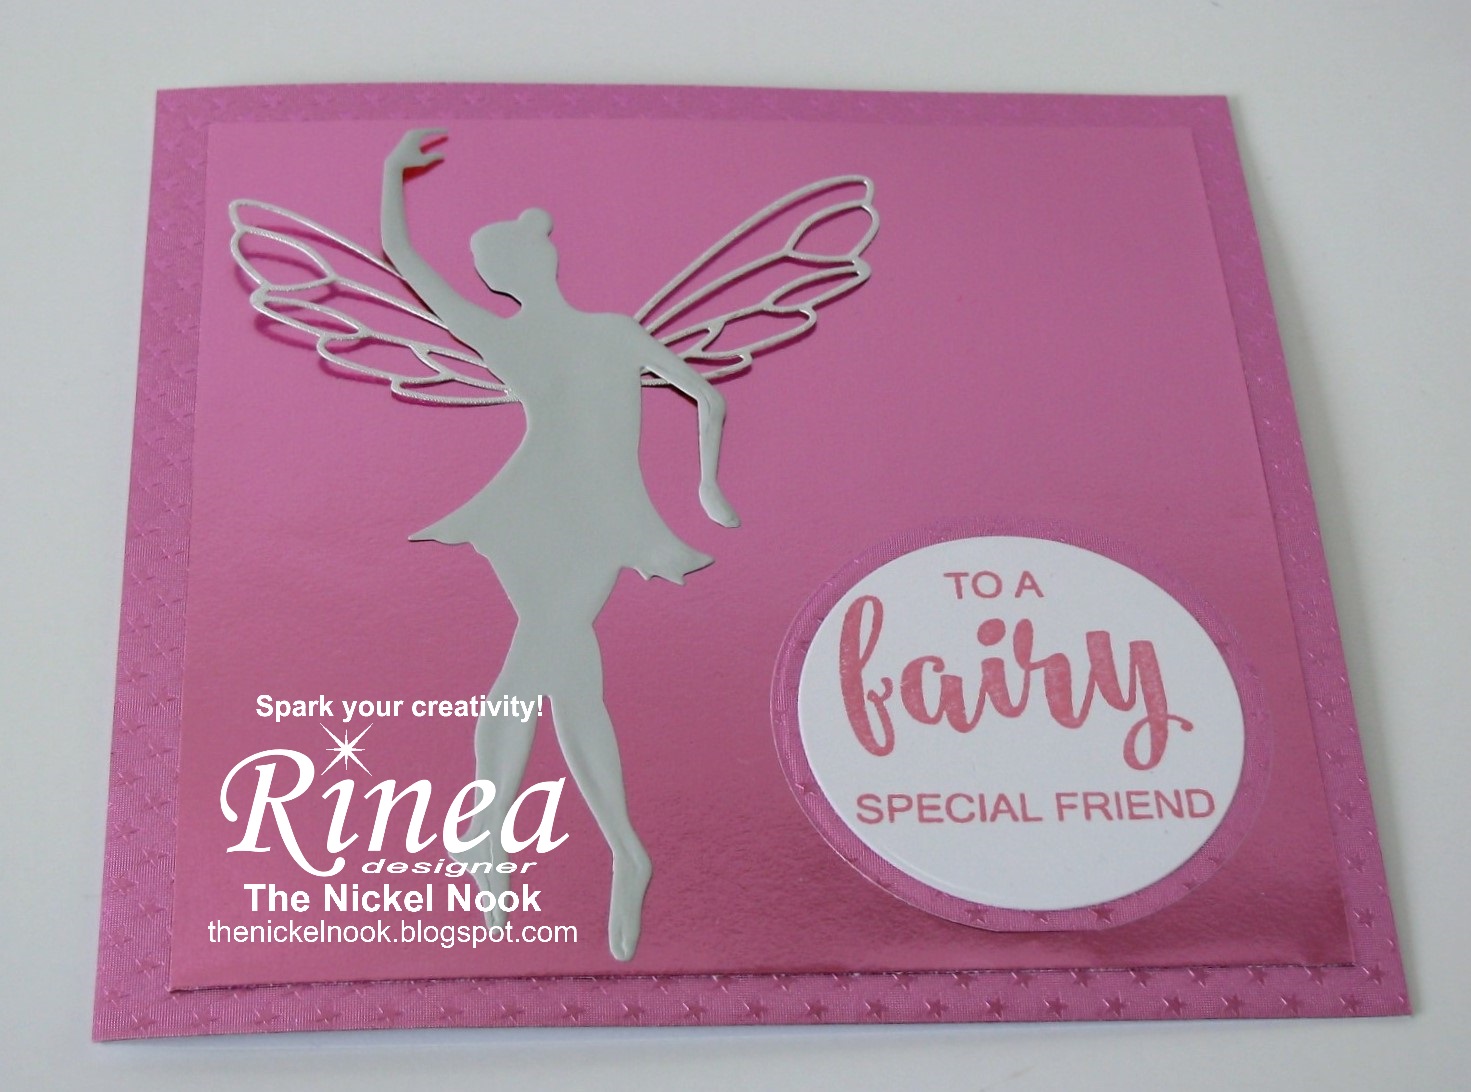
3. Die-cut the fairy from the Arctic foiled paper.
4. Die-cut the fairy wings from the Silver/Silver Starstruck Foiled Paper.

5. Using matching pink ink, stamp the sentiment onto white cardstock. Cut out using a punch or circle die.
6. Cut or punch a circle of the Blush/Blush Starstruck Foiled Paper slightly bigger than the stamped piece.
7. Add the sentiment circle to the center of the larger circle.

8. Adhere the fairy in place to the left side of the card front. Adhere the wings in place behind the fairy, leaving the rest of the wing free of glue.
9. Finally, adhere the layered sentiment in place on the bottom right corner.
This is such a lovely combination of products!
The fairy is lovely in the new Arctic Foil,
and the wings are so delicate and pretty!
The stamp set offers a really great variety of sentiment options!

Thanks so much for stopping by today!
I'll be back later in the month with another fun project,
combining Rinea with Poppystamps!
* * * * *
1 comment:
A Beautiful feminine card Nancy, the fairy is such a pretty die as are the papers.
Keep safe and well.
Faith x
Post a Comment