Hello, my friends!
I'm going to show you how I decorated a gift bag
using these fabulous foiled papers!
I'm featuring the gorgeous new "Floral" collection for this project.
Here's what I made:


using these fabulous foiled papers!
I'm featuring the gorgeous new "Floral" collection for this project.
Here's what I made:

Here's how I did it:

Materials used:
- Floral Foiled Paper Variety Pack
- Gold/Gold Glossy Foiled Paper
- Emerald/Gold Glossy Foiled Paper
- Sizzix Thinlits - Eileen Hull Flower Die
- Spellbinders Nestabilities - Labels Eighteen Die
- Scrap of Cardstock - Lavender
- Piercing Tool and Mat
- Brads
- Adhesive
- Gift Bag

1. I started by choosing my gift bag. I am actually recycling a Purdy's Chocolate bag. The purple is perfect for this collection, and purple projects always seem to be everyone's favorite!

2. I cut two labels from the Gold/Gold Glossy Foiled Paper, ensuring that the labels were large enough to cover the name on the bag. Also, some of the finer flower centers were cut from the gold.
3. I cut the leaves from the Emerald/Gold Glossy Foiled Paper.
4. I cut a multitude of each of the flower dies from each of the colors in this collection.
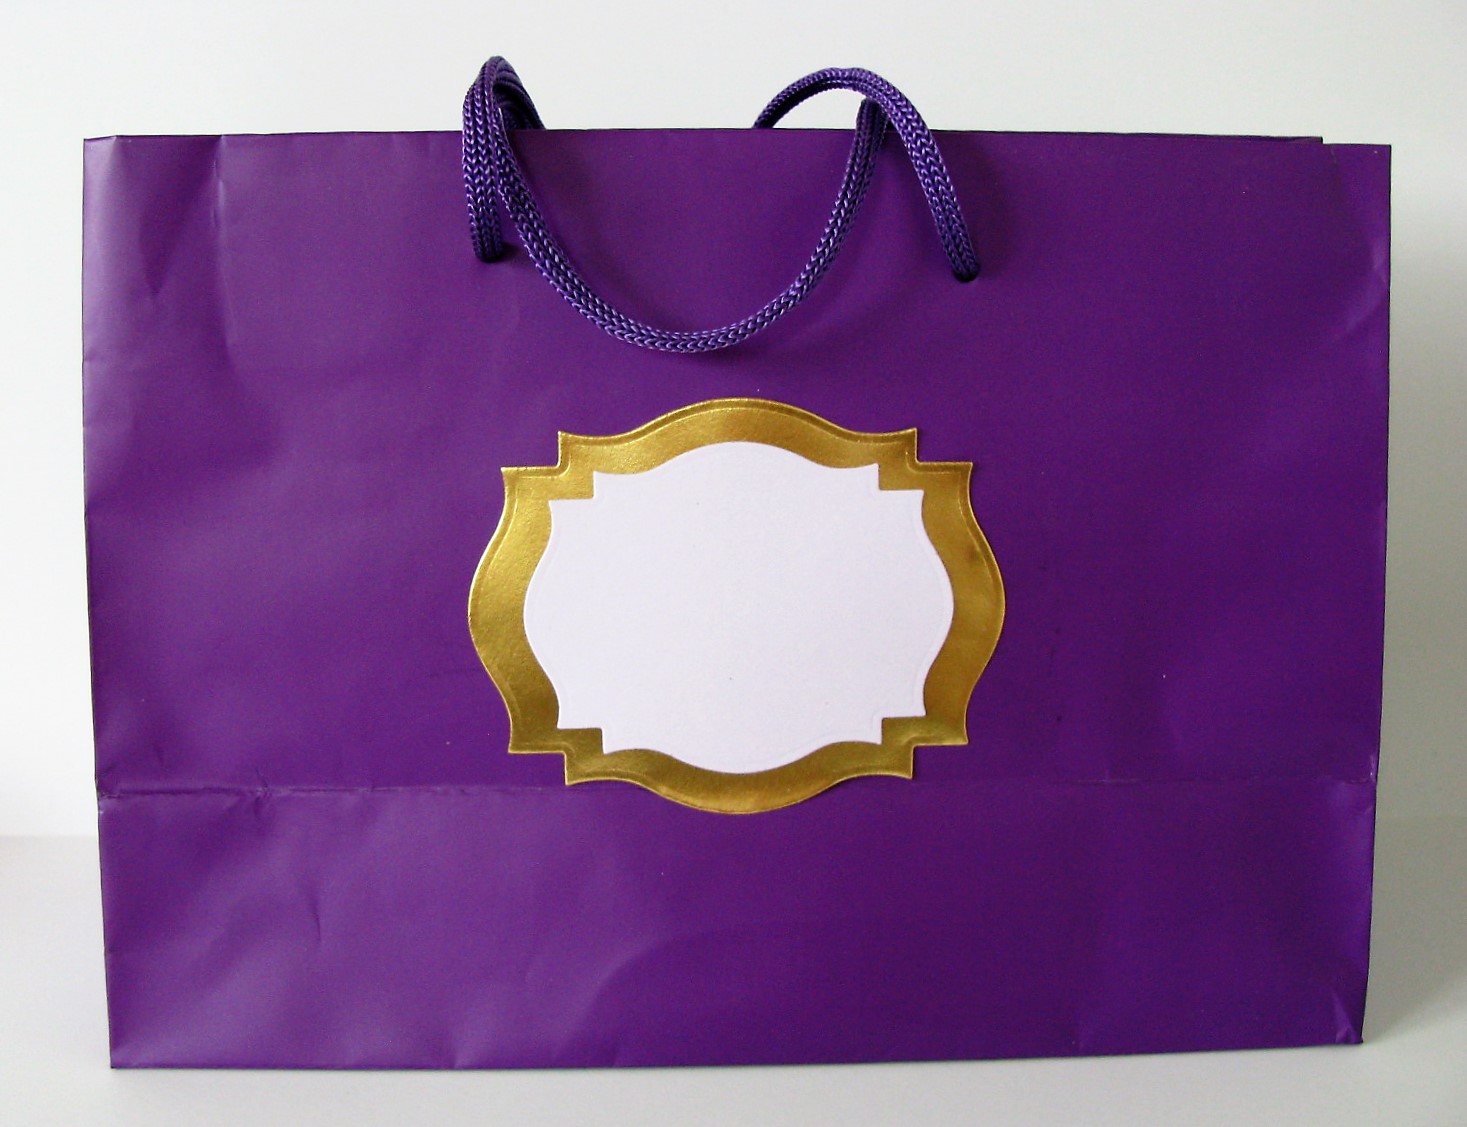
5. On the back side of the bag, I placed a gold label over the name on the bag. Then I added a smaller Lavender colored cardstock label. This offers a place to write a message. I kept this side flat, so the bag can be folded, and hung up as a decor piece.

6. Then I just had fun creating all my flowers. I layered all the die-cuts up, alternating colors and textures - glossy and starstruck. I shaped them the way I wanted the petals to go. When I was happy with the layers, I pierced holes through the centers, and added coordinating brads.

7. I added a large gold label to the front of the bag.
8. I arranged the flowers in place on top of the label, and adhered the in place. Allowing some of the label to peek out.
9. I curled the leaves, and adhered them in place under the flowers.

All finished!
Now it's a lovely bag to fill and gift to someone,
or to hang up as a lovely Spring decor piece,
until the real flowers appear! :o)

* * * * *
Thanks so much for stopping by today!
I'll be back soon with more fun to share!
* * * * *
Thanks so much for stopping by today!
I'll be back soon with more fun to share!
* * * * *


