Hello, my friends!
This is a bittersweet post for me! :o(
By now you have probably heard the sad news...
Sparkle N Sprinkle is closing it's doors at the end of the month.
It's sad news for us but I'm excited for what is ahead
for Margaret with her retirement!
I'm very happy to have been a part of the DT for the past several months!
It's truly been a pleasure!
So today I have one final card to share with you.
This is featuring the New Cruisin' Stamp Set from the May Release.

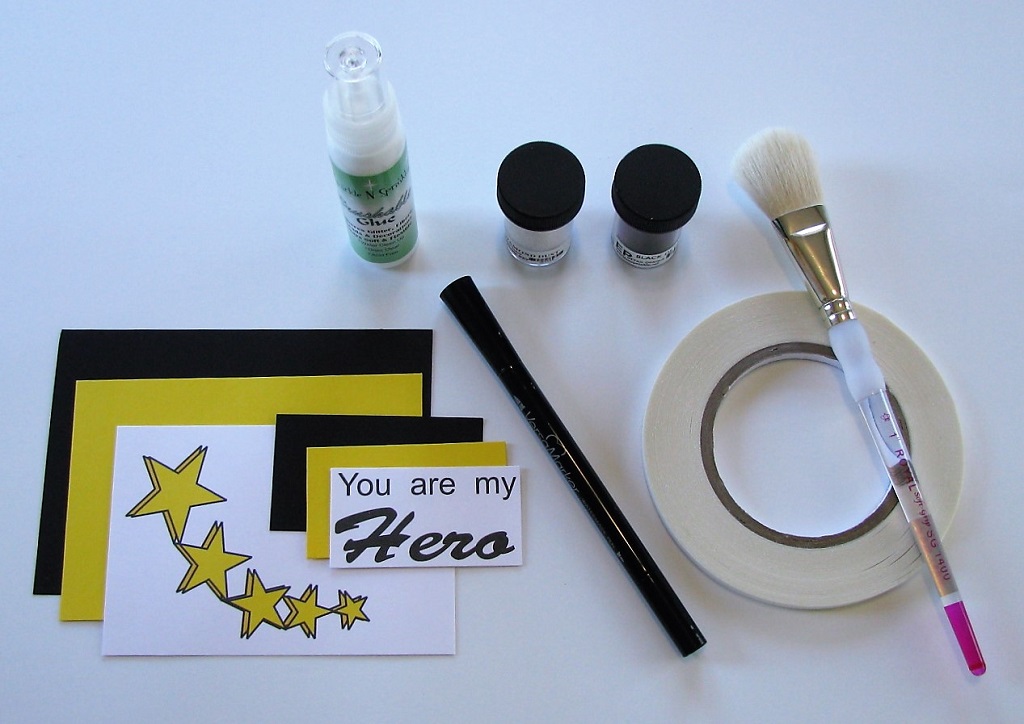
Products Used from Sparkle N Sprinkle:

Stamps:
Embossing Powders:
Ink:
Adhesives:
Tools/Dies:
Other Materials:
Spectrum Noir Markers,
White, Turquoise, Red Cardstock.

I began by heat embossing the fabulous car image,
with the Black Detail Embossing Powder.
I colored the car image but a car like this needs chrome, right?
So I went in and heat embossed some details,
using the Silver Detail Embossing Powder.
I then fussy cut the car image out.

I stamped the map, from the Travel Mixed Media Set,
onto the turquoise cardstock.
I matted it with red cardstock and adhered it to the card front.
I stamped the sentiment onto white cardstock,
and matted it with red cardstock.

The car and sentiment were added to the card base with foam tape.

Well...there you have it...my final DT post!
Now head on over to the shop
and get in on some of the fabulous close out deals!
Also, make sure you follow the blogs of the very talented DT!
They'll continue to inspire you with all their fabulous work!
* * * * *
Here are all the links: