Showing posts with label Thanksgiving. Show all posts

Tuesday, 8 October 2024

Fun Thanksgiving Place Setting Idea for Printable Cuttable Creatables

         Hello, my friends!

It's time for a new post for Printable Cuttable Creatables!

Thanksgiving is next weekend here in Canada, and next month in the US.
I've come up with a fun place setting idea that I wanted to share.

I wanted to take a photo of this on my Thanksgiving dinner plate.
However, I can't find half of my Thanksgiving dishes.
I have cups & saucers, cream & sugar, and a serving bowl.
No plates to be found...yet!

Here's my project:


Isn't that lovely?...and perfect for a Thanksgiving place setting!
I sized it at 6 1/2" wide, so that it would fit nicely on a plate.

Here's what I cut out:


You might notice that I cut an extra base piece in green.

Here's what I did with that:


I added the green piece to the back of the neutral base.
I added a stamped journal spot, along with the "Thankful" title.
If you don't have appropriate stamps, 
you can do the same thing with a ruler and pen.

All of the guests at my Thanksgiving dinner will have a Thankful Heart on their plate.
They can then document whatever they are thankful for,
and take it home for a reminder.


My dishes really suit the style of this project.
If you're setting a fancier table, you could make some simple adjustments to make it work.
Just use some foiled or glittered papers, and add some sparkle and shine!

* * *

Printable Cuttable Creatables Products Used:

Other Materials Used:
Cricut Explore Air Machine;
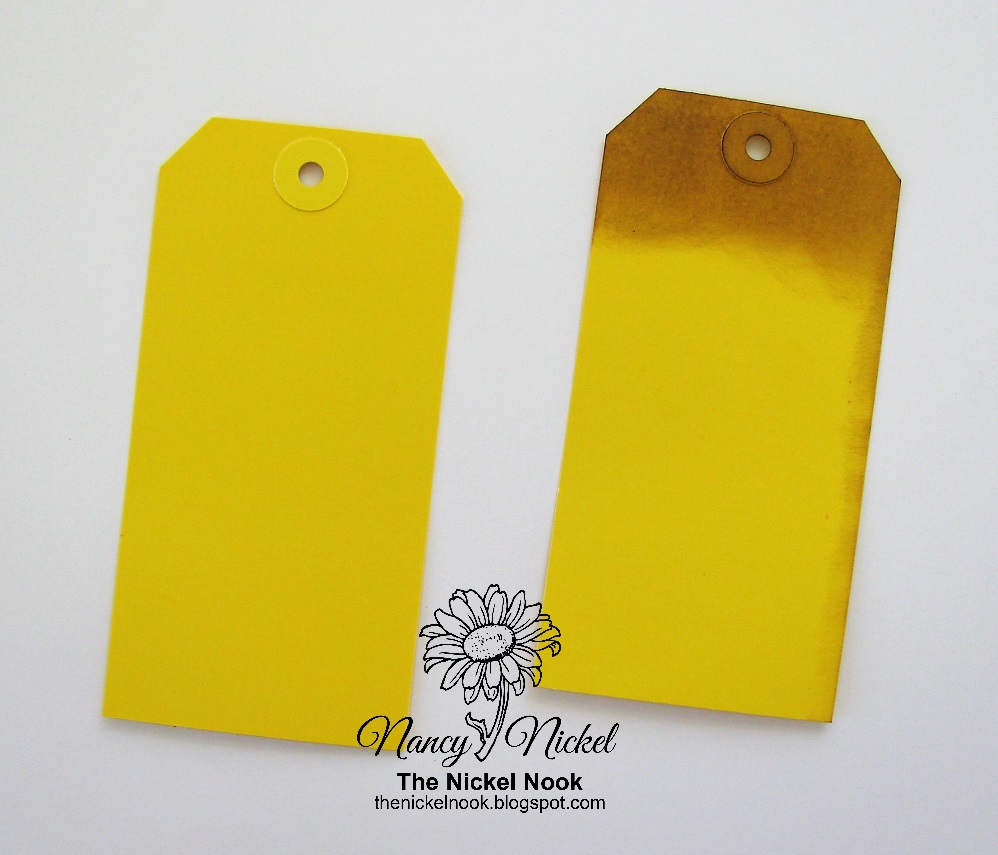
Ranger Archival Ink;
Tim Holtz Stamp;
Carta Bella Title.

* * *
 
Use my code to get 15% off your purchase:


* * *

Thanks for stopping by today!
I'll be back soon with another fun project!

* * * * *

Here are all the links for you:

Printable Cuttable Creatables Shop

Printable Cuttable Creatables Blog

Printable Cuttable Creatables Facebook     

Wednesday, 2 October 2024

Happy Thanksgiving Day with Dr. Digi's House of Stamps

 Hello, my friends!

I'm very happy to be sharing a project as Guest Design Team member for
Dr. Digi's House of Stamps!

If you're not familiar with Dr Digi's, it's an online shop that carries a wonderful - and fun -
assortment of digital images, papers, and sentiments. They also carry some fabulous cutting files!

I have used all four of those things to create my card;
 the digital pumpkin image,
the pumpkin background paper,
the Thanksgiving sentiment,
and the brick cut file.

Here it is: 


I created a 5 1/2" square card base, from white cardstock.
I then printed the background paper out, and cut that at 5 1/2" square,
adhering it to the front of my card base. 
I also sized the brick stencil at 5 1/2" square, and cut it from black cardstock.
I sized the pumpkin image to print one large and two smaller pumpkins.
I then coloured them and fussy cut them out.

I snipped out part of the brick cut, to show off more of the background paper,
and to open a spot for the sentiment.
The sentiment was circle die-cut, and then matted twice,
before adhering it in place with foam tape.
I backed the brick with a matching solid coloured cardstock.
Finally, I adhered the pumpkins in place;
the large one flat, and the two smaller with foam tape.


Thanksgiving is fast approaching here in Canada, and next month in the US.
So I thought it would be appropriate to create a Thanksgiving card.
Since all of the products I used are digital, and available right away,
you have lots of time to make one of your own! :o)

* * *

Dr.Digi's Files Used:

Pumpkin Image;

Pumpkin Polka Dots Backing Paper;

Thanksgiving Sentiment Sheet 01;

Old Bricks Stencil.

Other Materials Used:
Recollections Cardstock:
WRMK Nesting Circle Dies;
Spectrum Noir Markers.

* * *

Thanks for stopping by today!
I'll be back to share another fun project very soon!

* * *

Dr. Digi's Links:

Dr. Digi's House of Stamps Shop

Dr. Digi's House of Stamps Facebook

Dr. Digis House of Stamps Instagram

Sunday, 25 September 2022

Give Thanks with Printable Cuttable Creatables

  Hello, my friends!

Today I'm sharing a new project for Printable Cuttable Creatables!

With the Fall/Thanksgiving Season fast approaching,
and with a new dining room to decorate,
I decided to make a home decor piece!

This could easily be adapted to a card, or layout, or anything else you want to make.

 
Here's my project:


I began with a very heavy weight cardstock square that measures 8 1/2".
I then printed out the green gingham paper, 
 and cut it at 8" square.
I adhered it in place on the cardstock base.


I then cut the Autumn Flower Wreath Frame SVG File to fit,
and adhered all the pieces in place.


I then cut out just the words from the Give Thanks Title file.
They are such a lovely, skinny script, and look great in the center of the wreath.

Here's a closer look at the flowers:


To finish off my project I added the 3D Bow.
Some projects just aren't finished until you put a bow on them! ;o)
This bow file is free and just the final touch to my project.
I cut it from another one of the papers from the Autumn Basics Digital Paper Pack.
I cut it, inked the edges, assembled it, and added it in place on the top of my wreath.


This was another really fun project to make!
There are so many wonderful Fall themed files in the shop,
and they all work beautifully together!

* * * * *

 Printable Cuttable Creatables Files Used:


* * * * *

Thanks for stopping by today!
I'll be back soon with another fun project!

* * * * *

Here are all the links for you:

Printable Cuttable Creatables Shop

Printable Cuttable Creatables Blog

Printable Cuttable Creatables Facebook

Monday, 1 October 2018

Whisker Graphics - Count Your Blessings Card

Hello, my friends!

I'm back to share a fun project created with products from the Whisker Graphics Shop!
I'm also over on the Whisker Graphics Blog today.
You're going to want to go over there and subscribe in the sidebar, if you haven't already done so. 
That way you won't miss all the fun shares from the rest of the DT,
and all the fun ways you can use these great products! 

* * * * *
 I had originally planned a different project share for today.
I was going to go back to my previous journal pages,
and show you how I finished off the Bitty Bag pages
with the wonderful twine from Whisker Graphics.
However, since next weekend is Thanksgiving here in Canada,
I thought it appropriate to do a Thanksgiving themed project instead.

Here's the card I'm sharing today:


Here's how I made it:

I started by taking a Plain Brown Little Bitty Bag
and running it through the embossing folder.
Then I inked all the edges with Walnut Stain Distress Ink.


Next, I took a Large Yellow Tag.
I wanted the yellow but the brightness of the tag didn't work well with my papers.
I inked just the top of the tag with the Distress Ink,
as the bottom will be covered.


I created a kraft card base that measured 4" x 7",
and covered it with my inked decorative paper.
I inked the journal card and adhered it in place on the yellow tag!
See how well the yellow works now?


Now it's time to add the Red Bamboo Twine.
I added a double loop through the top of the tag.
Then I wrapped the bag and tied a bow,
before adhering the bag to the card front.


I added the bag slightly askew to add interest.


Fall projects are so much fun to make!


Here's one final look at the finished card:


Other Materials Used:
Papers: Carta Bella - Autumn Collection,
Recollections - Kraft;
Ink: Distress Ink - Walnut Stain;
Embossing Folder: Cuttlebug - Pumpkin Harvest.

Products from Whisker Graphics:


* * * * *
Thanks for stopping by!
I'll be back again soon with another project share!

Here are all the links you'll need:

Blog Archive