Showing posts with label Makin's Clay® DT. Show all posts

Tuesday, 22 October 2019

Makin's Clay - Project Share

Hello, friends!

I have a new Makin's Clay project share today!

This is just a quick project share post!

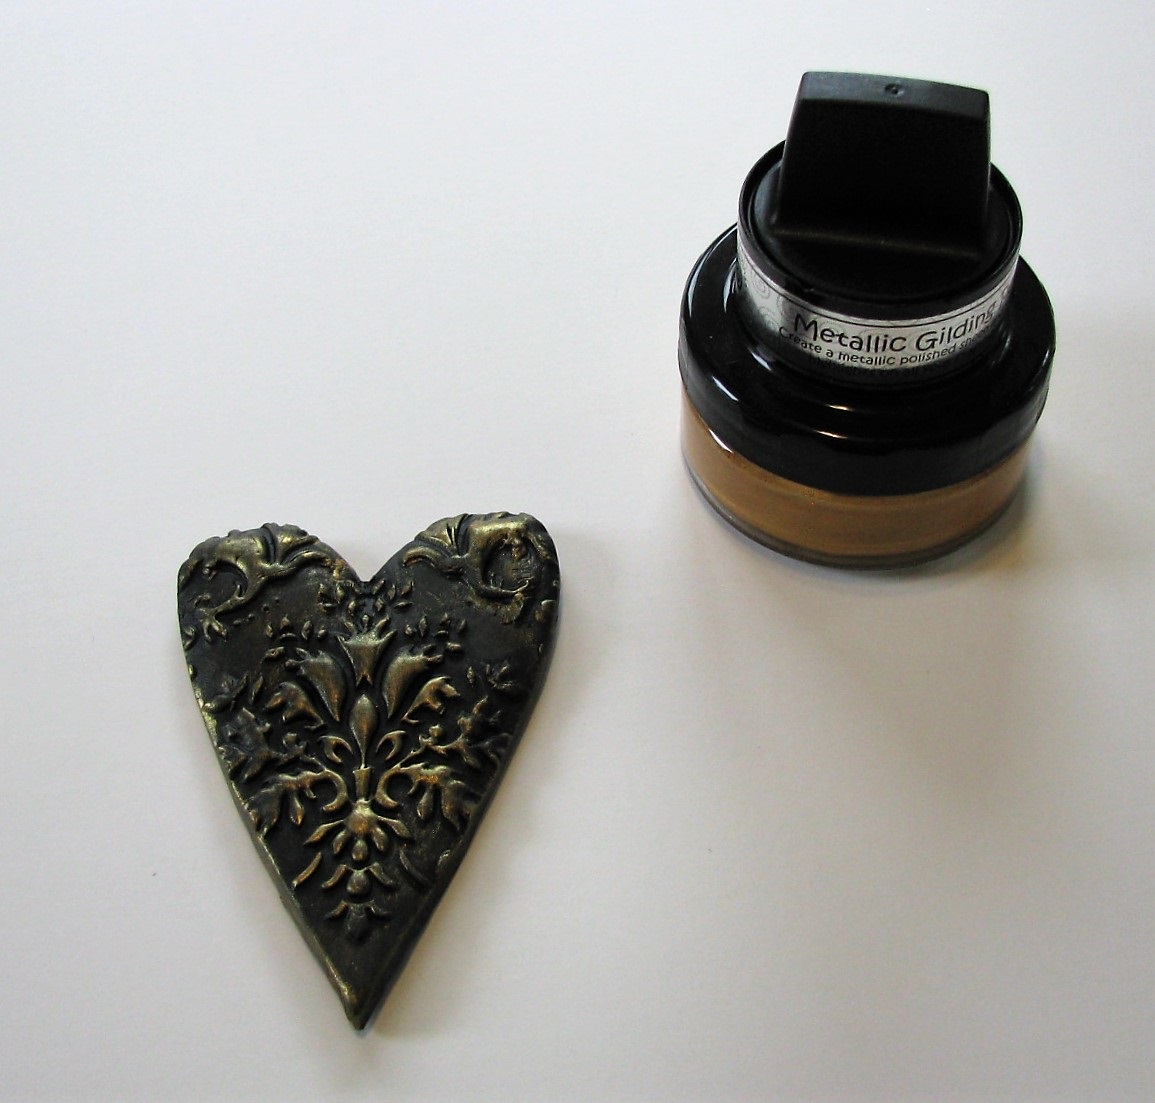
I've created this pretty clay pendant:

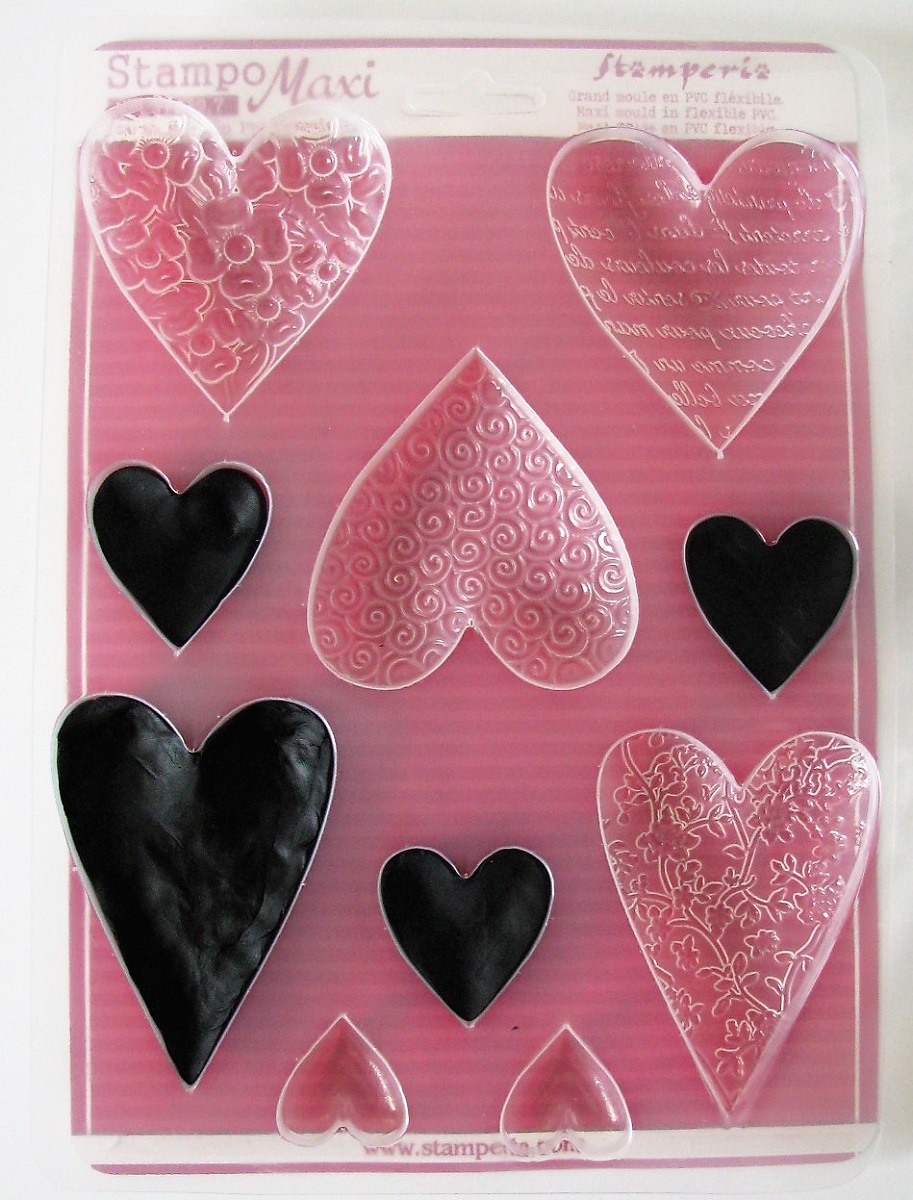
I molded the heart in a Stamperia mold,
using black Makin's Clay®.


Then I used gold Cosmic Shimmer Gilding Polish to colour it.
After punching a hole in the top center,
I added three jump rings,
so the pendant could dangle.
Finally, I threaded a gold chain through the last jump ring.


This was so much fun to make! :o)

* * * * *
Thanks for stopping in today!
See you again very soon! 

* * * * *
Here are all the links for you:


Friday, 20 September 2019

ScraPerfect - ATC Fun!

Hello, my friends!

Today I'm happy to be sharing another post for ScraPerfect

I've created another fun ATC with the help of ScraPerfect products.
I've also paired these products with some more Makin's Clay pieces. 
These products really work well together,
especially when making a fun little ATC!

Here's my finished ATC:


I began with a pretty green background paper.
Then I chose several of my finished clay pieces.
These were molded using the green Makin's Clay,
and a fun Mod Podge Mold.
Then I used the Best Glue Ever to adhere my clay pieces to the base.
I then used the Embellie Gellie to pick up and place 
the lovely little green flowers in place.
A tiny drop of the Best Glue Ever is all they need to hold them in place.


Finally, I took a sponge, and some white ink,
and inked around the edge of the ATC.
I also inked the top of the clay pieces to highlight all the detail.


ScraPerfect Products Used:


* * * * *
Thanks so much for stopping by today! 
I'll be back soon with another project share!


* * * * *
Here are all the links for you:


Saturday, 14 September 2019

Makin's Clay® - Clay Heart Canvas

Hello, friends!

I'm over on the Makin's Clay Blog today!

I've made this fun Clay Heart Canvas!


Materials Used:
Makin’s Clay® - Black Clay;
Makin’s Clay® -
Cutting Mat;
Heart Mold – Stamperia;
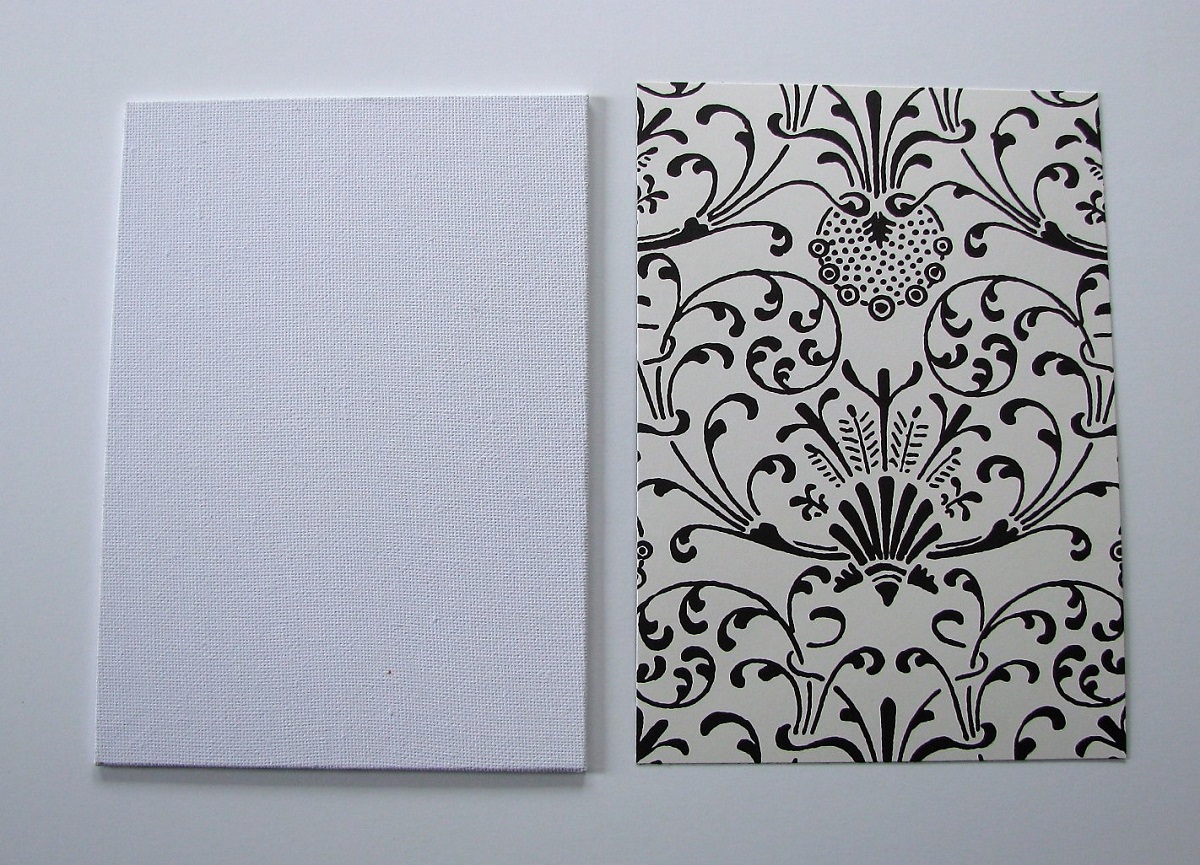
Canvas – 5 x 7;
Decorative Paper – 5 x 7;
Cosmic Shimmer Metallic Gilding Polish – Gold;
Scraps of Gold Shimmer Tulle;
Tim Holtz Quote Sticker;
Scrap of Black Chipboard.


1.   Roll a good size piece of black clay into a smooth oval. 
Insert clay firmly into the heart mold. Pop heart out of mold, and allow to dry.


2.   When it’s dry, brush the surface of the heart with the gold gilding polish, 
using the foam applicator.


3.   Adhere the paper to the front of the canvas.


4.   Swipe some gilding polish on the center of the canvas, 
as well as along all the outside edges.


5.   Bunch up the shimmer tulle, and adhere to the center of the canvas.


6.   Adhere the pretty heart in place on the tuft of tulle. 
Trim any excess tulle, so that it frames the heart nicely.


7.   Adhere the quote sticker to the scrap of black chipboard, 
and adhere in place under the heart.


8.   Pop the canvas in a frame, or display as it is!


* * * * *

Thanks for stopping in today!
See you again very soon! 

* * * * *
Here are all the links for you:


Wednesday, 14 August 2019

Makin's Clay® - Thanks Card

Hello, friends!

I'm over on the Makin's Clay Blog today!

I'm sharing how I used clay on this fun Card!


Materials Used:
Makin’s Clay® - Green Clay;
Makin’s Clay® - Cutting Mat - Small;

Makin’s Clay® - Push Molds – Borders;
White Cardstock; 
Scrap of Red Cardstock;
Decorative Paper (I used Making Memories – English Garden Collection);
Your Next Die – Thanks.


1.     Roll green clay into a skinny little piece.


2.     Lay skinny piece over ivy portion of border mold. Push into mold using ball of fingers.


3.     Turn mold over and ensure that all the little corners have been filled. On the back, make sure that all the edges are pushed in smooth.

4.     Pop the clay piece out of the mold and allow to dry flat. Alternatively, allow piece to dry in mold, and then pop out when dry.
5.     Cut A2 tent-fold card out of white cardstock.


6.     Adhere a 4 ¼” x 5 ½” piece of decorative paper to the card front.
7.     Cut a 4 ¼” x 1 ¾” piece of white cardstock. Adhere in place on card front 1” from bottom edge.
8.     Adhere clay pieces along top and bottom edge of white cardstock strip.


9.     Die-cut “Thanks” from red cardstock. Adhere to white cardstock strip, centering between clay border pieces.


Clay borders are such a fun addition to a handmade card! 
They add some lovely dimension and make it special! 😊

* * * * *
Thanks for stopping in today!
See you again very soon! 

* * * * *
Here are all the links for you:


Tuesday, 6 August 2019

Happy Little Stampers - ATC Challenge - Time

Hello, my friends!

It's new Challenge time at Happy Little Stampers ATC Challenge.

The August Challenge is TIME.


Here's my ATC:


I've used another fun ATC set from Gecko Galz this month.
Then I added some fun molded Makin's Clay pieces.


The gears and time piece were all made of black clay. 
After gluing them in place on the ATC,
I used my finger tool to add the Metallic Lustre.
Finally, I added the "Time Flies",
which was actually the title of the ATC Set.


Materials Used:
Gecko Galz - Time Flies ATC Set;
Molded Makin's Clay® Pieces;
Decoart Metallic Lustre - Iced Espresso.

* * * * *
ACTs are so much fun to make!
If you haven't tried it you, I hope you do!
Then come on over to Happy Little Stampers,
and link up with us!

* * * * *
The rules are simple...and here they are:

1. You must create an ATC. We accept both cards and coins. 
You must follow the theme.          
2. Link back to your blog post and not your entire blog
3. Provide a link to HLS in your blog post
4. You may enter as many times as you like but each entry must be different
5. You may enter as many other challenges as you like
6. Have fun!

CARDS -

• measure 2.5 x 3.5 inches (64 X 89 mm)
• be traded for other cards - not sold
• be flat enough to fit into a plastic trading card sleeve

COINS -
• measure 2.5 inches in diameter using heavy cardstock
• be traded for other coins - not sold
• be flat enough to fit into a plastic trading card sleeve

* * * * *
Happy Little Stampers has lots of other fun challenges too!
Just head over to their home page and check the sidebar.
You'll see them all listed there...including the ATC Challenge.


Sunday, 14 July 2019

Makin's Clay® - Antique Vintage Charms

Hello, friends!

It's my turn on the Makin's Clay Blog today!

I'm sharing how to make these fun Antique Vintage Charms!
This is such a fun and easy project to make, 
and I really like the results! 
The hardest part of the whole job is cleaning up the mess 
left behind by the silver leafing! ðŸ˜Š

Here are my charms:


Materials Used:
Makin’s Clay® - Black Clay

Makin’s Clay® - Cutting Mat - Small
Mold for Key and Lock Charm;
ScraPerfect Best Glue Ever;
Silver Leafing;
Jump Rings;
Scruffy Paint Brush.


1.     Roll black clay into smooth round balls. Push into mold areas. Remove excess clay from back. Allow clay to dry in mold, or remove clay from mold and allow to dry. It works great either way.


2.    1. Squeeze a small amount of glue onto a scrap paper. Using your finger, dab a little bit of glue onto the charm pieces. Let the glue dry for a while, until it is just a little bit tacky.


    2. Lay the silver leafing onto the charms, covering all the tacky glue. Rub with your fingers. Then take the scruffy brush and burnish very well, brushing away all the excess leafing.


4.  3.  Add jump rings, and your piece is finished! Now it’s ready to use as an embellishment on any project, as shown in the first photo.Or you could add a chain, as shown in the photo below.


Isn't that great? Clay is so much fun!

* * * * *
Thanks for stopping in today!
See you again very soon! 

* * * * *
Here are all the links for you:


Friday, 28 June 2019

Makin's Clay® - Create ART ATC

Happy Friday, my friends!

Today I have another project share for Makin's Clay®! 
Each month, I have one full tutorial over on the Makin's Clay® Blog,
and a fun project share here on my blog.

Today it's time for my shared project.
Just like last month, I have created a fun ATC:


I created my clay by molding it in the mod podge mold.
It makes these very small but very detailed pieces.


They're perfect to decorate my artsy ATC.


I hope it inspires you to create some fun art!


Materials Used:
Makin's Clay® - White Clay,
Makin's Clay® - Clay Push Mold - Florals

 Other Materials Used:
Mod Podge Molds - Ornamental Icons;
Black Chipboard;
Ink: Distress Ink - Black Soot;
Stamps: Finnabair Sentiment Words;
Unknown Bling.

* * * * *
Isn't that fun?
This clay is so much great to play with!
I'm looking forward to sharing much more with you!

* * * * *
Here are all the links for you:


Blog Archive