Thursday 31 October 2019

Quietfire Design - May Peace Be Your Gift

Hello, my friends!

It's time for another project share for Quietfire Design

Today I'm featuring one of the new Quietfire Stamp Sets,
as well as a fun cut file from Suzanne Cannon:

and

I thought these worked very well together.
Combined, they make a lovely Christmas gift presentation.
Now if we could only figure out how to actually fill it with the gift of peace! 


Here are the pieces cut:


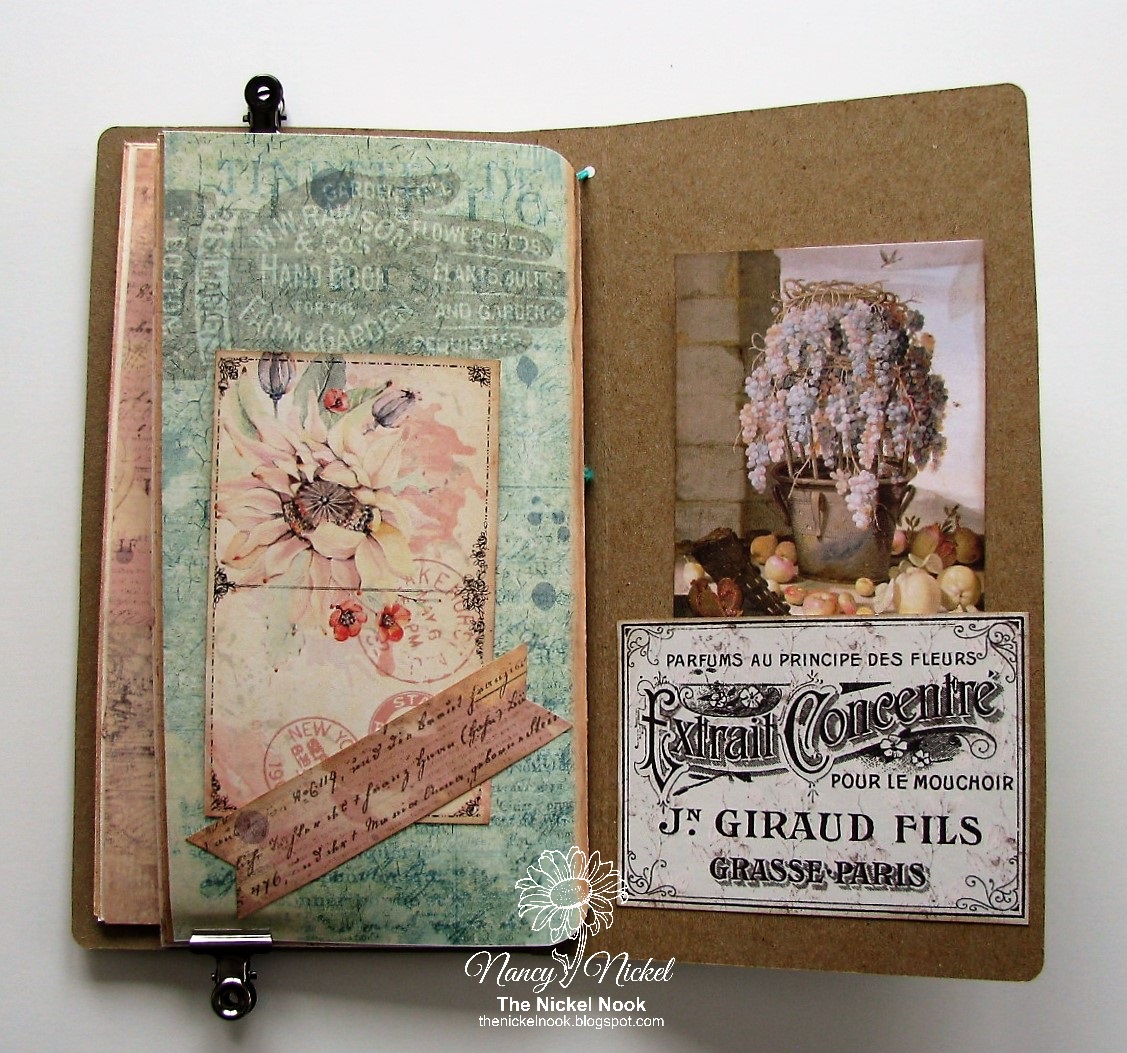
I thought this patterned Christmas paper made a lovely tote.
Then I cut the panels from a matching cardstock.


It's a really lovely size,
and could be filled with all kinds of wonderful things:
treats, baking, or maybe jewelry.
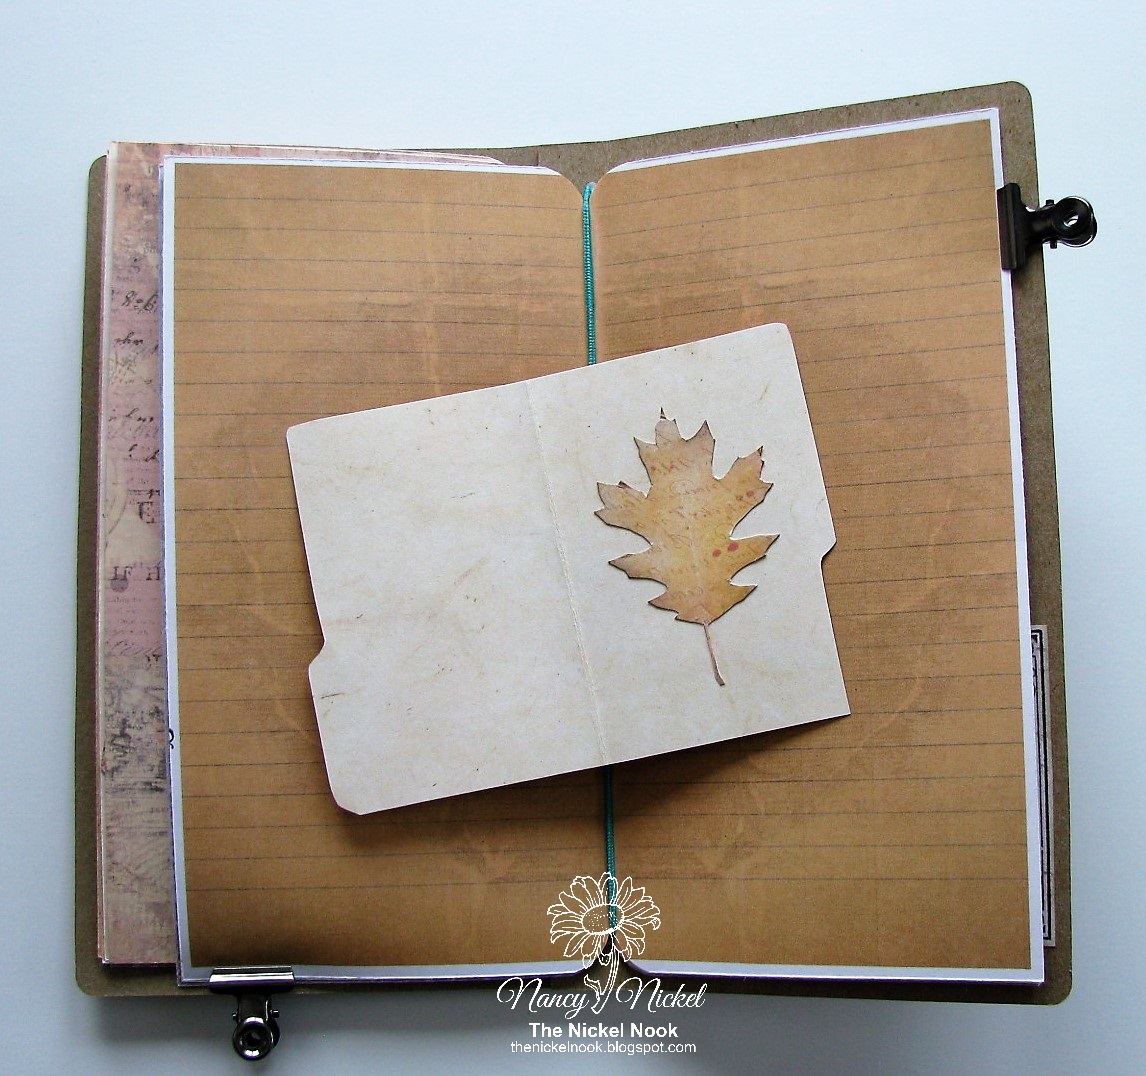
The front panel is stamped, 
and then I added another plain panel to the back.
It offers a spot to write a sentiment,
and the recipients name.


Here's a detailed look at the stamp...
...it's so pretty! 


To finish it off, I added some enamel jewels to the front,
and a piece of bright red tissue to the inside.


Other Materials Used:
Paper: My Mind's Eye - Lost and Found Christmas,
Recollections - Cardstock;
Ink: Memento - Tuxedo Black;
Bling: Unknown Enamel Jewels.

Quietfire Design Products Used:


* * * * *
Thank you so much for stopping in today!
I'll be back soon with another fun Quietfire project!

* * * * *
Here are all the links for you:


Wednesday 30 October 2019

Ephemoire - Faded Foiliage TN

Hello, friends!

Today I have a fun new project for Ephemoire!

This is the first time that I've put an album together
in the Traveler's Notebook style!
I have to tell you that I'm certainly hooked!
I'll be doing many more of these!

For my project, I'm featuring :

Faded Foliage Fauxdori Tn - Journal Kit

Faded Foliage Letter Size Papers

Women in Aprons Digital Stamps

Here's my Journal:


Since this is for a Fall themed album,
I decided to keep the cover just plain chipboard.
The "Journal" is part of the kit.
I really like the way this one feels in my hands.


I've made two signatures. 
I printed one of the plain Faded Foliage papers
on the back of each double-page spread.


Then I put a lot of thought into page placement.


This is the first of three Women in Aprons digital stamps.
I coloured them with my markers and fussy cut them out.


This is the second signature.


Here's another one of them women,
and a fun undercut page.


Here I slipped a mini file folder under the elastic.


I added a fussy cut leaf to the inside of the file.


The third and final woman image.


As you can see,
this kit is full of wonderful pockets, tags, leaves, cards,
and so much more!


Here's the plain back cover of the album!
Seriously, this was loads of fun to put together,
and I can't wait to make another one! :o)


Other Materials Used:
Die: Eileen Hull - Journal;
Chipboard: Grafix;
Ribbon: Offray;
Elastic: Unknown.

Ephemoire Products Used:

Faded Foliage Fauxdori Tn - Journal Kit

Faded Foliage Letter Size Papers


Women in Aprons Digital Stamps

* * * * *

Here are the links for you:

Southern Ridge Trading Company - Lightbulb Tag

Hello, my friends!

I have a fun new post for Southern Ridge Trading Company!
I'm so excited to be sharing this great Canadian company with you!

For those of you that are not familiar with the company,
they specialize in laser cut chipboard and wood.
They have an incredible variety of pieces
that our perfect for all of our creative needs.
Whether you're looking for embellishments for paper-crafting,
or unique home decor pieces,
you'll find a fantastic assortment of inspiration at
Southern Ridge Trading Company!
I forgot to mention it in my first post
but the prices in the shop are in Canadian funds.
That's like an immediate discount for those of you living in the States! 

I have another tag for you today:


This was so much fun to make!


I began with a black cardstock tag base.
I then cut a smaller one from white cardstock. 
I stenciled the rays on the white cardstock, 
using the Citrine ink.
I inked the stencil again, with the embossing ink.
I sprinkled the clear embossing ink over the wet ink,
and heat set it. 
It turned all the yellow ink very shiny! 


I cut the Retro Lightbulb in half,
so that it would fit into the stenciled rays.
All the chipboard pieces were heat embossed in the same way,
using the black glossy embossing powder.
I then adhered the lightbulb in place on the left edge of the tag,
and added the words in place along the rays.


Then I took some black wire and wrapped it around a skewer.
I pierced a hole on the top of the lightbulb,
and another one on the top of the tag.
I removed the wire from the skewer,
and pulled it out to fit the tag. 
I poked the ends of the tags through the holes,
and secured the wire ends on the back of the tag.


Finally, I inserted a yellow eyelet through the top of the tag.
I looped a sparkly yellow ribbon through the eyelet,
and added a pretty ribbon bow.


Other Materials Used:
Papers: Recollections - Cardstock;
Ink: Autumn Leaves - Citrine, Distress Emboss Ink;
Embossing Powder: Glossy Black, Glossy Clear;
Stencil: Tim Holtz - Rays;
Unknown: Ribbon, Eyelet, Wire.

Southern Ridge Trading Company Products:


Thanks so much for stopping in today!
I'll have another project share for you soon!

* * * * *
In the meantime, here are all the links for you:


Monday 28 October 2019

My Scrap Chick - Pumpkin Easel Card

Hello, my friends!

Welcome to a new DT post for My Scrap Chick!

Today I'm featuring the fun:

Pumpkin Icon Easel Card 2
I made my card out of plain cardstock

but this would be a good one to play with,
using some cute patterned paper too.

Here's my card:


This was a really fun cut to put together.
It's so easy...and so perfect for the season.


I stamped the sentiment,
matted it with black,
and adhered it in place using foam tape.


Above is a photo of the card folded flat.


Other Materials Used:
Papers: Recollections - Cardstock;
Stamp: The Project Bin - New Leaf Stamp Set;
Ink: Imagine Crafts - Memento Tuxedo Black Ink.

Products from My Scrap Chick:


* * * * * 
Thanks so much for stopping by!
I'll be back soon with another fun project share!

 * * * * *
Have you signed up for the My Scrap Chick newsletters yet?
Don't forget to do that!
You really don't want to miss out on any of the great freebies! :o)

* * * * *
Here are all the links you need:


Wednesday 23 October 2019

Quietfire Creations - Peace on Earth

Hello, my friends!

It's time for another project share for Quietfire Design

Today my card uses the Peace on Earth die
from the 2019 Calligraphic Christmas dies,
that have just been released!

You'll find all the details HERE.

Here's my card:

.

For all the details and product links,
 head on over to the Quietfire Creations Blog HERE.

* * * * *
While you're over there, check out the shop and the Designer's blog.
They're full of fabulous inspiration!

* * * * *
Here are all the links for you:


Tuesday 22 October 2019

Makin's Clay - Project Share

Hello, friends!

I have a new Makin's Clay project share today!

This is just a quick project share post!

I've created this pretty clay pendant:

I molded the heart in a Stamperia mold,
using black Makin's Clay®.


Then I used gold Cosmic Shimmer Gilding Polish to colour it.
After punching a hole in the top center,
I added three jump rings,
so the pendant could dangle.
Finally, I threaded a gold chain through the last jump ring.


This was so much fun to make! :o)

* * * * *
Thanks for stopping in today!
See you again very soon! 

* * * * *
Here are all the links for you:


Sunday 20 October 2019

ScraPerfect - Embossed Birthday Card

Hello, my friends!

Today I'm happy to be sharing another post for ScraPerfect

Since I have discovered these great products,
I don't do any heat embossing without them!

Here's the Birthday Card I made:


Here's what I used:


I began by taking my Perfect Crafting Pouch 
to the white cardstock piece.
I stamped the image with the embossing ink,
sprinkled it with purple and green embossing powder,
and heat set it.
I wrapped it with a pretty ribbon, and added the bow, 
using the Best Glue Ever.
Then I stamped the Happy Birthday with black ink.


With the front panel all finished,
I grabbed the Best Glue Ever, and adhered it to the purple cardstock panel,
and adhered that to the white A2 tent-fold card base.


Embossed images are always so pretty!


Finally, I grabbed my Embellie Gellie,
and using the Best Glue Ever,
I added three sequins in place.


Here's a final look at the finished card:


Other Materials Used:
Papers: Recollections - Cardstock;
Stamp: Stampin' Up - Flower Stamp, 
CTMH - Sentiment Stamp;
Embossing Powder: SNS - Purple and Green;
Ink: Stampendous - Embossing Ink,
Memento - Tuxedo Black Ink;
Ribbon: Offray;
Unknown Sequins.

 ScraPerfect Products Used:

Best Glue Ever

Perfect Crafting Pouch

Embellie Gellie

* * * * *
Thanks so much for stopping by today! 
I'll be back soon with another project share!


* * * * *
Here are all the links for you:


Blog Archive